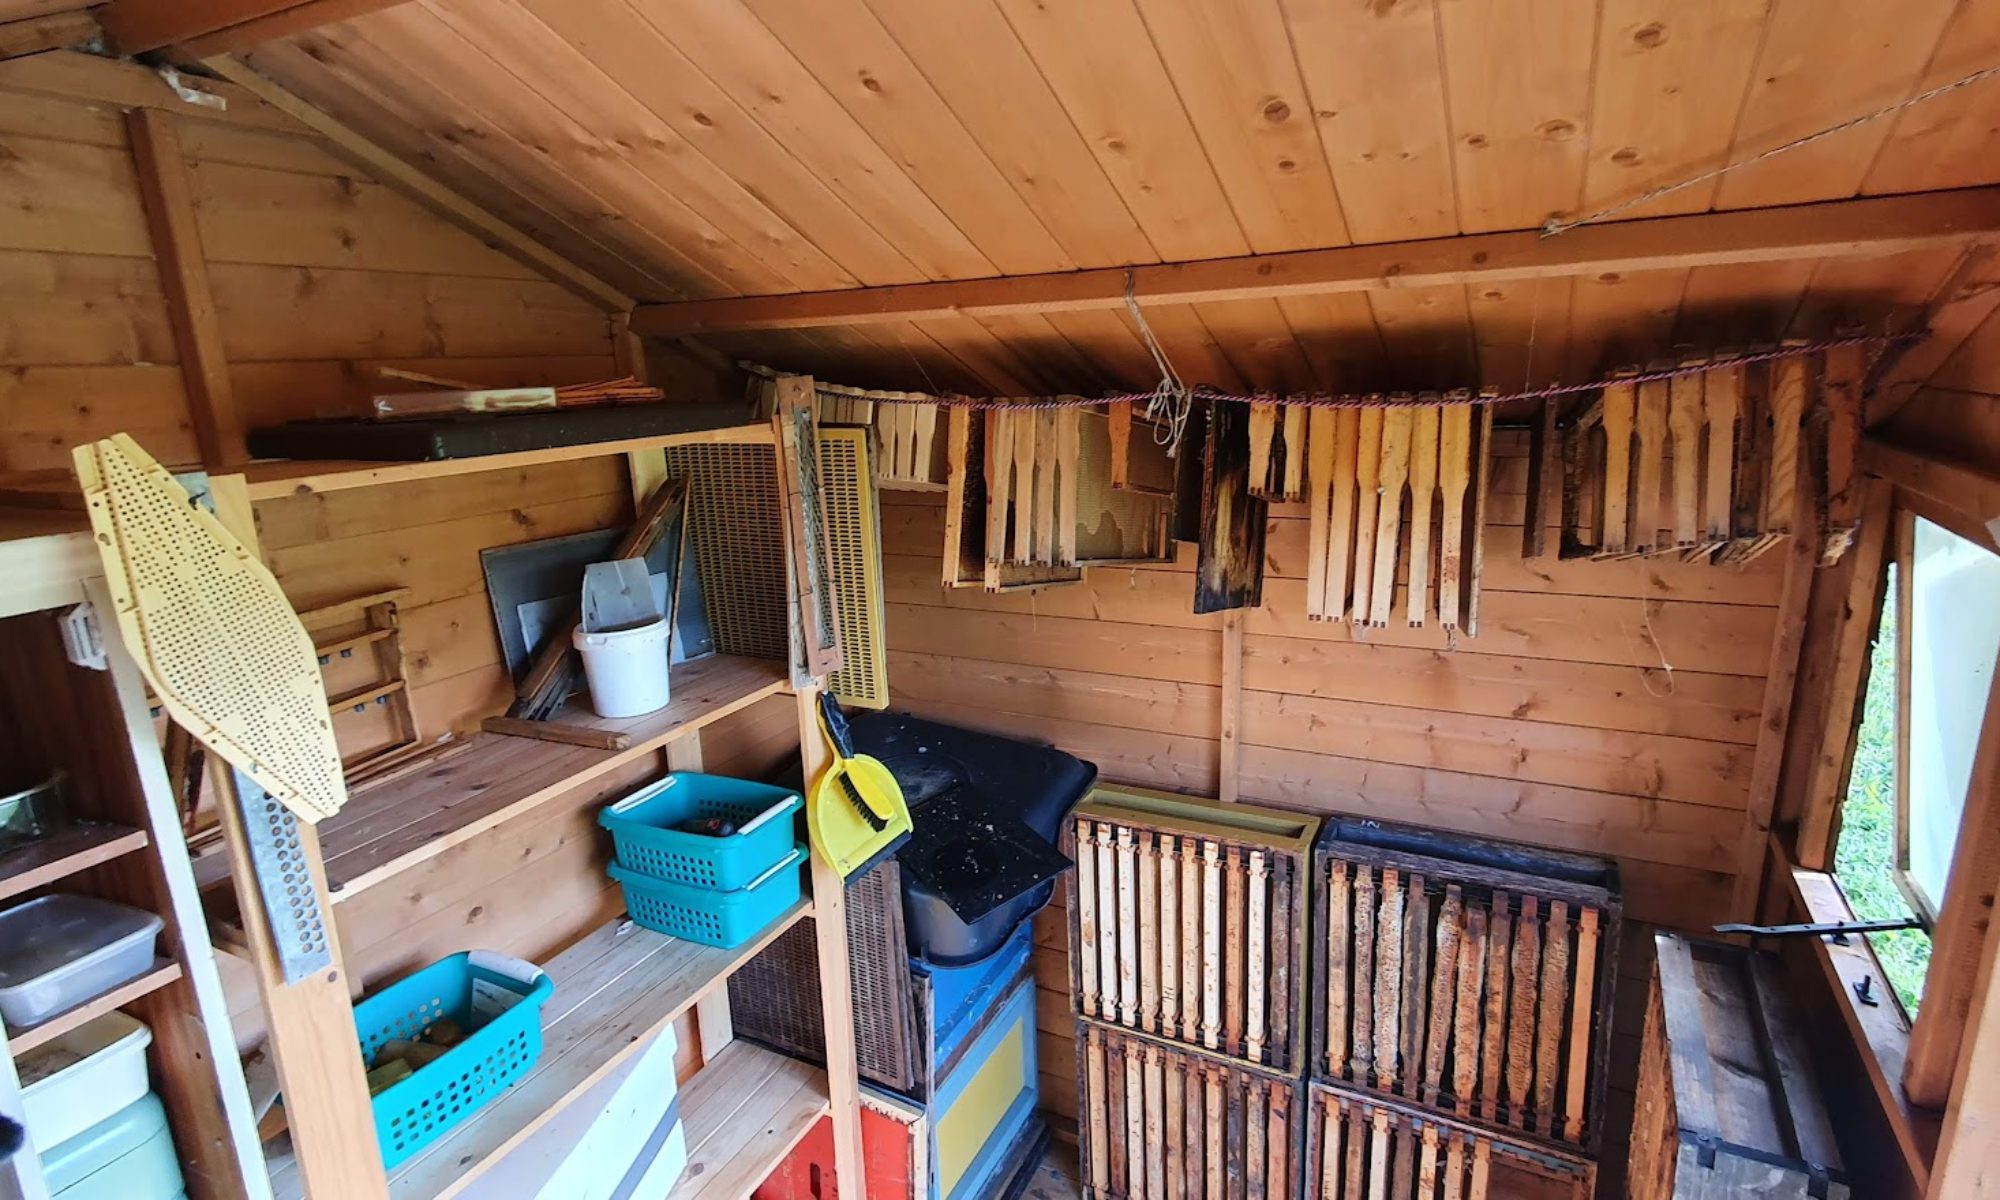
To help with making my hives being more transportable I decided to make a hive stand. One of the issues before in moving hives was not so much the hives, but rather the awkward size of the hive stands. I’d seen another that a friend had made and took my lead from that. Recognising the weight of honey that two hives can carry I decided to make it sturdy.
Shopping list :
Total = 37.60
Well, good enough I guess but the 2nd will be £9 because all that is used up is the wood.
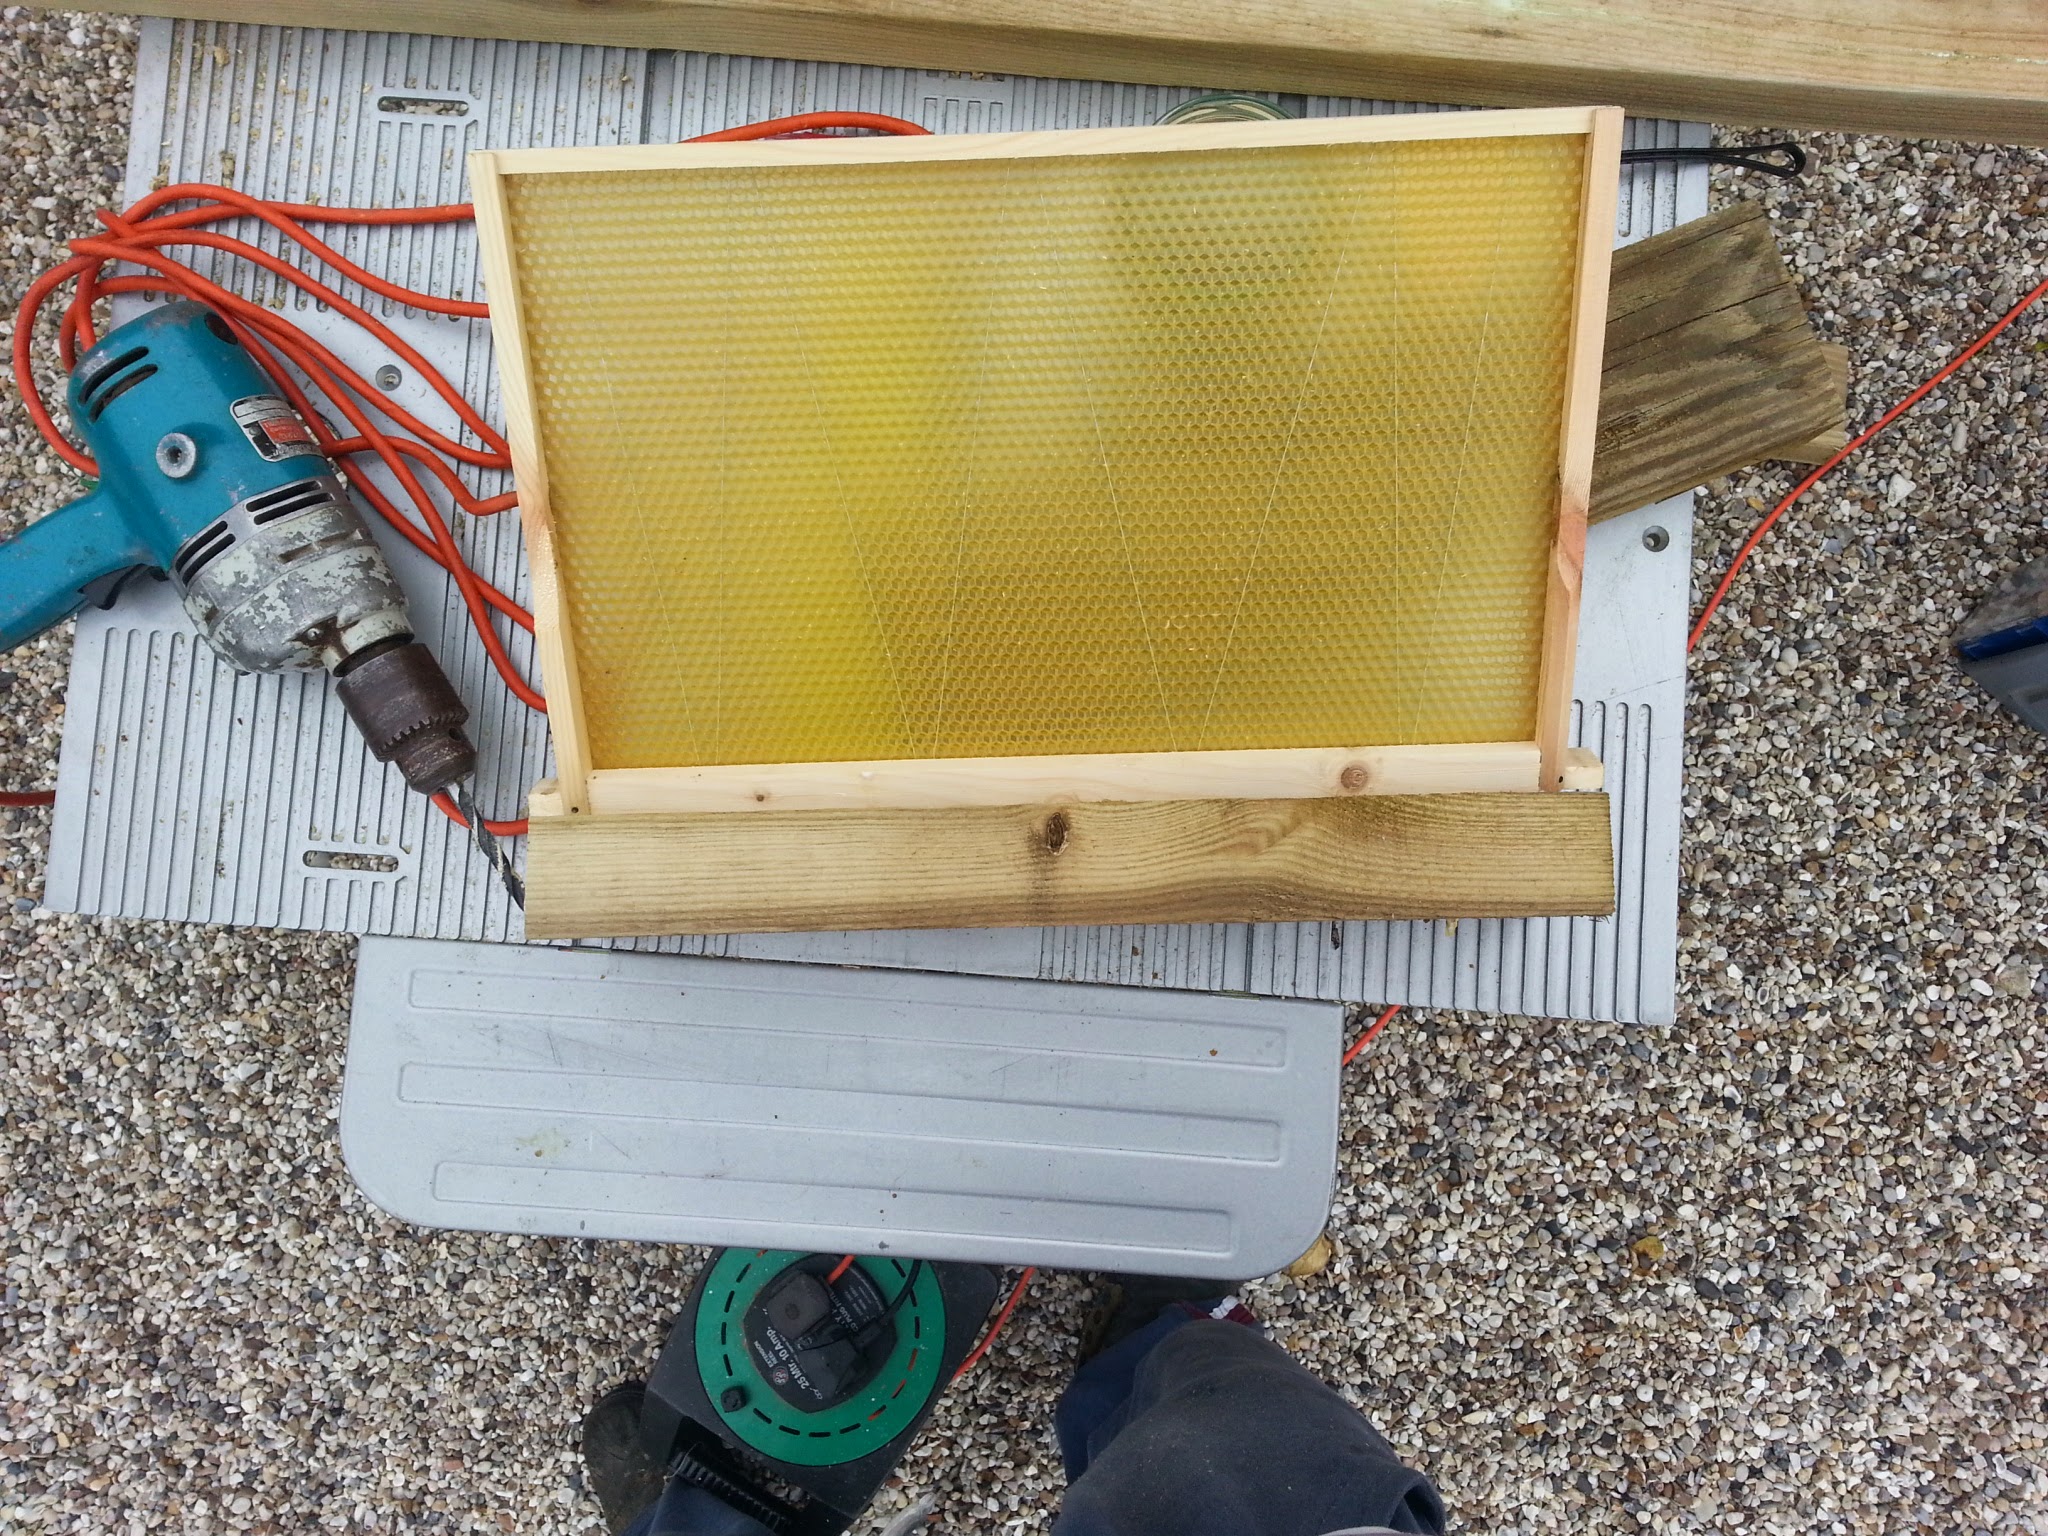
I don’t tend to take measurements in the classic way of using a ruler or tape measure. I make things to fit their purpose by measuring against what they are going to be used with. One of my aspirations with this stand is to make it so I can hang a frame between the side bars when I take it out. This is so I can take frames of bees out and not have to rest them on the floor (I’m not keen on hive frame rests). So the first measurement was against the brood frames, wide enough to fit a frame not so wide as to drop the lugs at the edges

The picture does not do it justice, but the lugs are about 1cm longer than the cross bar shown here.
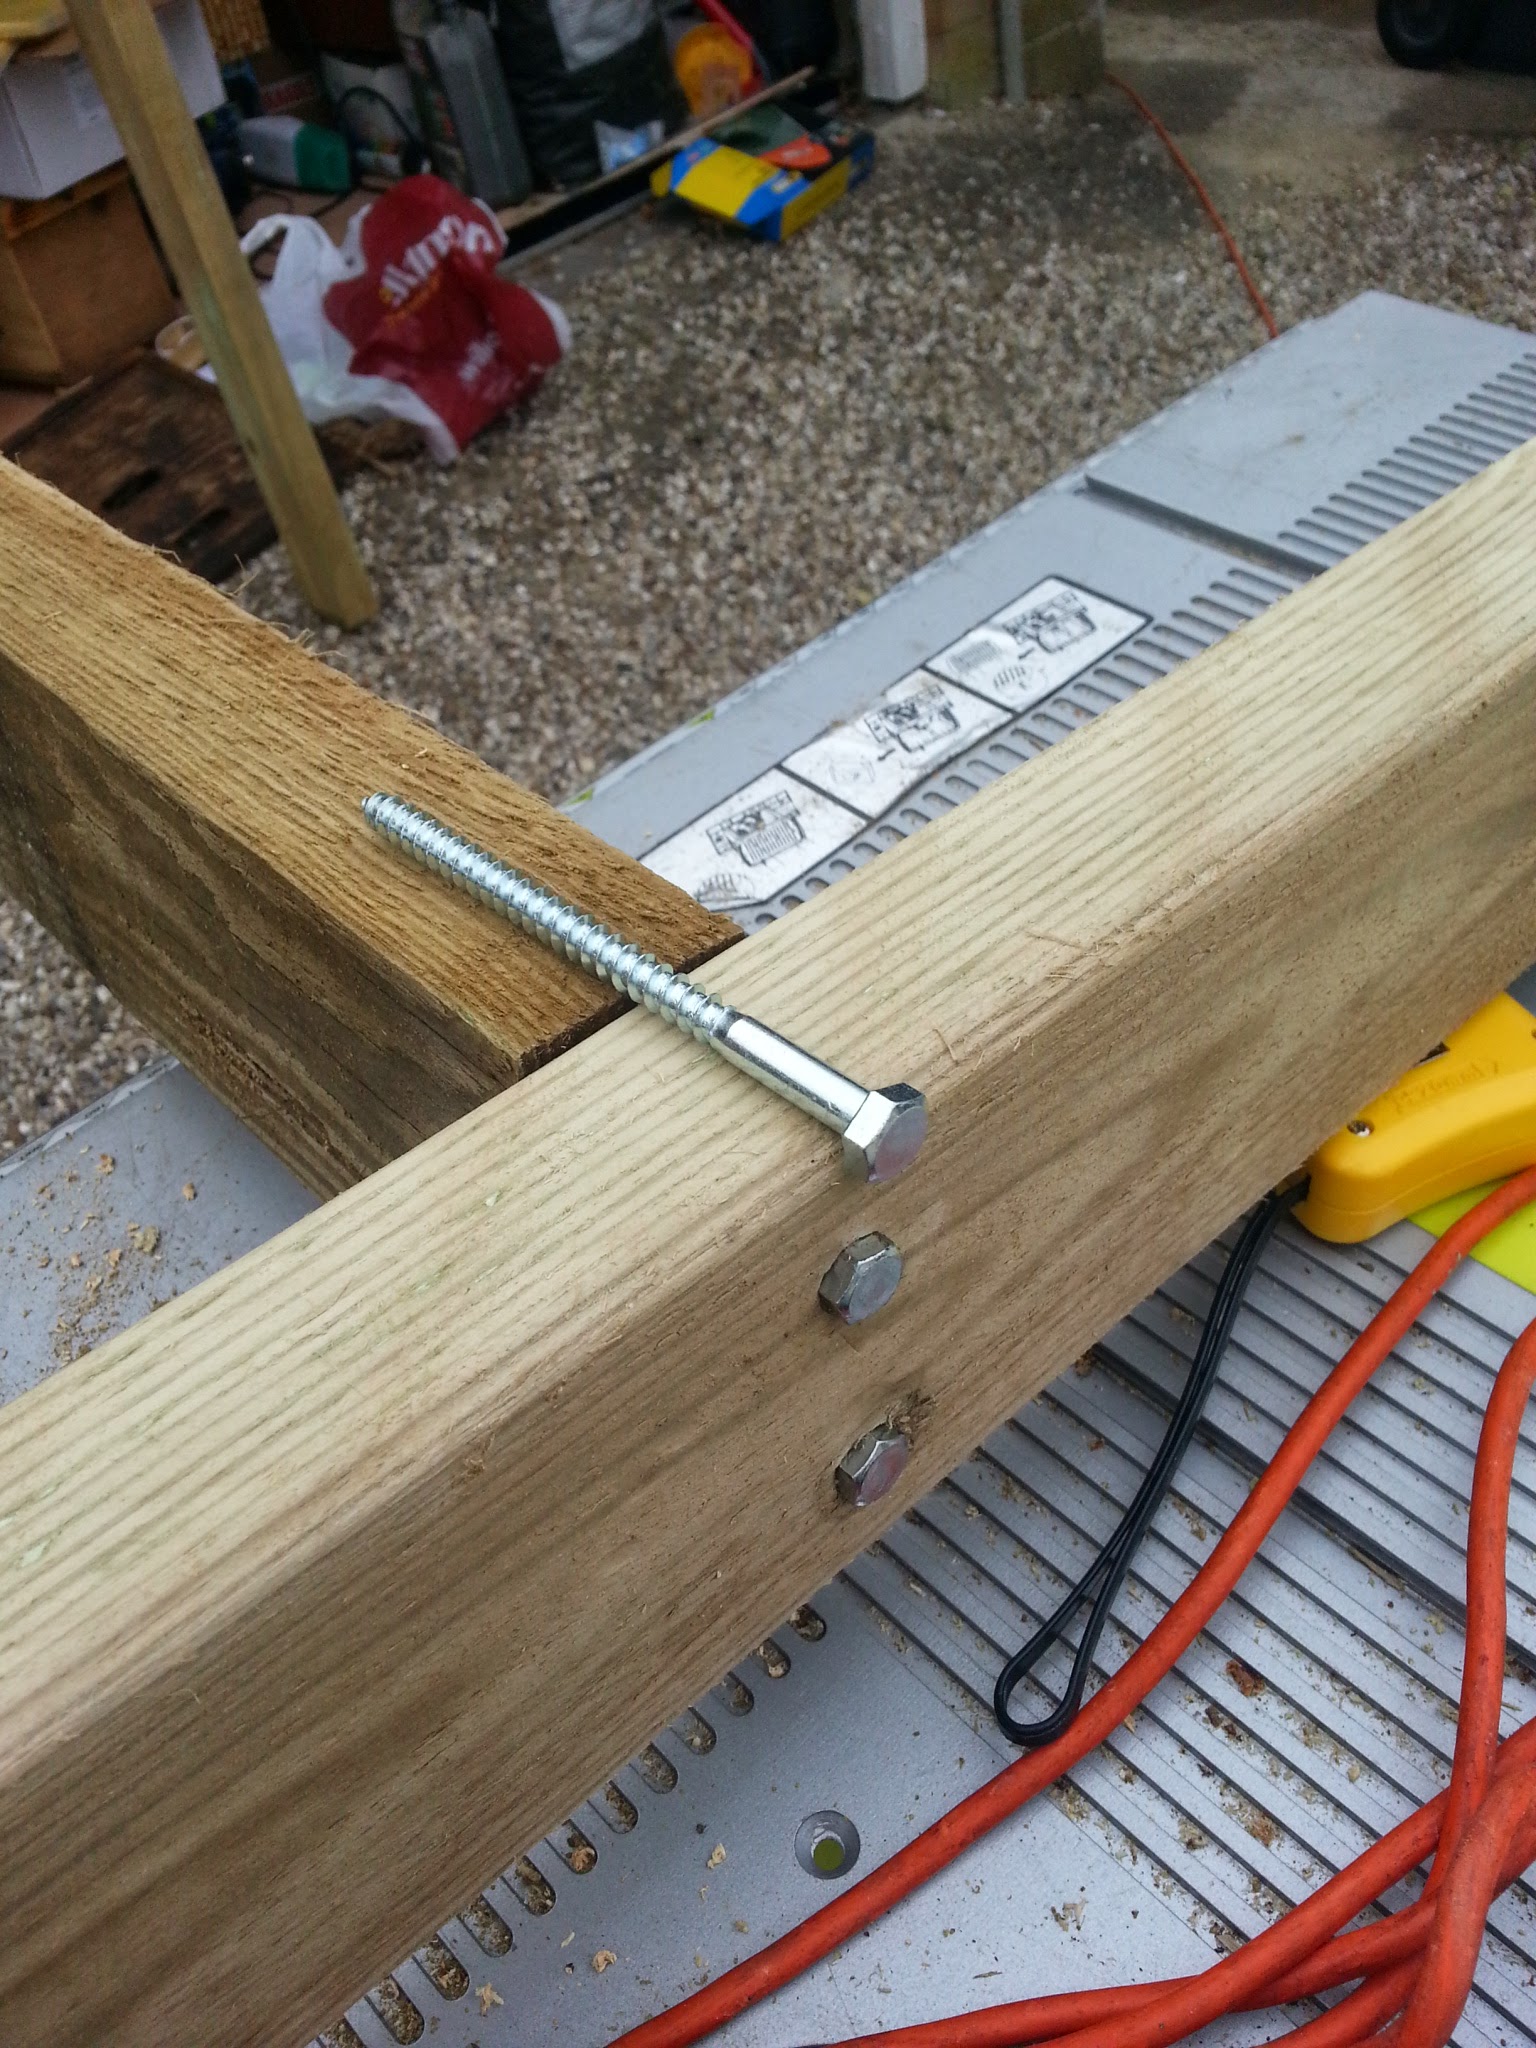
The next thing to do was to attach the side bars to the cross bars, I wanted it to be sturdy so I chose some hefty coach screws. I used 8mm metalwork all round, given the toughness of the unit as a whole maybe I should have used 10mm, but I am fairly sure it should be sufficient to the task.
 As can be seen below I might have overdone the depth of the screw, I didn’t want to do things by half. Who is going to be the first to point out that its not weight bearing… ahh well wait a bit.

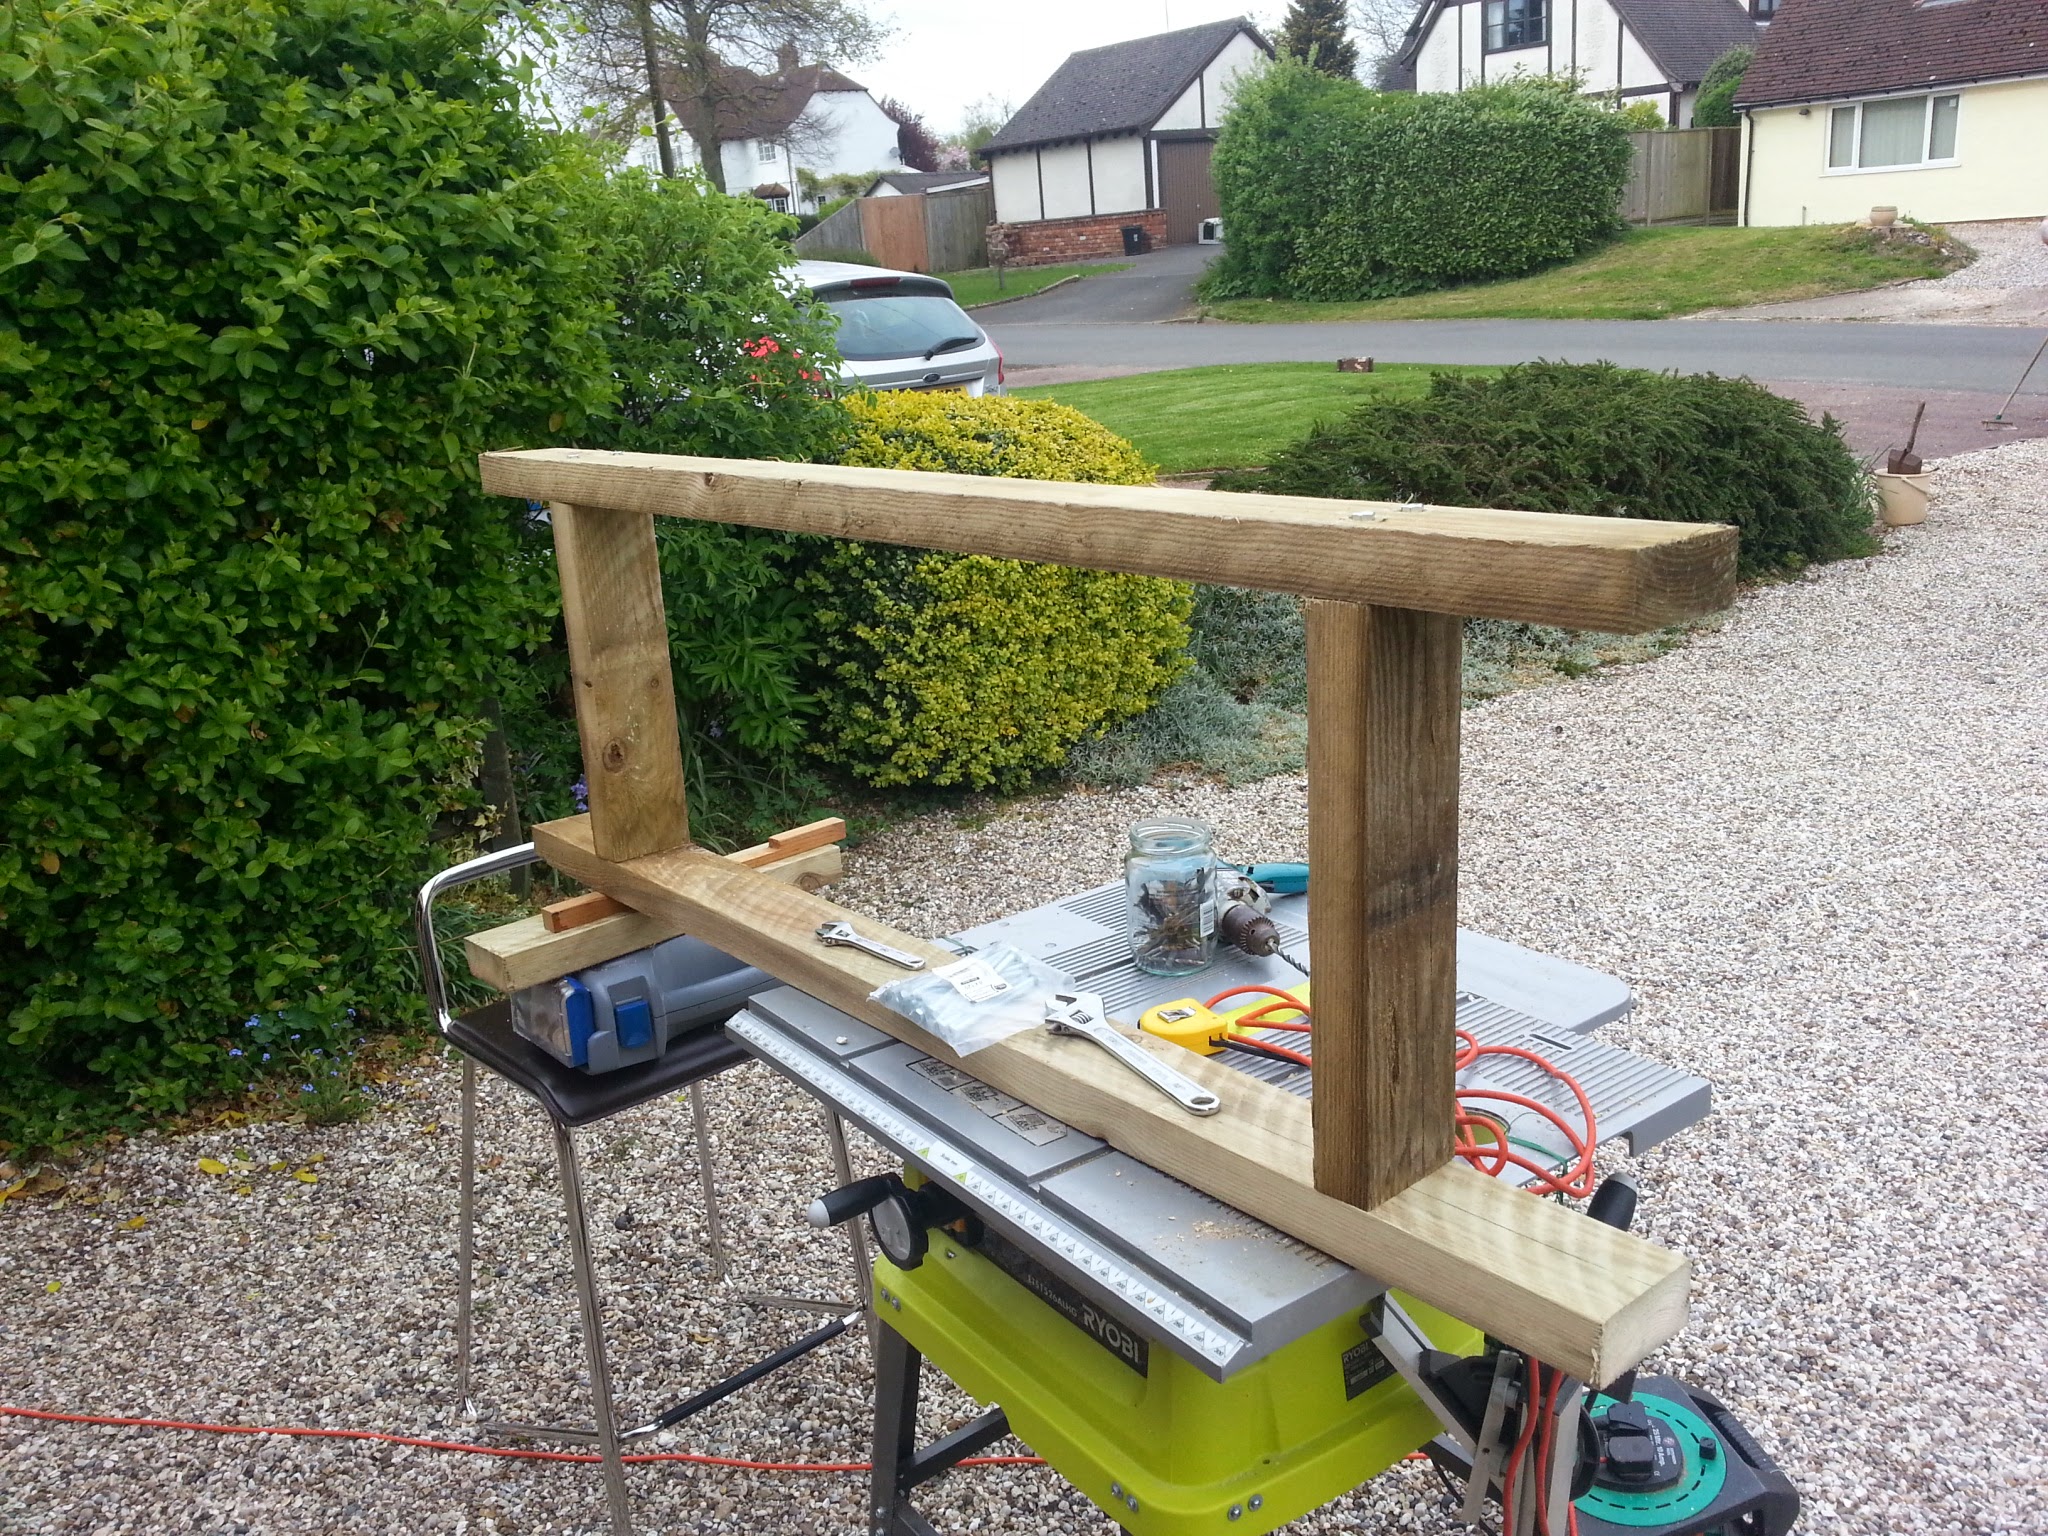
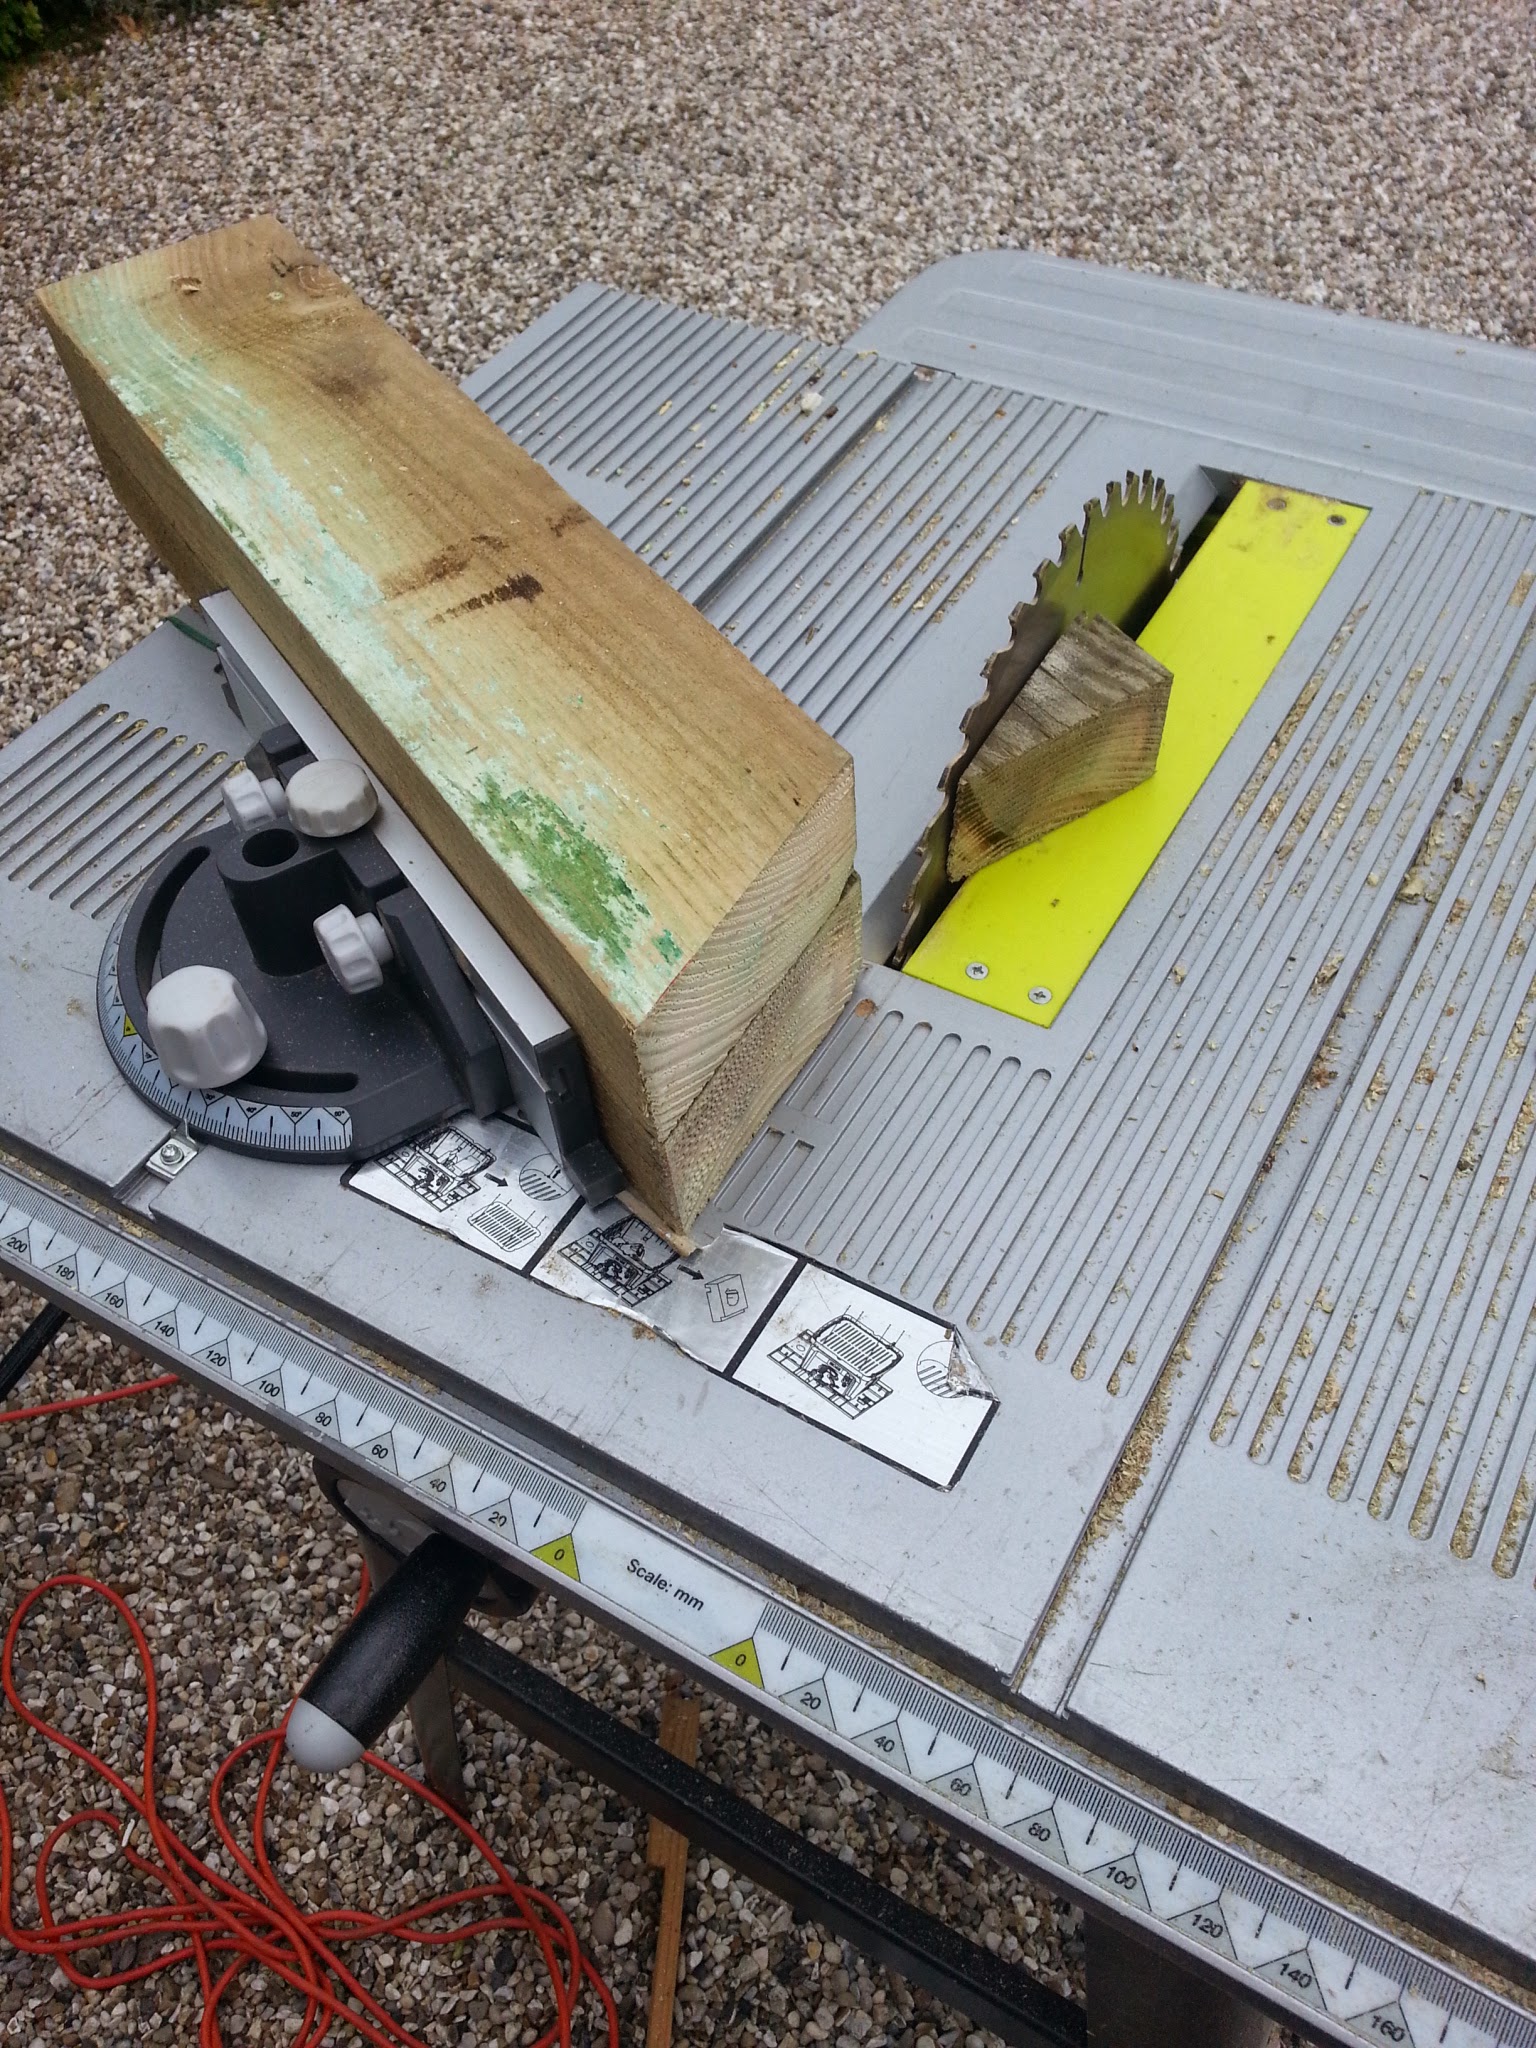
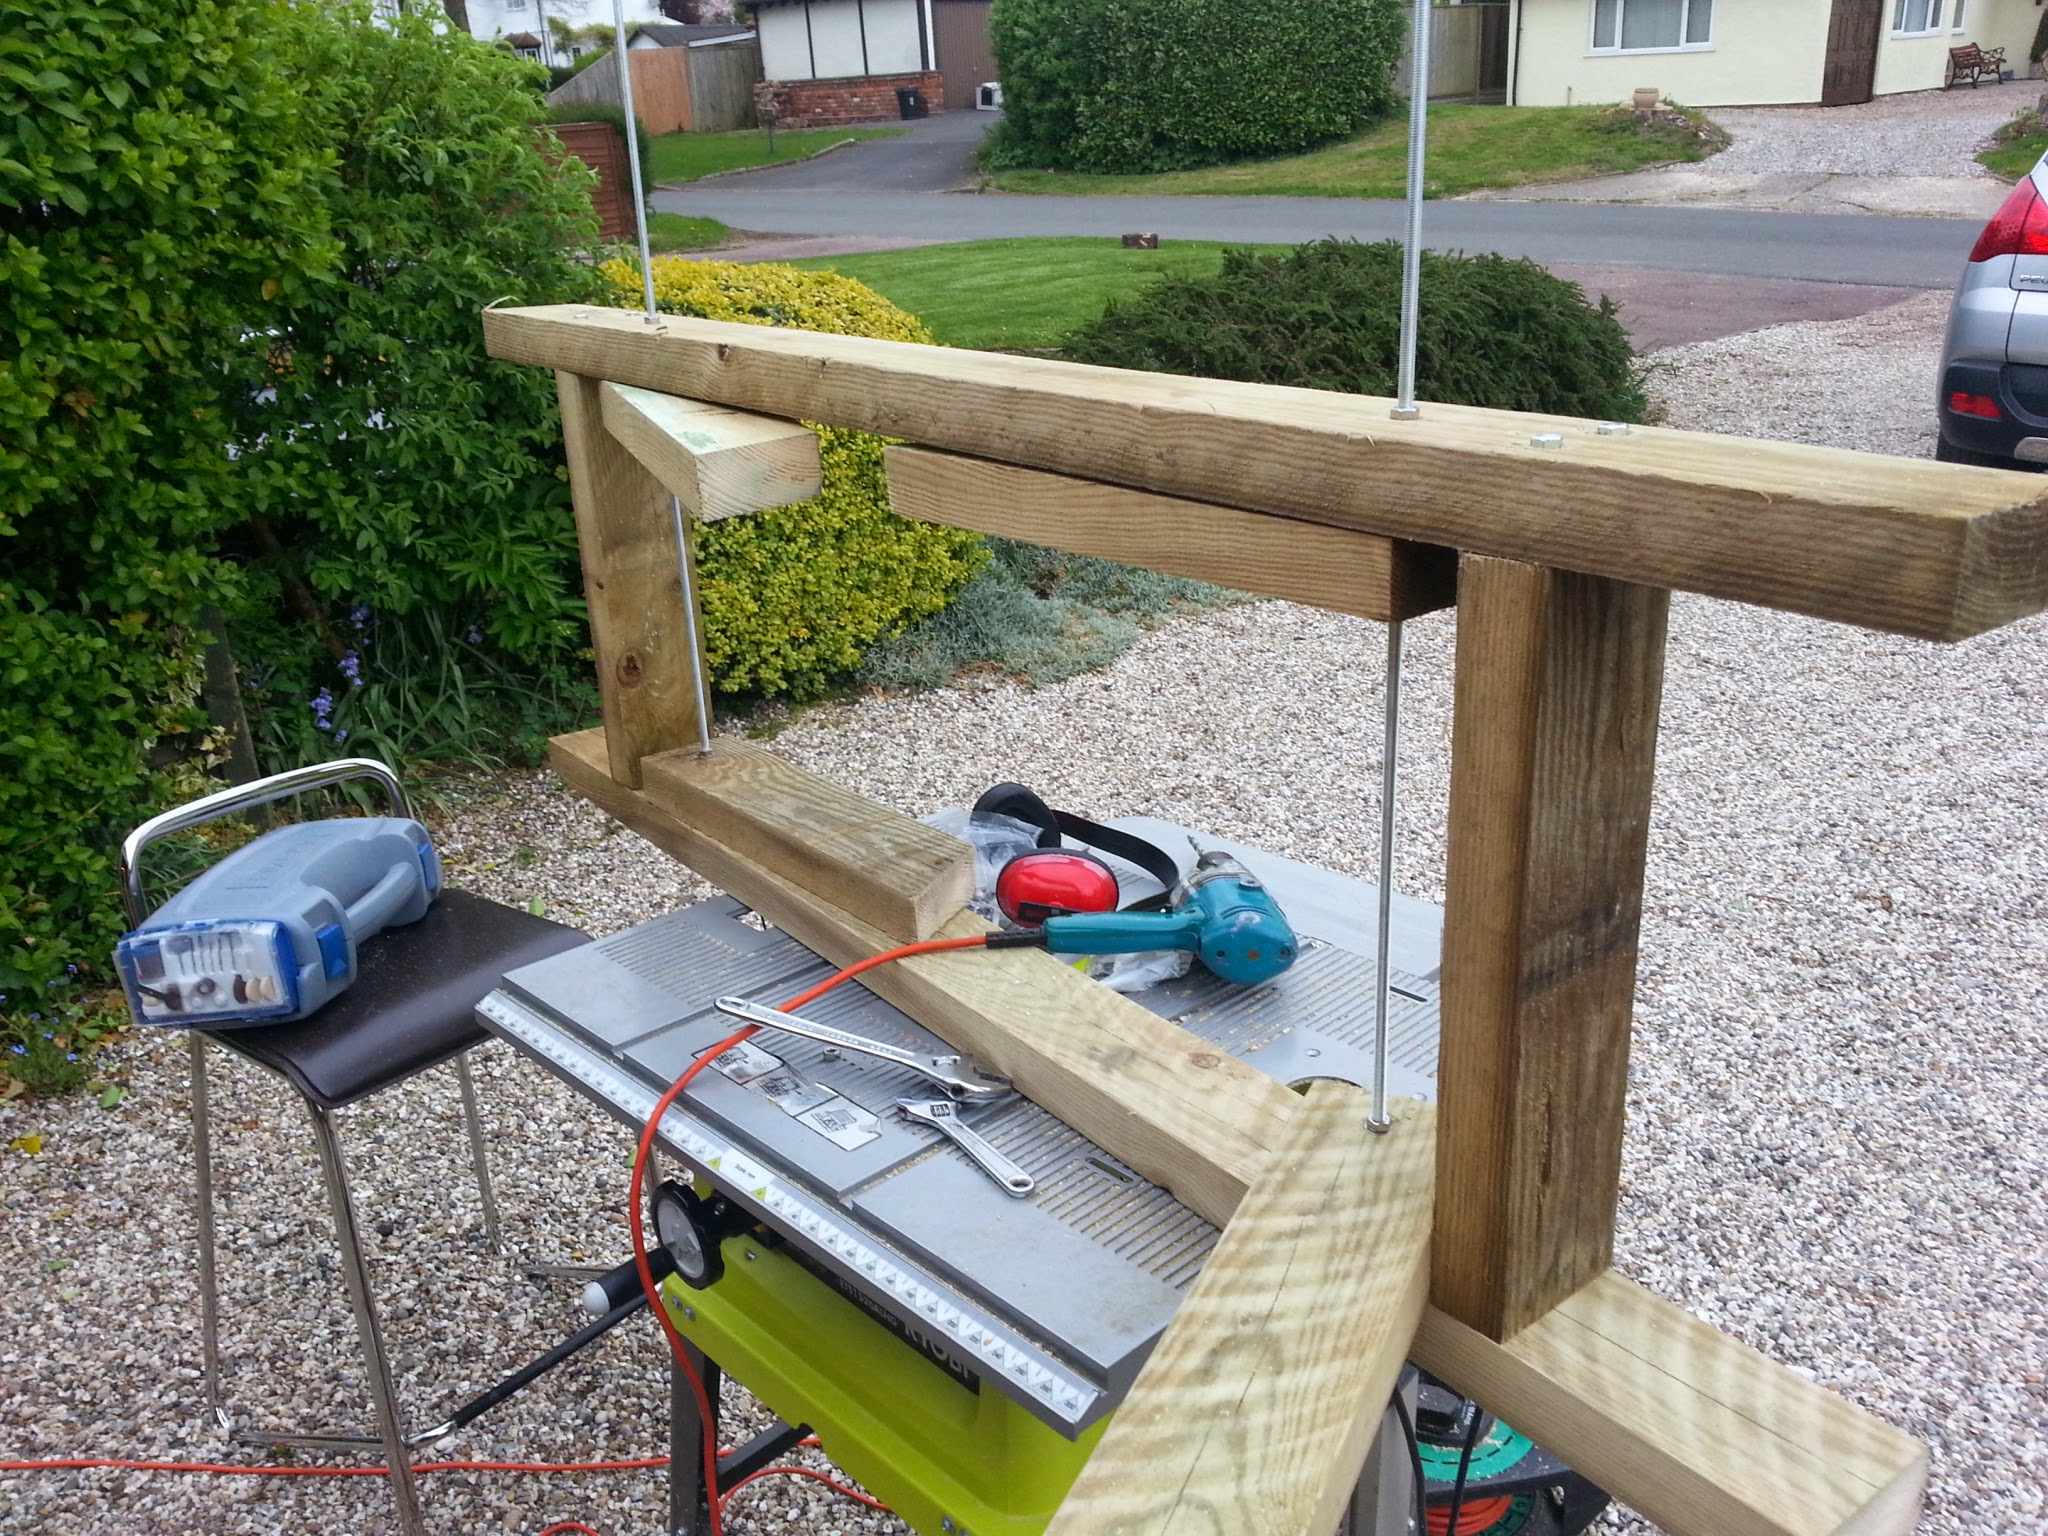
With the basic structure set it was time for the legs. Oh and note in this picture the use of a stool, a dremel case, a hive leg and an entrance block to hold up the other end. Don’t underestimate the usefulness of someone to hold the other end when dealing with such large heavy timbers. I definitely needed help when trying to cut the end of an 8ft 2×4. As to the length of the stand, the length was defines as comfortably being able to hold a hive at either end with a nuc in the middle; might just be able to get three hives on at a squeeze. 
The next step was the ‘feet’. Given the legs point outwards I wanted them to be flat on the floor, requiring an angle cut. This is where I did used two classic measurement tools. A tape measure to ensure the legs would all attach at the same relative point on the long bars and then a set square to make use of the right angles between the cross bar and the floor, to make sure the angle cut would be right. Before I get complaints, yes I know I have taken the blade protector off my table saw – don’t try this at home kids, its very dangerous.
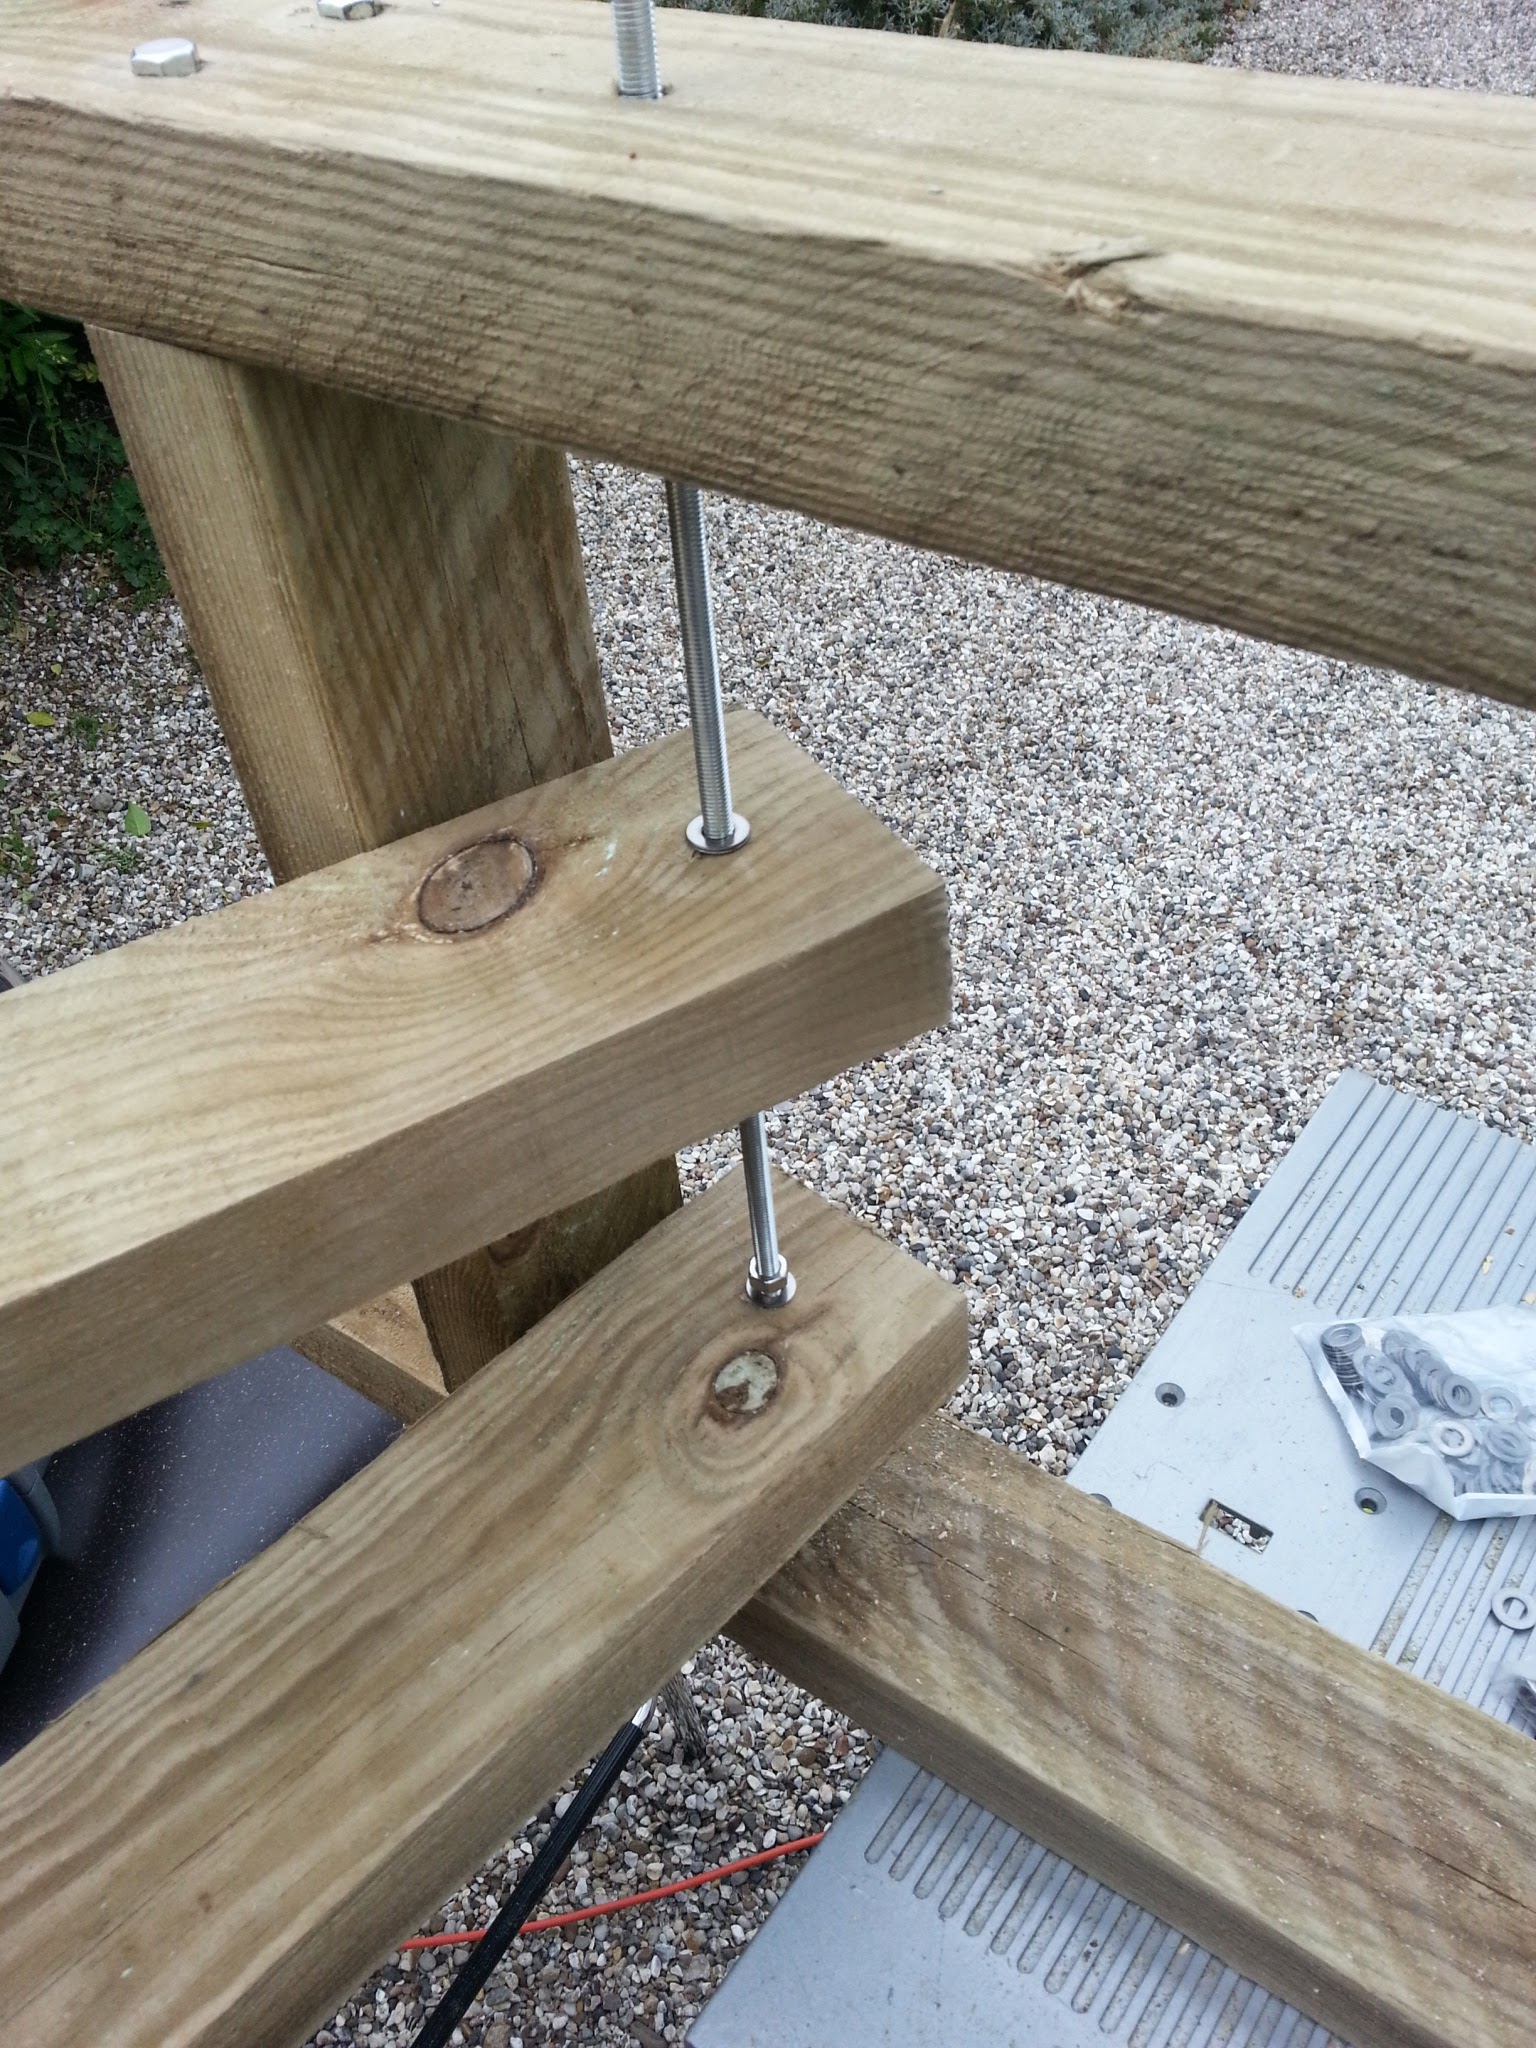
Attaching the legs with the threaded bar was next. I tell you after this you wont ever want to look as a nut again, not to mention a washer that keeps down falling down. Anyway, 2 washers between the side bar and legs to allow movement and a washer inside each nut to it would not cut into the wood (like it did on the coach screws, oops). 
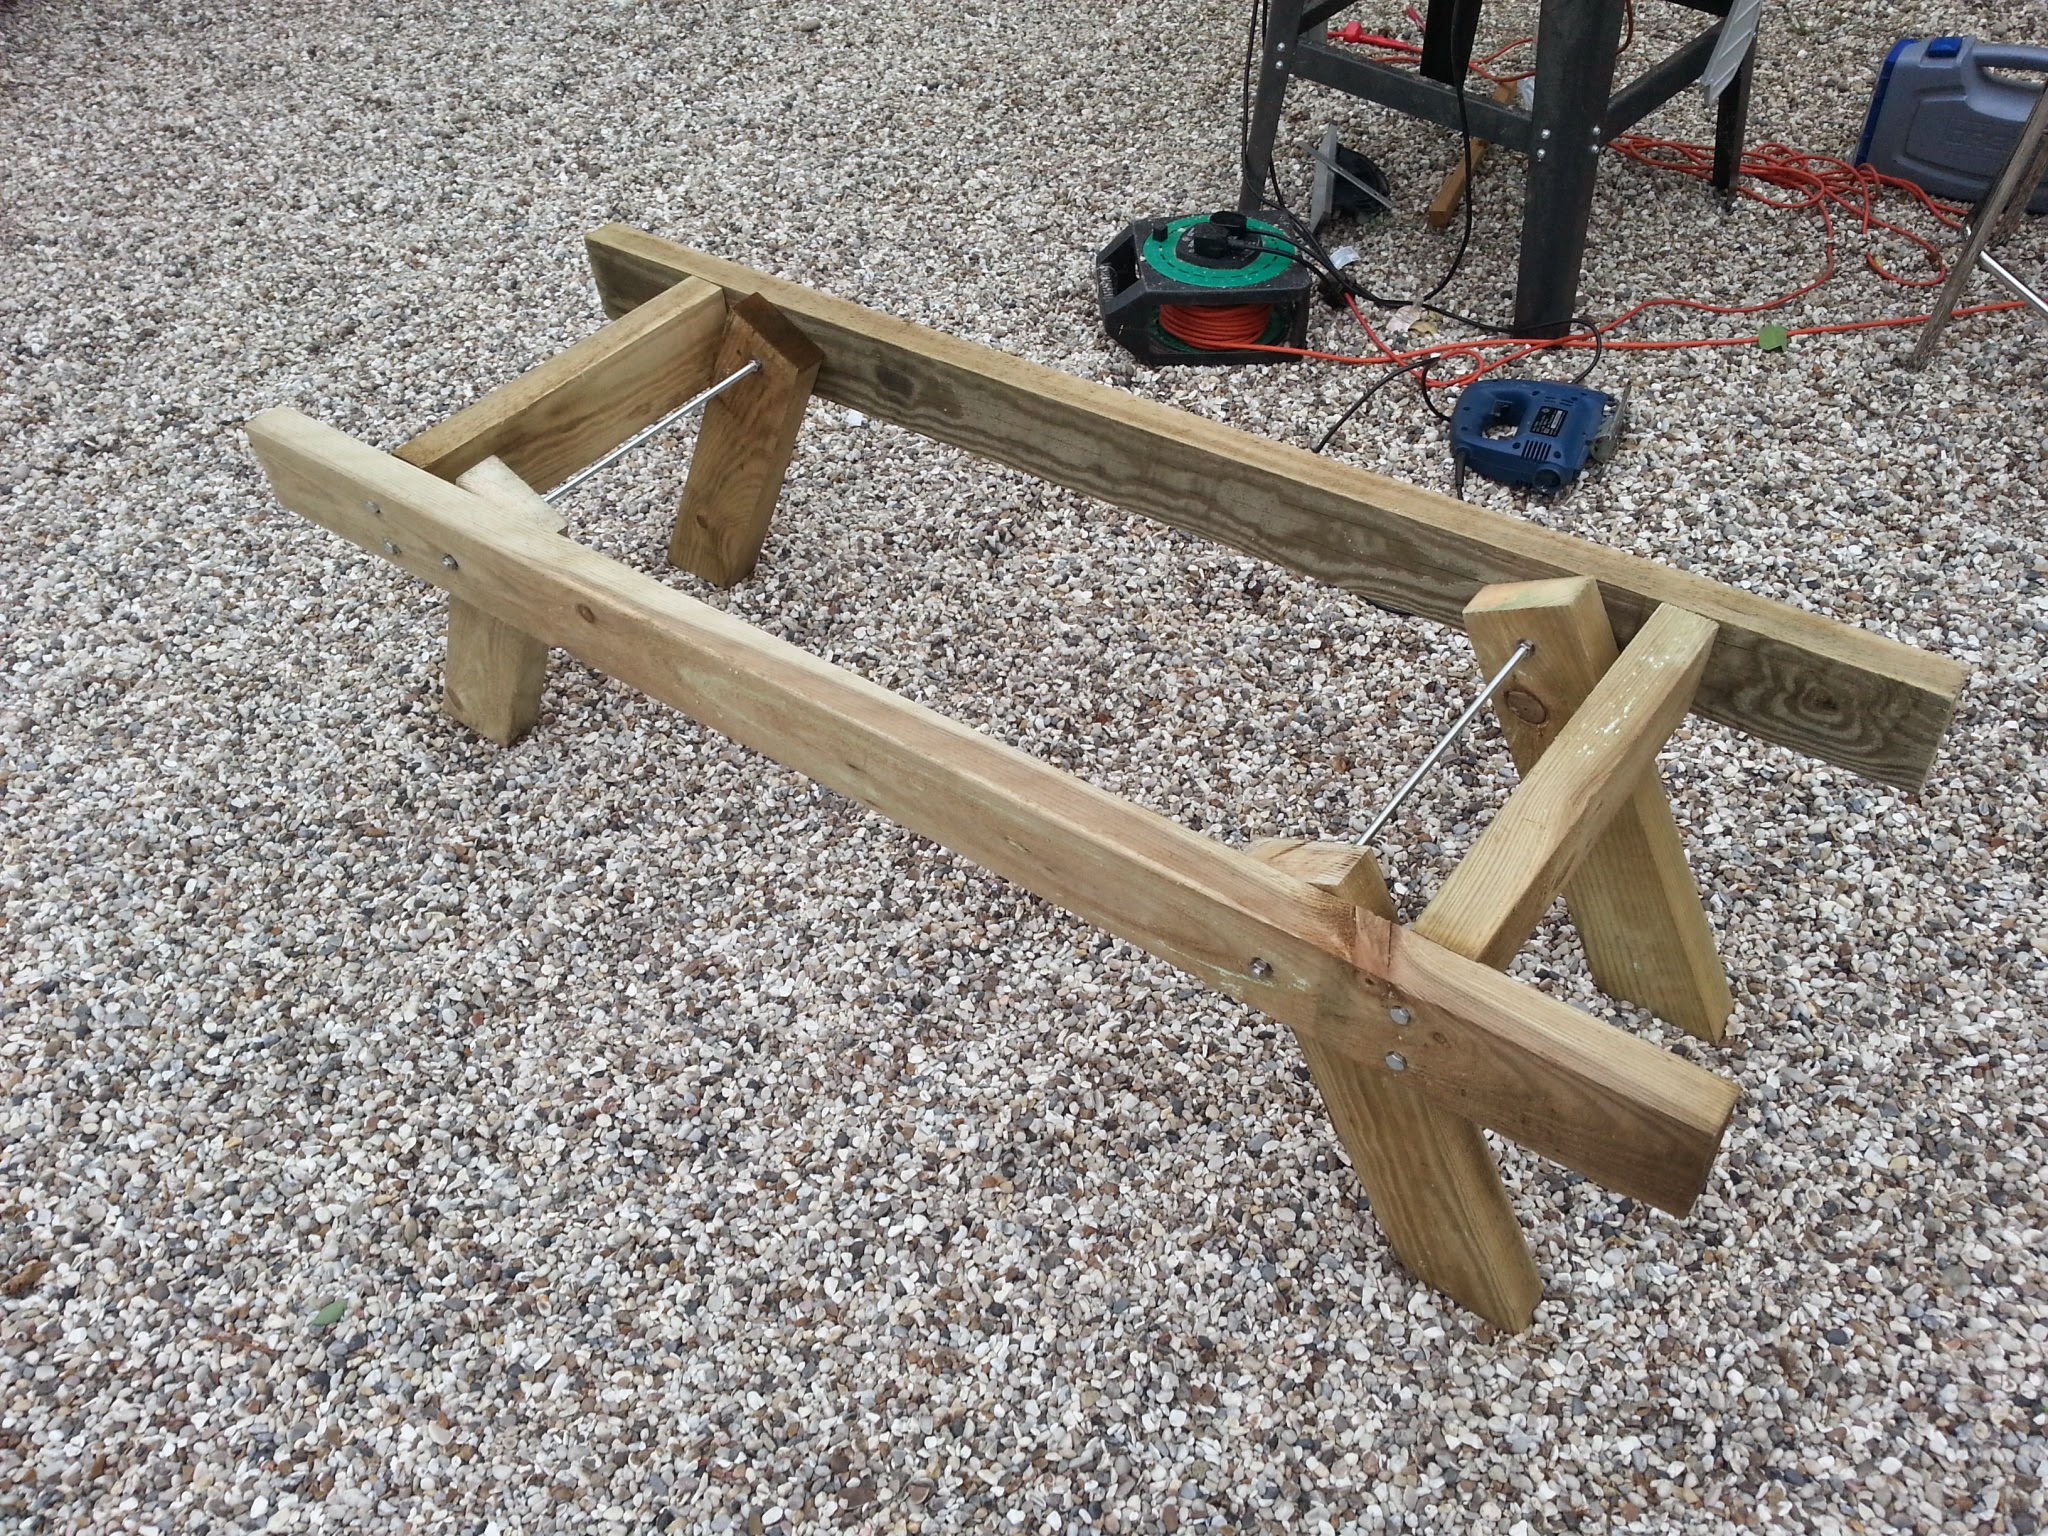
In this next picture you can see a couple of things. Firstly the legs fold in nicely for transport without meeting in the middle, an aspect that meant that I could not make the hive stand as tall as I would have liked, but it saved on wood. Secondly, something to remember next time, the screw bars are still a metre long, not that I forgot, as one you cut them you can’t get a nut on that end as the screw gets messed up. The issue here is that I wanted to cut it nice and close so it would not catch on things in transport, because it was in place I could not get the jigsaw in close enough that I had just found a metal cutting blade for, so I had to do both with a junior hacksaw. That took some time – lesson, plan ahead.
And here is the finished article (short of running round it with the sander to get rid of corners).

Now it is finished, what would I do different?
- Well it is heavy, so I would like it made of cedar to lower the weight.
- I’m not sure of the need for the threaded bar, maybe just long bolts would do. It would cut down on the time I spent spinning nuts down the threaded rod.
- Next time I will cut the bars with the jigsaw before putting them in.
- I would have preferred bigger penny washers between the legs and the side bars
- I will sand the wood before assembly next time.
- A friend of mine made a lighter and smaller one – I will see how he does with his this year and maybe make mine smaller next time.
I’ve not tried to fit mine in the car yet…