Change of plan & mating nucs

Bit of a change of plan. Following a chat with a fellow beekeeper, and the suggestion that combing over should not be an issue at all and was quite normal, I decided that I should try to raise all three queens separately. This was also helped along by the fact that I have a mean colony in one hive and a suspected failing queen in another.

Now previously I mentioned that I had prepared some mating nucs, so this seemed the solution here.  Looking at the frame the comb had increased overnight and now the cell I though was good because it was clear of extra comb was now linked to the neighbouring cell and starting to get its own covering. I cut between the paired cells with a stanley knife and then pried the combed over cells from the bar, leaving the partially covered cell on the bar and putting it back in the original hive.

Actually I left a step out there, I prep’ed and filled the mating hives with bees, using a correx nuc box to shake a commercial frame into each box. I put each cell into a wire cell protector, because I didn’t have comb on the bars in the mating hive and needed something to hold the cell. The entrance dial on each of the nucs was then turned to ‘vent’ to keep the bees in – don’t worry they had lots of fondant to feed on in the rear compartment. The bees will be let out tomorrow once they have acclimatised to their new home and queen cell.

Given the timetable of events the queens should hatch on Monday or Tuesday; I’ll pop back on Wednesday to see what has hatched.


Three, three, the rivals

So three cells have been made; three out of 30, but I only need one queen.

Well I say three, but two of them are heavily combed over, so maybe that means they are dead in the cells.

As I only need one I am going to leave them in the queenless hive and if they are all viable then they can fight it out to see who is going to rule the roost.

Today’s the day

I did my queen rearing today.

As the donor hive only had 4 frames of brood I didn’t want to leave them short at this time of build up.

I grafted tiny larvae from cells using a paint brush. I found that trying to see tiny larvae in a cell with a veil on and have fine hand eye coordination nearly impossible so I had to remove it. Fortunately the bees were smoked and calm so didn’t bother me.

I put the larvae in some plastic cell cups on a bar and put the bar in a frame. Then put the frame in the queenless hive.

I will now wait 9 days.

A little mistake

I, err, cough, chopped some queen cells down before finding the queen. Then I looked back and could not find eggs. OK you caught me doing something stupid and now I think it is queenless.
BUT, I have a plan. I have a much nicer queen that I am going to graft eggs from onto a cell raising bar and do a bit of ‘very early’ queen raising. The drones in cells just now should be up and mature by the time she is ready to need them.
In May I am doing a talk on Queen rearing and by then I hopefully will have something to show for this.
Although I hadn’t planned to start myself until about then, conditions are such that I should in this case and we seem also to be having a very early spring in terms of other colonies building up.
Why didn’t I just put a frame of brood from an adjacent hive in? Well we have three reasons there :
  1. On that site the queenless colony is the only live commercial hive I have on that site, the others are 14×12 national hives. Yes keeping bees on different sized frames is not a good idea, but I have my reasons.
  2. At this time in spring the other colonies only have a few frames of brood so removing a frame will severely set them back.
  3. If it all goes pear shaped I can do something else, but in the mean time – Plan B is to move the hive to another site where I can swap frames.


Seven is the magic number

On Sunday I opened a hive and found 7 frames with brood on. Not just national frames, 14×12 national frames, the ones with more cells per frame than a commercial !

7 is the magic number, it translates as time to put a super on.

Hooray, honey time !

In not so good news, I have lost a queen, my favourite one. Her colony was trapped in because the mouse guard got blocked with dead bees. I merged her colony with a neighbouring one because it was too small to requeen.

Oh and on one hive on Saturday I had 9 queen cells, half way to being capped complete with growing larvae inside. They are making an early start of that then… it may involve a lost queen though so…

…and how are your bees?

Mini nucs’ prep

Last year I went on a queen rearing course and at the end I bought some mini nucs. They needed cleaning first so I did that first.  Then I was left with an interesting design choice by the manufacturer of having a bottom entrance. So I decided to change it, cutting a hole in the front and adding a rotating disc opening restrictor; one of those things you turn to choose open, vented, closed or queen restricted. Well a picture paints a thousand words so here….

As I had cut out the new entrance with a hole saw I had a nice chunk of wall material with which I could fill up the old entrance.

Then I took the top bars and cleaned them up and melted the wax in the slot and used it to hold a new starter strip.

On occasion I have broken foundation sheets, either in storage or when trying to put them into frames. This is why is it a good idea to keep them. In the background is my jar for odd bits of wax, which can be used as hot glue or melted elsewhere for reuse.

Finally, my old friend correx (aka fluted board plastic) came to my aid as an inner cover which I am told is a good idea. Just cutting round the nuc as a template and then trimming a bit so it does not get stuck in the lid as you lift it.

Red is what I had, if they did clear that would have been better as I could have seen the bees through it.

All it needs now is a sugar tray for the back section, some bees and a queen cell.

Honey sales

The honey I harvested last year has nearly run out now so I had to diversify at my most recent farmer’s market.

image

Roll your own candles, or pre – rolled as seen on the left joined the beeswax polish.

Spring prep.

Whether you are new to beekeeping or an old hand there is always lots to do in preparation for spring which is not a long time away. 

With the bees coming out of winter with low numbers it is one of the key times of the year to get right or repent at your leisure.

So I thought I would start with a few key points.

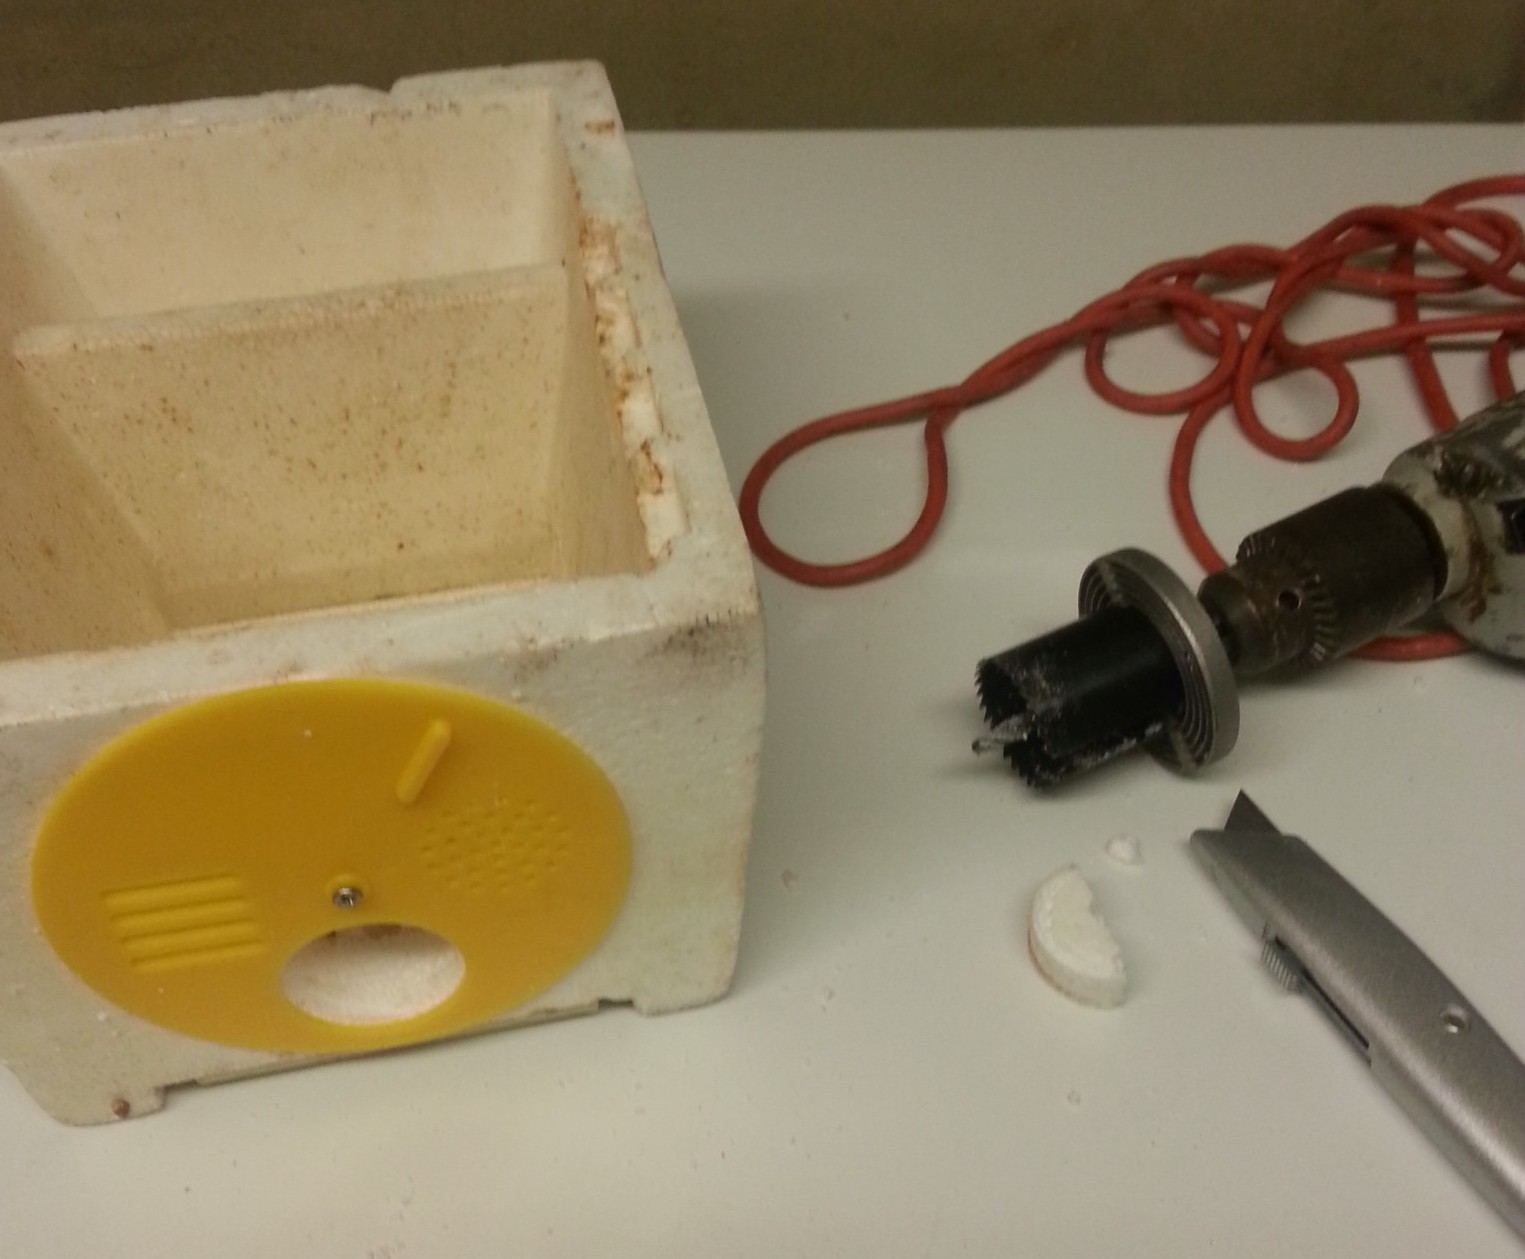
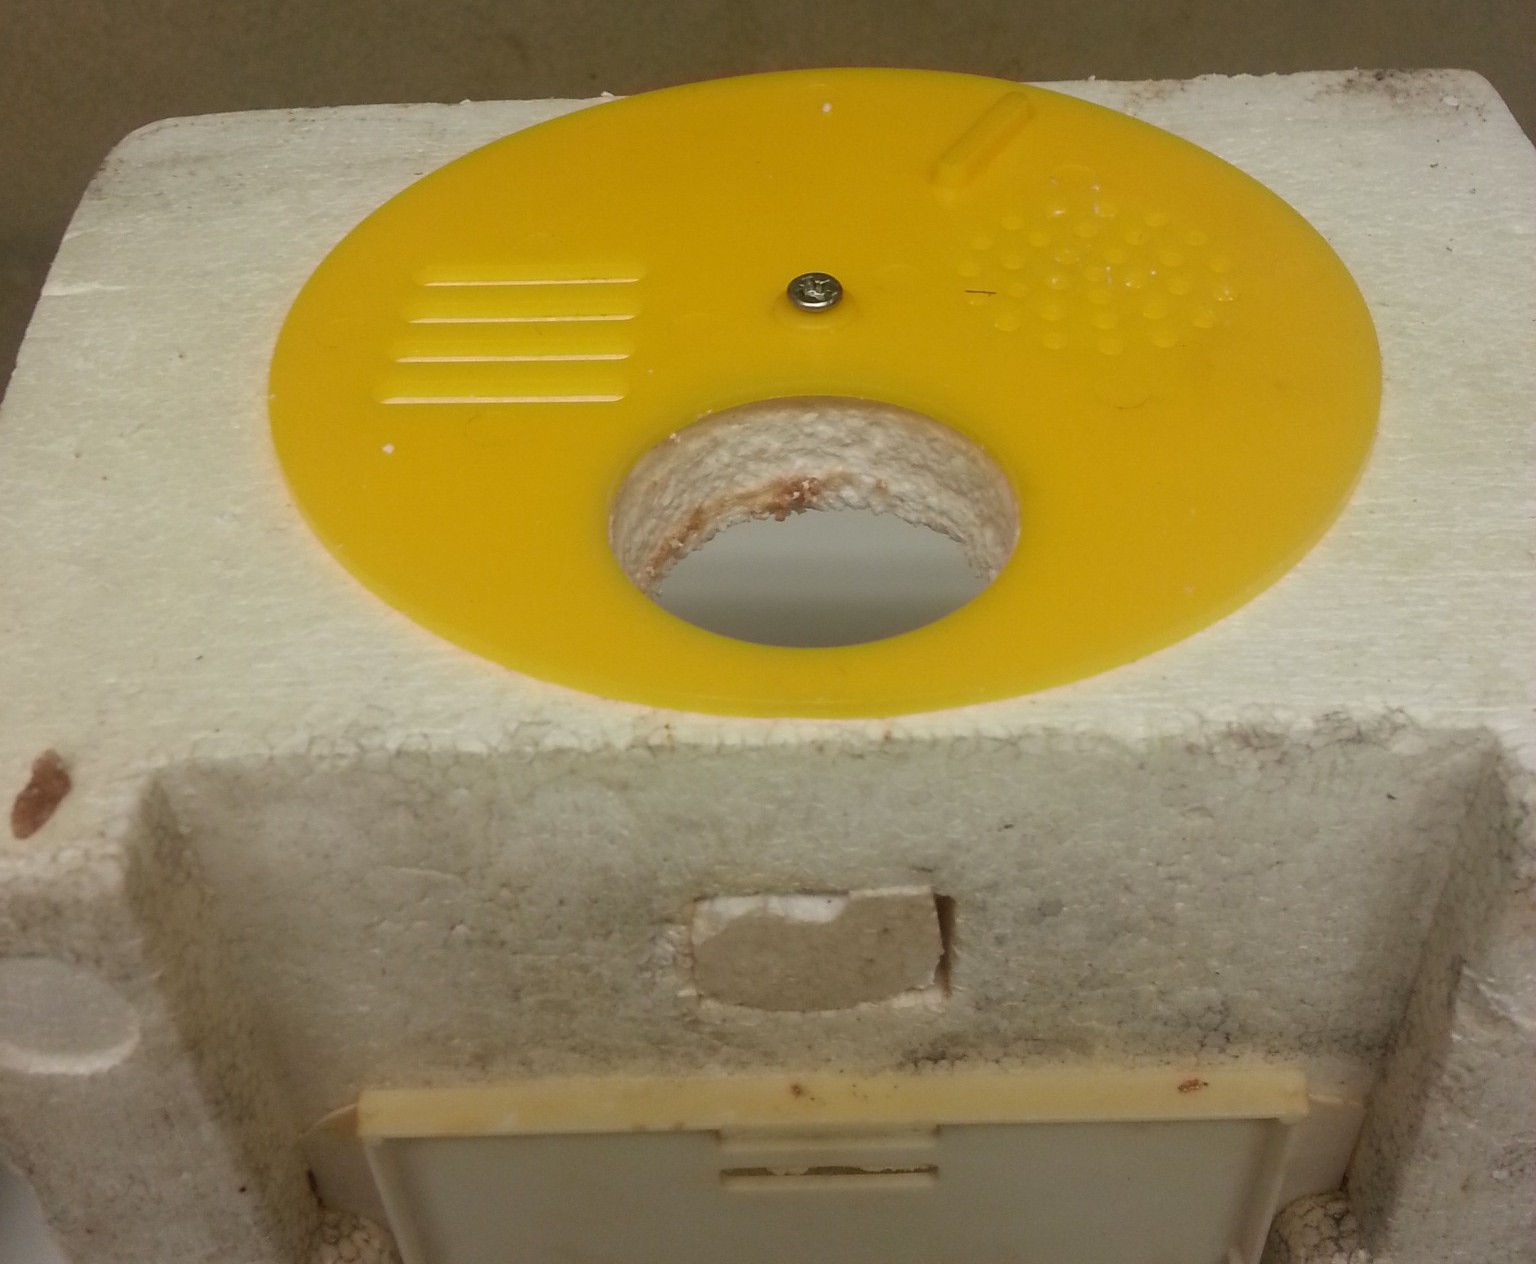
1. Purchase your equipment in advance. If you wait til you need it by the time you order, wait for the post then assemble it, it will likely be too late.

2. Increase your knowledge of beekeeping. Now is the time to take a beekeeping class. A thorough beekeeping class can make all the difference on how you can keep varroa mites under control, install a package, harvest honey,  trap small hive beetle and much more. It’s a different beekeeping world now. So much has changed so keep up with it all by taking a class.

3. Be prepared to know when to add hive bodies and supers to your expanding colony. I have a complete article and video for you to study so you will not make rookie mistakes.

4. For new beginners, brush up on how to install a package of bees. It’s really enjoyable. But watch my video first so you do it right.

5. Even though spring is close, do not let your bees starve to death now. Remember, bees need food and most colonies starve in late winter and early spring just before flowers bloom. Be sure to put on one of our Winter-Bee-Kinds to help your bees get that added nutrition to hit spring running. Be sure to select either 8 frame or 10 frame when ordering.


For those of you who have hives enduring the winter you need to have a plan ready as soon as spring arrives. I have some suggestions on how you can prepare yourself and your hive for spring:

1. First, DO NOT pull out a frame unless the temperature is above 60 degrees (f). Otherwise the cold can damage the brood. Warmer is better, but you can do a quick inspection if it is 60 degrees (f).

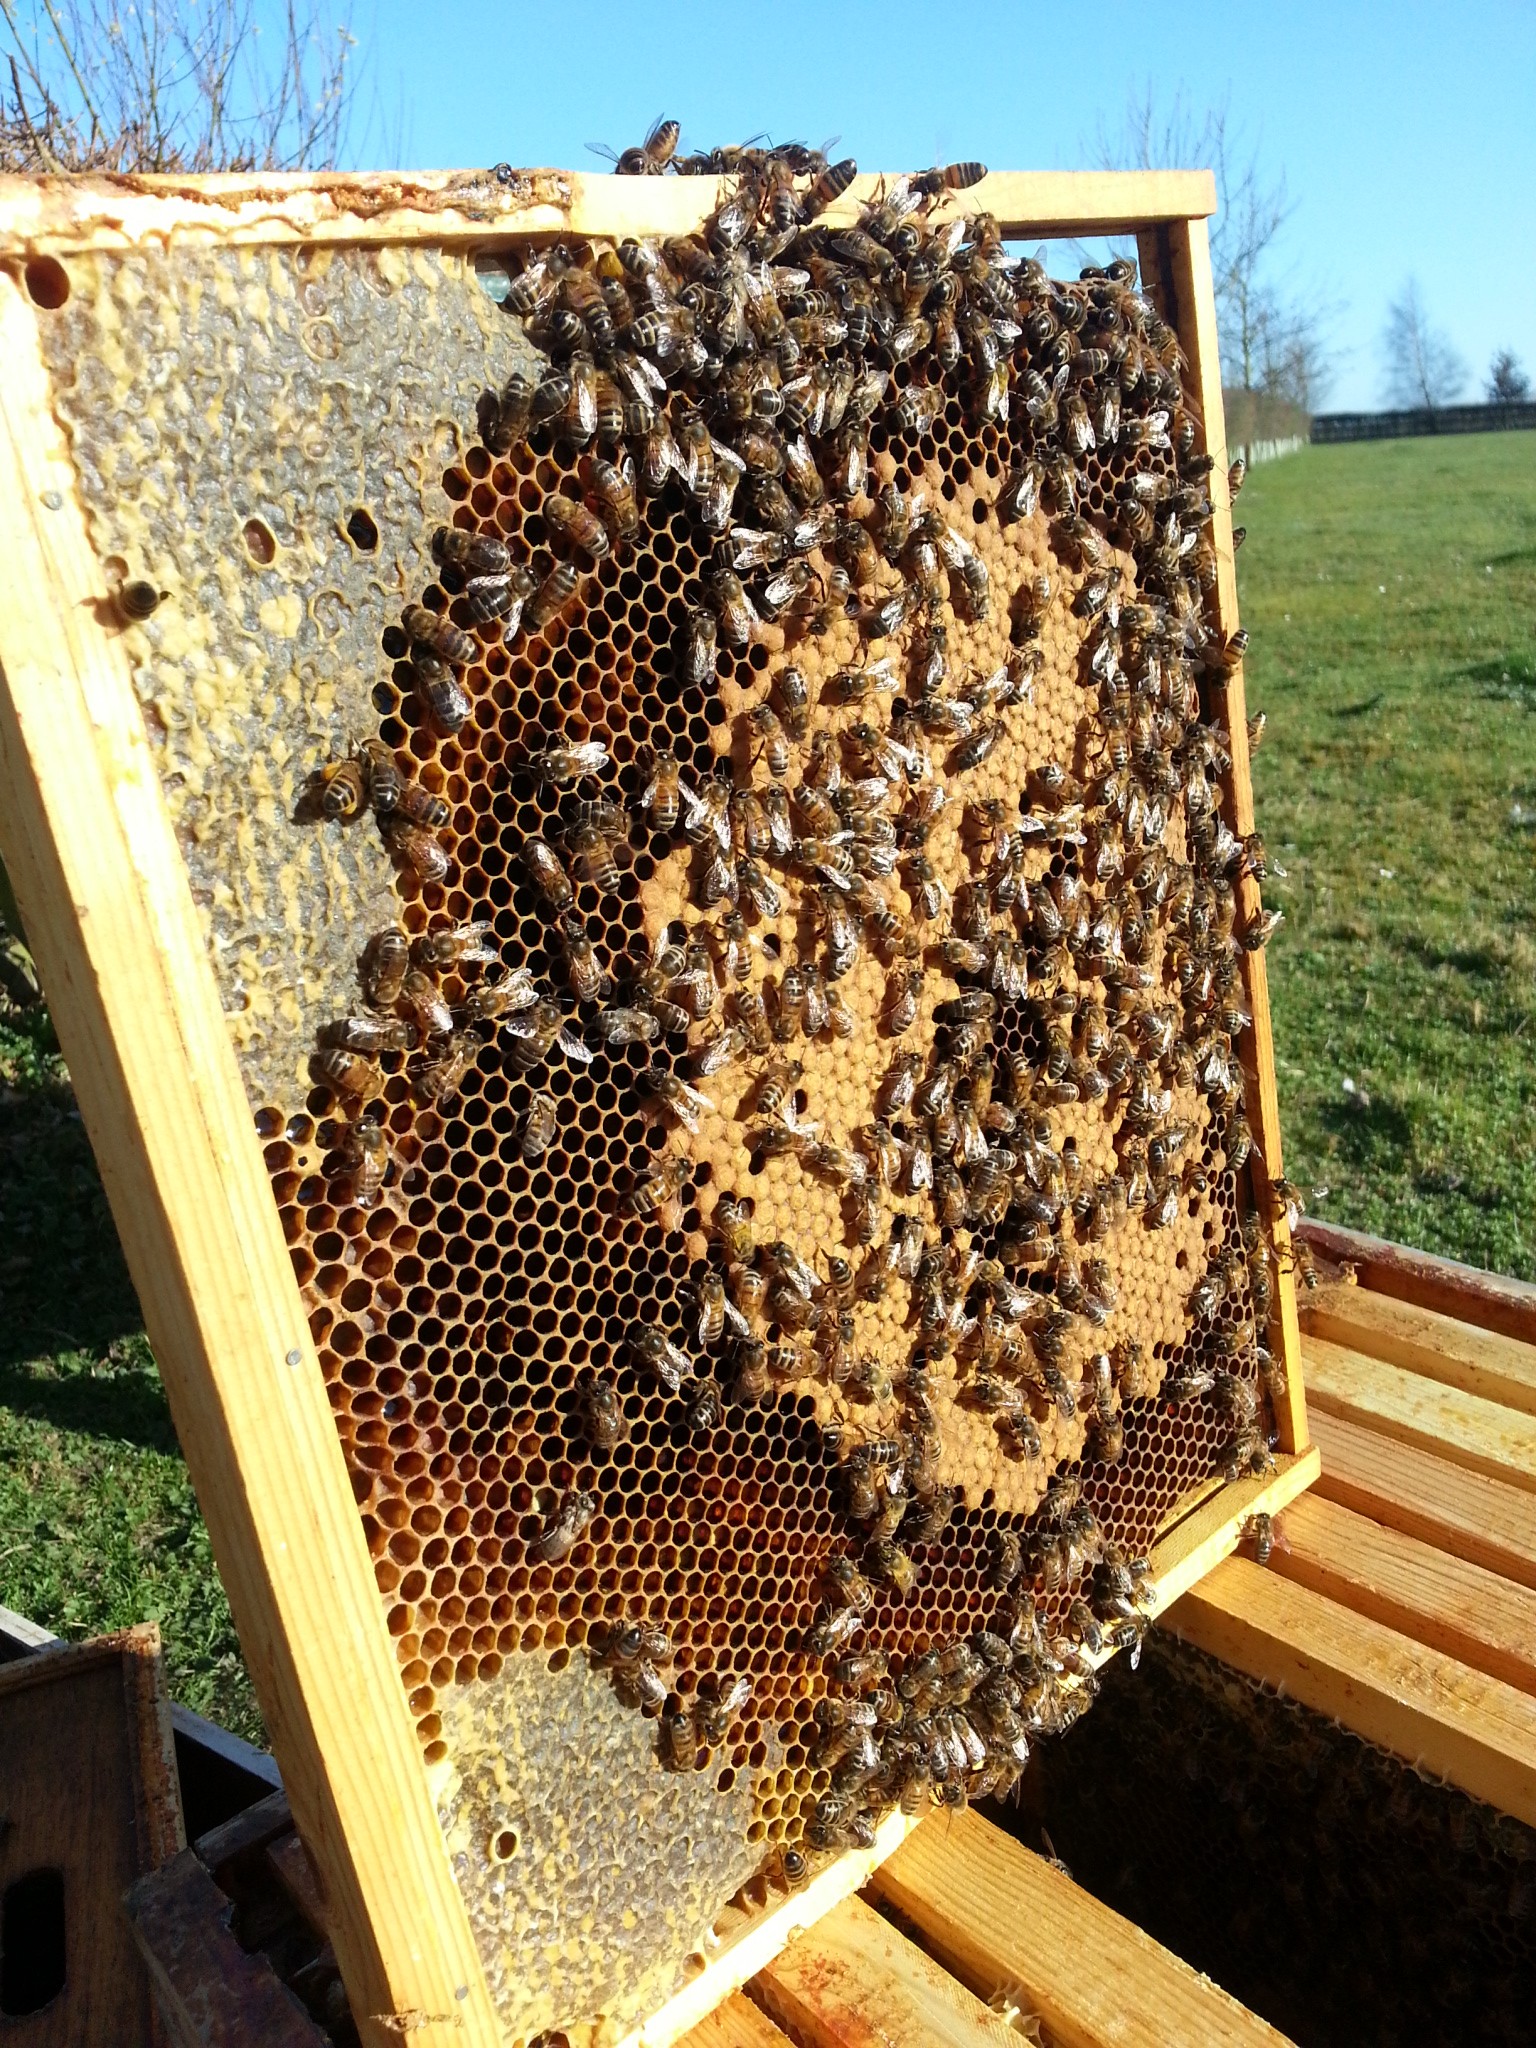
2. Once you can perform your first inspection you need to look for the following:
     a. Brood in various stages such as eggs, larva and sealed brood.
     b. Identify the queen.
     c. Assess the amount of pollen/honey. Add pollen patties or our Winter-Bee-Kind if low on food.
     d. Clean debris from bottom board.
     e. Determine how well the hive came out of winter in population. Are they low in numbers of bees are very strong?

3. Once you have performed your first inspection in the spring you will need to plan what to do to help your hive grow well. Questions to ask are:

    a. Is the queen laying well or does she need replaced?
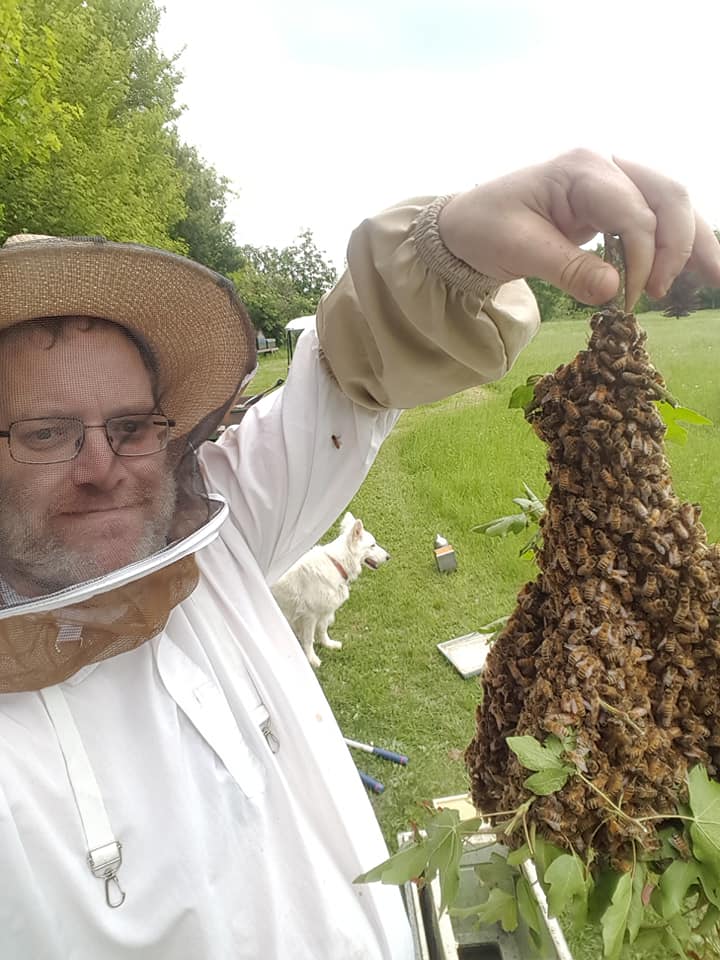
    b. Is the colony so strong in population that splitting the hive is necessary to prevent swarming?
    c. Do I have mites? Place green drone comb in each deep hive body to begin capturing varroa mites.
    d. Do I have small hive beetles? Insert small hive beetle traps, one in each deep between the frames.
    e. Determine if you need to place a honey super on for the spring flows.

These are important ideas and questions to encourage you to think now what you will do in the spring. For example, if you find your hive is very populated and you need to split the colony but you do not have another hive, then half of your colony may swarm. Be sure to have adequate beekeeping supplies before you desperately need them. Now is the time, while you are bored of winter, to prepare for spring.