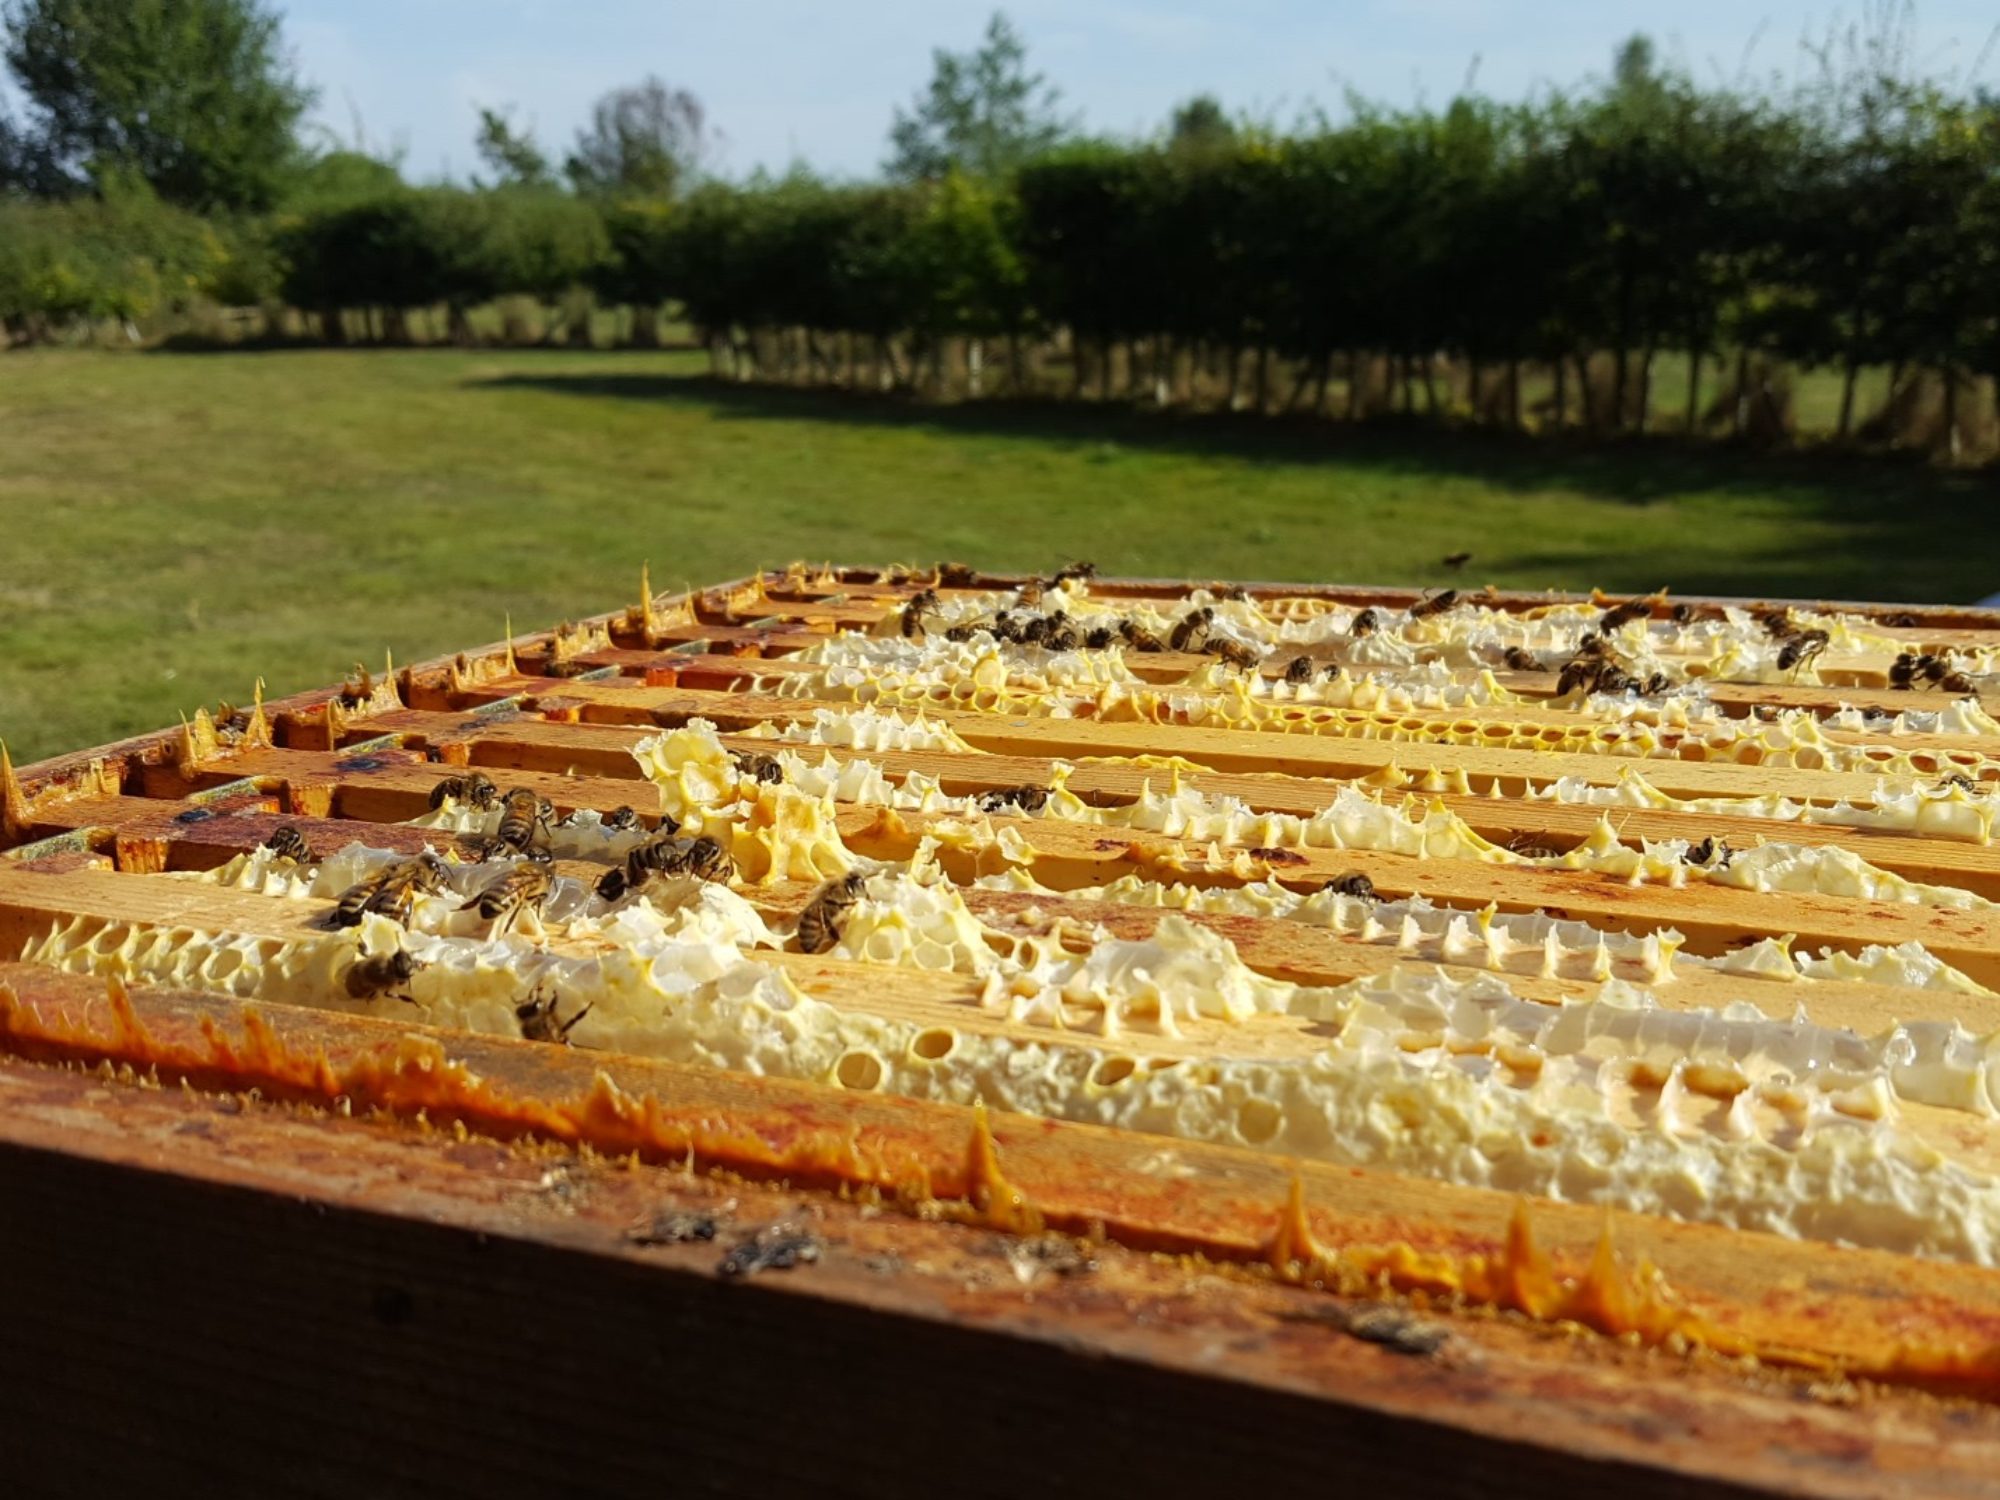
Last weekend was take up with processing honey in 2 ways – one “normal” extraction and the other Cut comb processing. I thought i would talk about them both a little
“Normal” Extraction

So for, I think, the majority of ‘modern’ beekeepers
Quality honey and some stories behind it
Last weekend was take up with processing honey in 2 ways – one “normal” extraction and the other Cut comb processing. I thought i would talk about them both a little
So for, I think, the majority of ‘modern’ beekeepers
Quick recipe – 1 gallon of mead
While brewing this I ALWAYS use sterilised equipment, we are growing a yeast in ‘ideal conditions’ which means anything that gets in there will grow nicely too. Pay attention to anything that touches the mix, spoons, siphons, funnels, etc. A quick rinse under the tap or dropping equipment on the floor then using it it not ok – the “5 second rule” does NOT apply here – dipping a finger in to “try a bit” can have consequences.
You will need :
My method would be
For the first time I have 2 queens running side by side in one of my hives. I was looking through my hive the other day and saw the queen and was quite happy that she was doing well, this year’s blue queen, born about the end of May. Then I turned over the frame and randomly spotted another queen, in lay, by the size of her, and unmarked. Now I have enough fun finding queens at the best of times, so I have no idea how I spotted her and I don’t know what they are playing at superseding so soon, especially as the first is laying quite nicely. Well I am sure they know what they are about…
In other news, I have found k-wing in 2 hives and as such have started treating for varroa, as it happens I also found a bit of deformed wing on the other 2 hives on that site. I have swapped to apiguard this year from my usual api life var, just cos I had it to be honest. A few weeks ago I went round and cleared off what I had assumed would be the last of this year’s honey; the borage was cut and everything was slowing. Or so I thought. I went round and took off another 4 supers in total. Due to a backlog I now have 17 waiting for me to extract – I had to climb a step ladder to get the top ones on the stack – sigh… I appreciate for many this may be a welcome problem, too much honey, but it takes a long time to decapitate (sic) & spin. And its a sticky job. And then you have to put the supers on a hive to pull the remains of the honey out (As such I have left a couple of hives without treatment for now). And filter the honey into buckets. And this is all before jarring, labeling, selling, etc.
Oh and for those who think “oh that’s a good amount of honey”, it all comes at a price. I’m looking down a £350 sales shopping list at Thorne’s sale this weekend and at some point I want to get a motor on this extractor so another £350. And earlier in the year I paid about £300 for jars, and £70+ for turpentine and linseed oil – it never stops just keeps going around… Vicky ( the other half) is going to start a spreadsheet, as I think I spend more than I get back. Still its a hobby and my other hobbies I have would cost far more if I was doing them instead (yacht sailing is very far from inexpensive and the bees have kept me off that for 2-3 years now).
Last year I made some beeswax polish. After a while I managed to sell it. People really liked it and asked for more. So this year, from my cappings wax haul, I decided I would make some more.
Equal parts beeswax and turpentine
* Wikipedia says
“As an organic solvent, its vapour can irritate the skin and eyes, damage the lungs and respiratory system, as well as the central nervous system when inhaled, and cause renal failure when ingested, among other things. Being combustible, it also poses a fire hazard. Due to the fact that turpentine can cause spasms of the airways particularly in people with asthma and whooping cough, it can contribute to a worsening of breathing issues in persons with these diseases if inhaled.”
As above but also add a 3rd equal part of raw linseed oil, added after the turpentine.
Last year I made some of recipe 1 and some of recipe 2. Recipe 2 sold better, being easier to work and I think looking more brown. This year I’ve made more of that recipe, and used up all the turpentine that I bought.
Now I have found an option which doesn’t use turpentine. The question is, will it work as well?
So many supers, so many frames; Finally its all spun out. Buckets and buckets of cappings, most of them relatively dry due to using an uncapping fork lifting the cappings off the honey cells above the air gap.
As before I wanted to clean the wax to use in lip balm, beeswax polish, etc. I found out the hard way that just heating it is unwise, you end up with a brown mess, you need to wash the honey out of it first. This has a nice side effect, basically, making mead. So to do so I put buckets at a time of cappings into a straining bag and washed them. Then straining them I used the washing water, now full of honey, to make mead. Just to understand the scale of this, I made 13 Gallons (uk) of mead.
Then it was time to melt down the wax. Now when it started it looked a lot like white sandy flakes, I added some rainwater (our local water is hard and that turns wax greenish). On heating all this brown gunk was produced along with the nice clean wax, even though there wasn’t a lot of brown going in, so I don’t know what that was. Anyway after decanting in bowls I waited for it to cool then scrapped the brown stuff off the bottom and heated it again. After a couple of rounds the wax is ‘mostly’ clean and the volume has gone down a lot; when I melt it again to make things I will decant it off the last of the gunk. End score 2.68kg 🙂
