A couple of years ago I bought some polystyrene mini nucs. Over the last couple of years they have seen some good use; raising a good number of queens, for loss replacement, expansion and swapping mean queens out to improve colonies (and reduce stings).
 Anyway with a couple of years of use it was time to give them a proper clean and spruce up; I’d had some that had been plagued by wax moth to the point where they leaked syrup when I fed them. Wax moth, while mating a mess digging holes though wax and leaving something that looks like spider web everywhere, dig into hives when they want to pupate; in polystyrene they dig right into the hives and sometimes through. Leaking syrup, besides being annoying, messy and a waste, it attracts wasps in – which to a small hive, with few bees to defend, it is almost certain death.
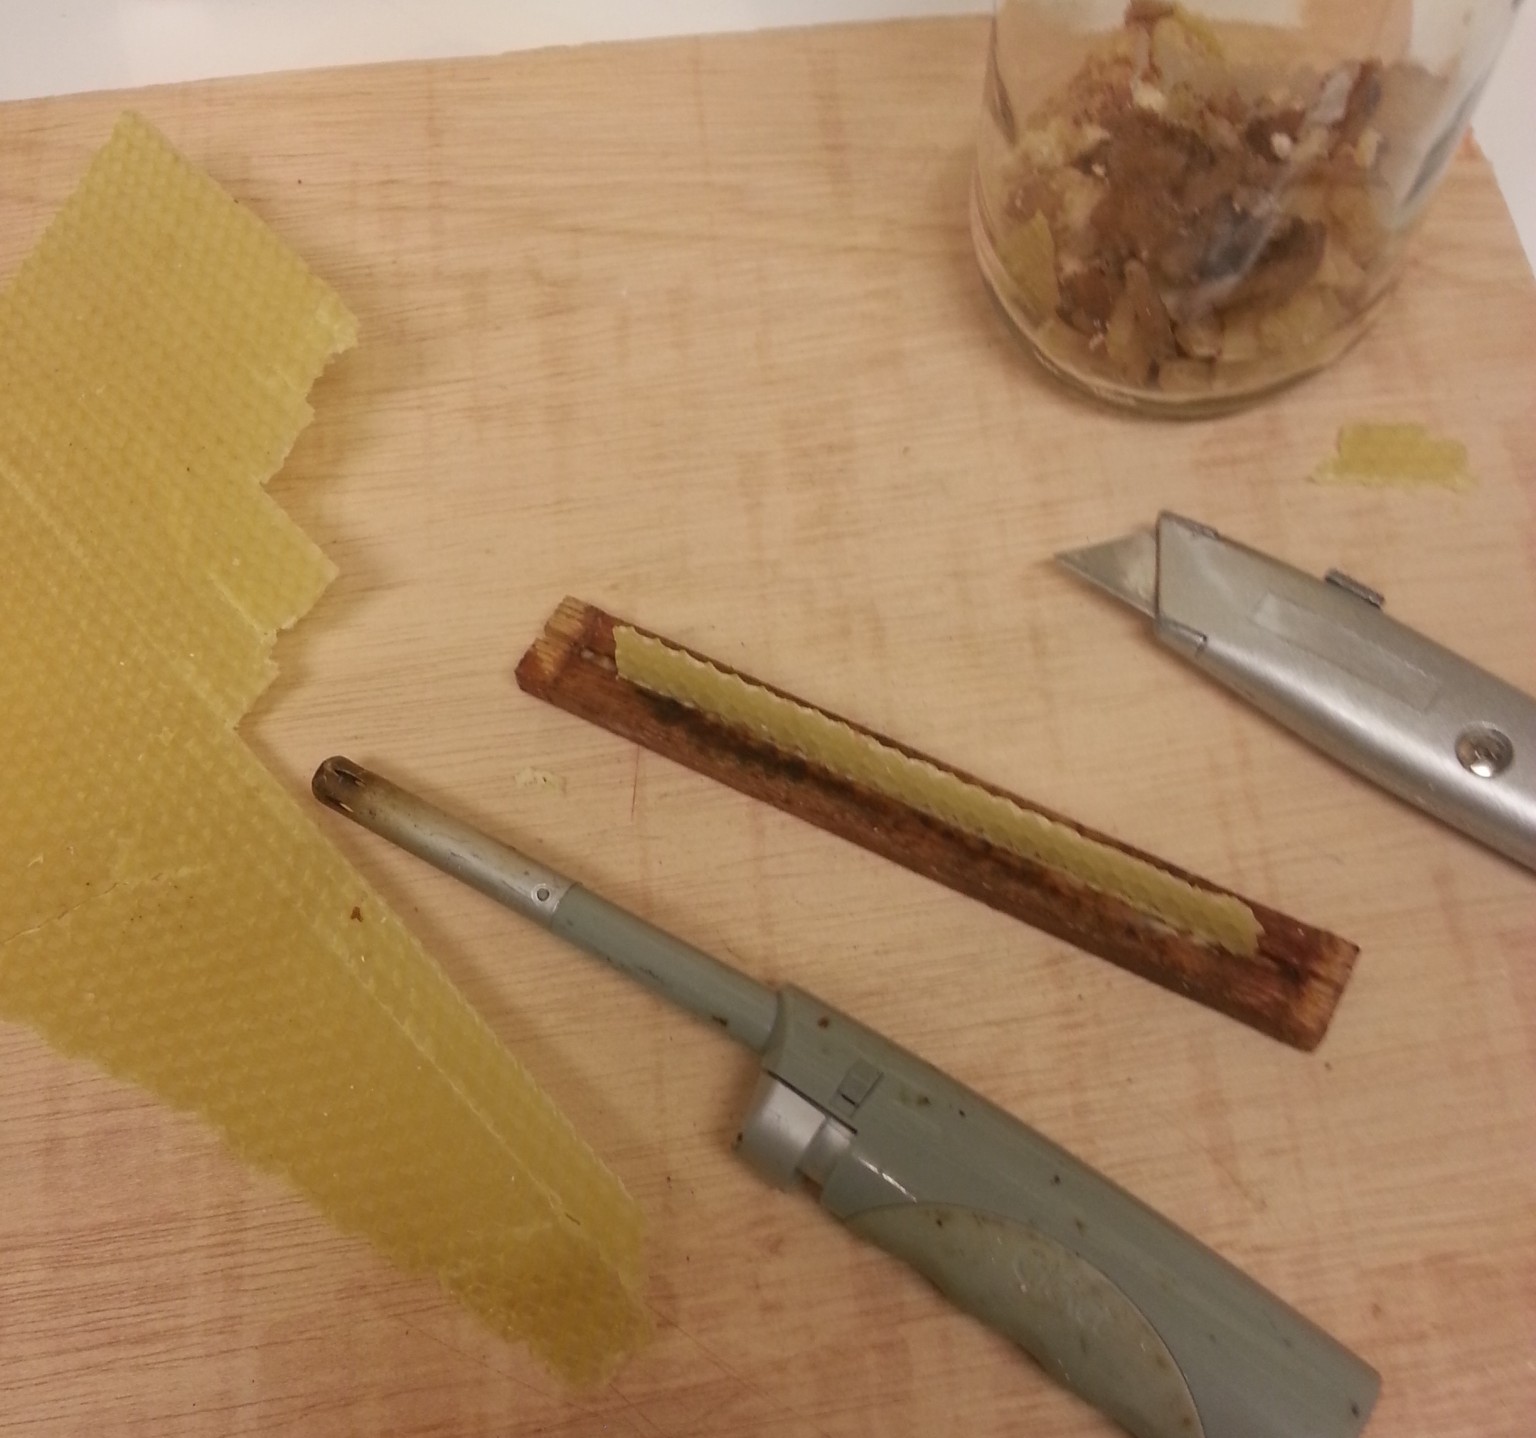
The first steps I took was to take out the top bars and see what was worth keeping. Each box needs at least a comb and a half to start with, for holding the queen cell and for stores, in this 4 bar hive the other 2 can be broken stubs of comb or foundation to be built up. Better prepared beekeepers will store theirs in sealed boxes with acetic acid, to kill the wax moth, and anything else about. Acetic acid is vinegar, but where normal strength on the table is about 6%, this is 90% plus; not something to mess about with, oh and it eats metal.
The next step was cleaning the boxes themselves. Clearly the usual option for sterilising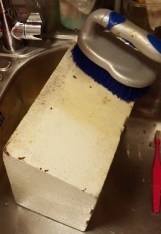 a hive, blow torching, wasn’t an option. Starting with scraping off propolis and wax – this can be surprisingly difficult to get right, and I found the best tool was a blunt small wood chisel. After this soap and a scrubbing brush – but scrubbing a bit hard can end up damaging the box. Using a old toothbrush for the nooks and crannies seemed like a good idea but was often not up to the challenge. Moving from washing up liquid to kitchen cleaners didn’t really make an improvement. For getting rid of propolis this stuff can’t be beat, but its quite caustic so beware, and with this then the toothbrush does start to come in very handy for small areas as the propolis is ‘melted’ by the spray.
 The recommended solution to cleaning poly hives is a bleach solution (warning handling bleach can be a danger to health if handled incorrectly – watch out for fumes and wear gloves). After my attempts at cleaning there was still ground in muck and so bleach it had to be. It did shift a lot with brushing, but a better solution was to soak. Of course soaking polystyrene has its own challenges – it floats, even more than wooden frames. The solution? Well there are a few options, I used wedging something on top between that an a cupboard above, putting heavy things on top, and finally tying it down with string. Having 10 boxes to do and different sized containers to soak them in having a few techniques helps. As the containers were classically washing up bowls they also were not deep enough for complete submersion, so 1 week soaking on one side and 1 week turned over was the solution there – not forgetting to soak the internal cover, floor slider and the front entrance disk.
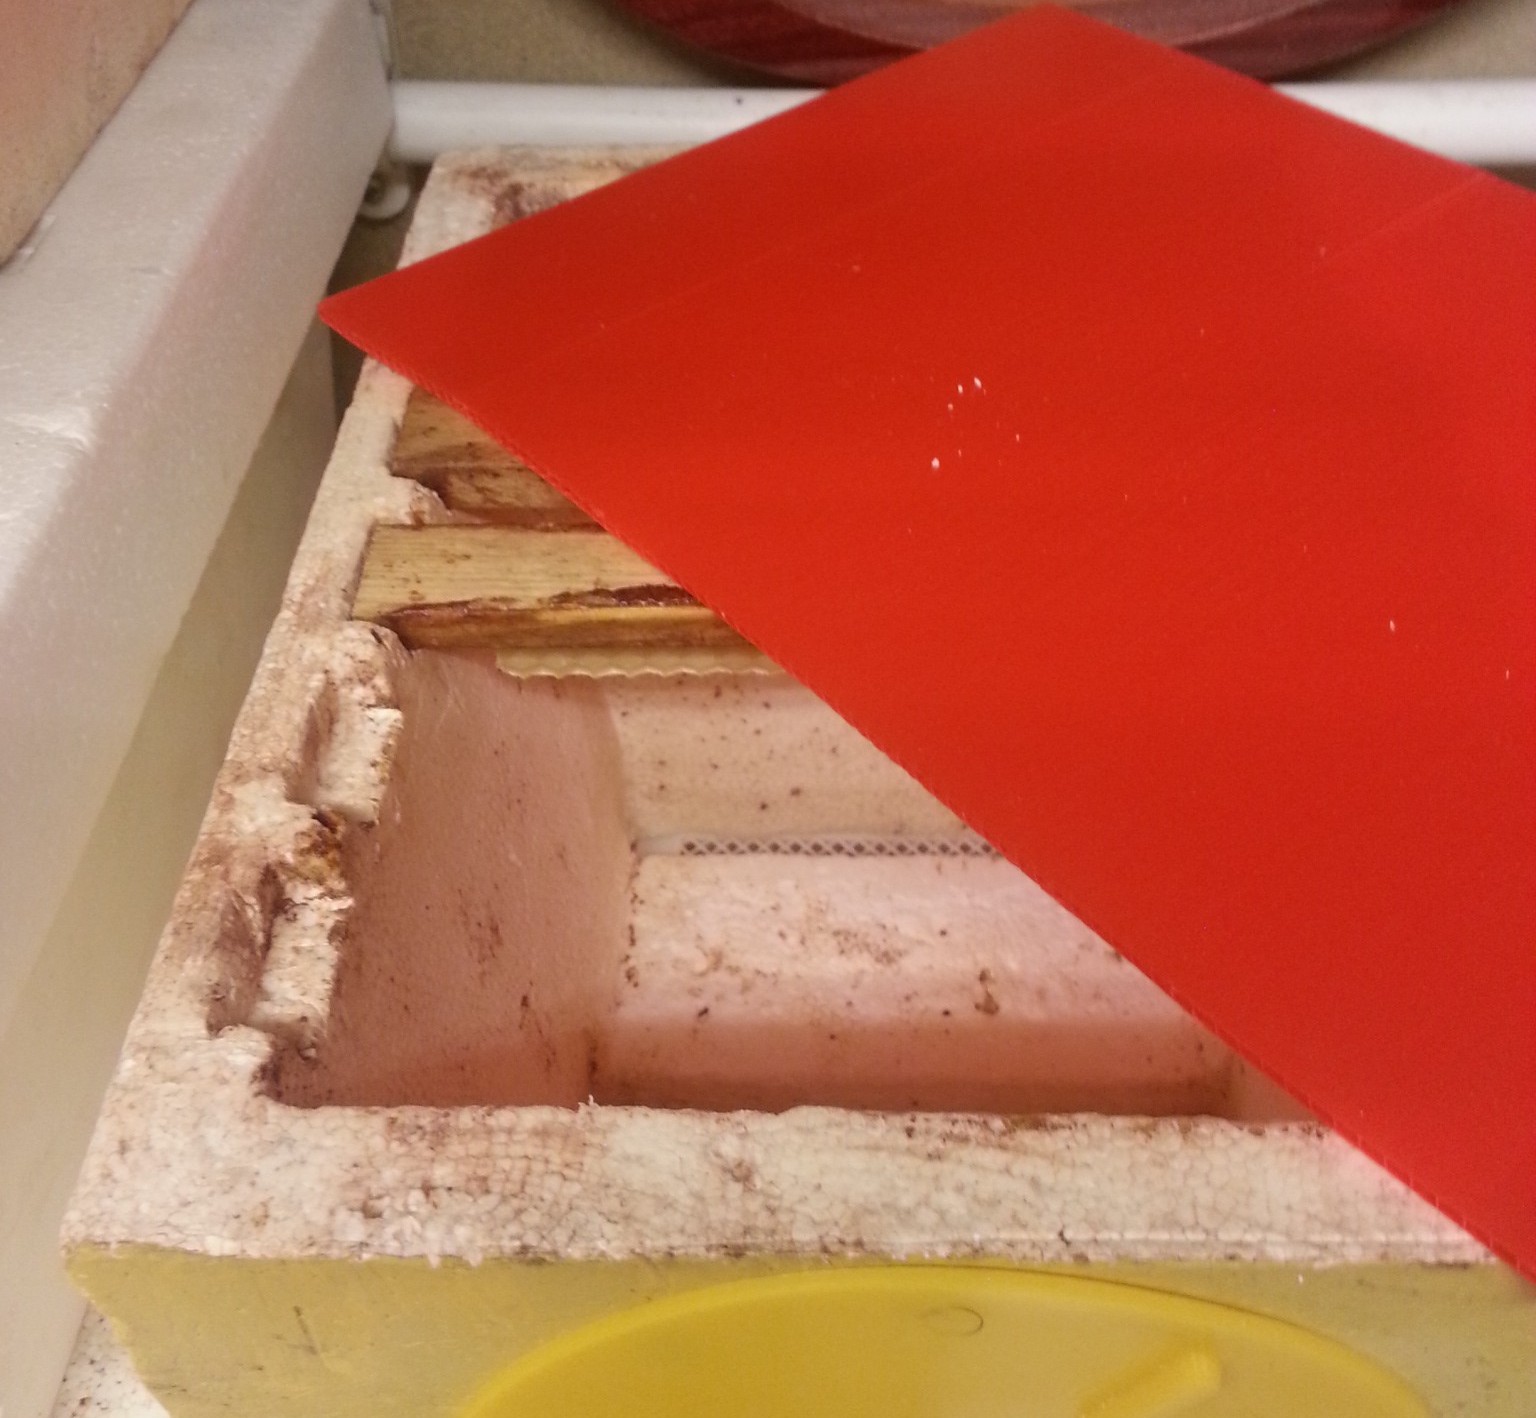
After a couple of weeks the hives were all but clean, rinsing well to get rid of the bleach, short of a scrape of wax here and there. Time to resolve a couple more issues – from the first picture some of you may have spotted an issue – drifting. The bees tended to gravitate toward the box on the right as they returned and didn’t know which box was which, not being able to read the numbers (tsk). Now bees see colour very well (apart from red) so it is said that having hives different colours can help prevent drifting, also having poly hives painted (on the outside only of course) makes them last longer and easier to clean.
 Painting poly hives is not difficult, fence / shed paint is inexpensive, comes in lots of different colours and as long as you cleaned all the wax off the paint goes on well, a couple of coats does the job nicely. So easy that in this case I actually employed bit of 10 and 12 year old help. Be warned spilt paint does not go well with carpets and so split open bin bags covered in newspaper is a good solution (mostly). The only down side here is running paint from little people heavy handed with the paint can end up with the hives stuck to the paper – another scraping job for the blunt wood chisel.
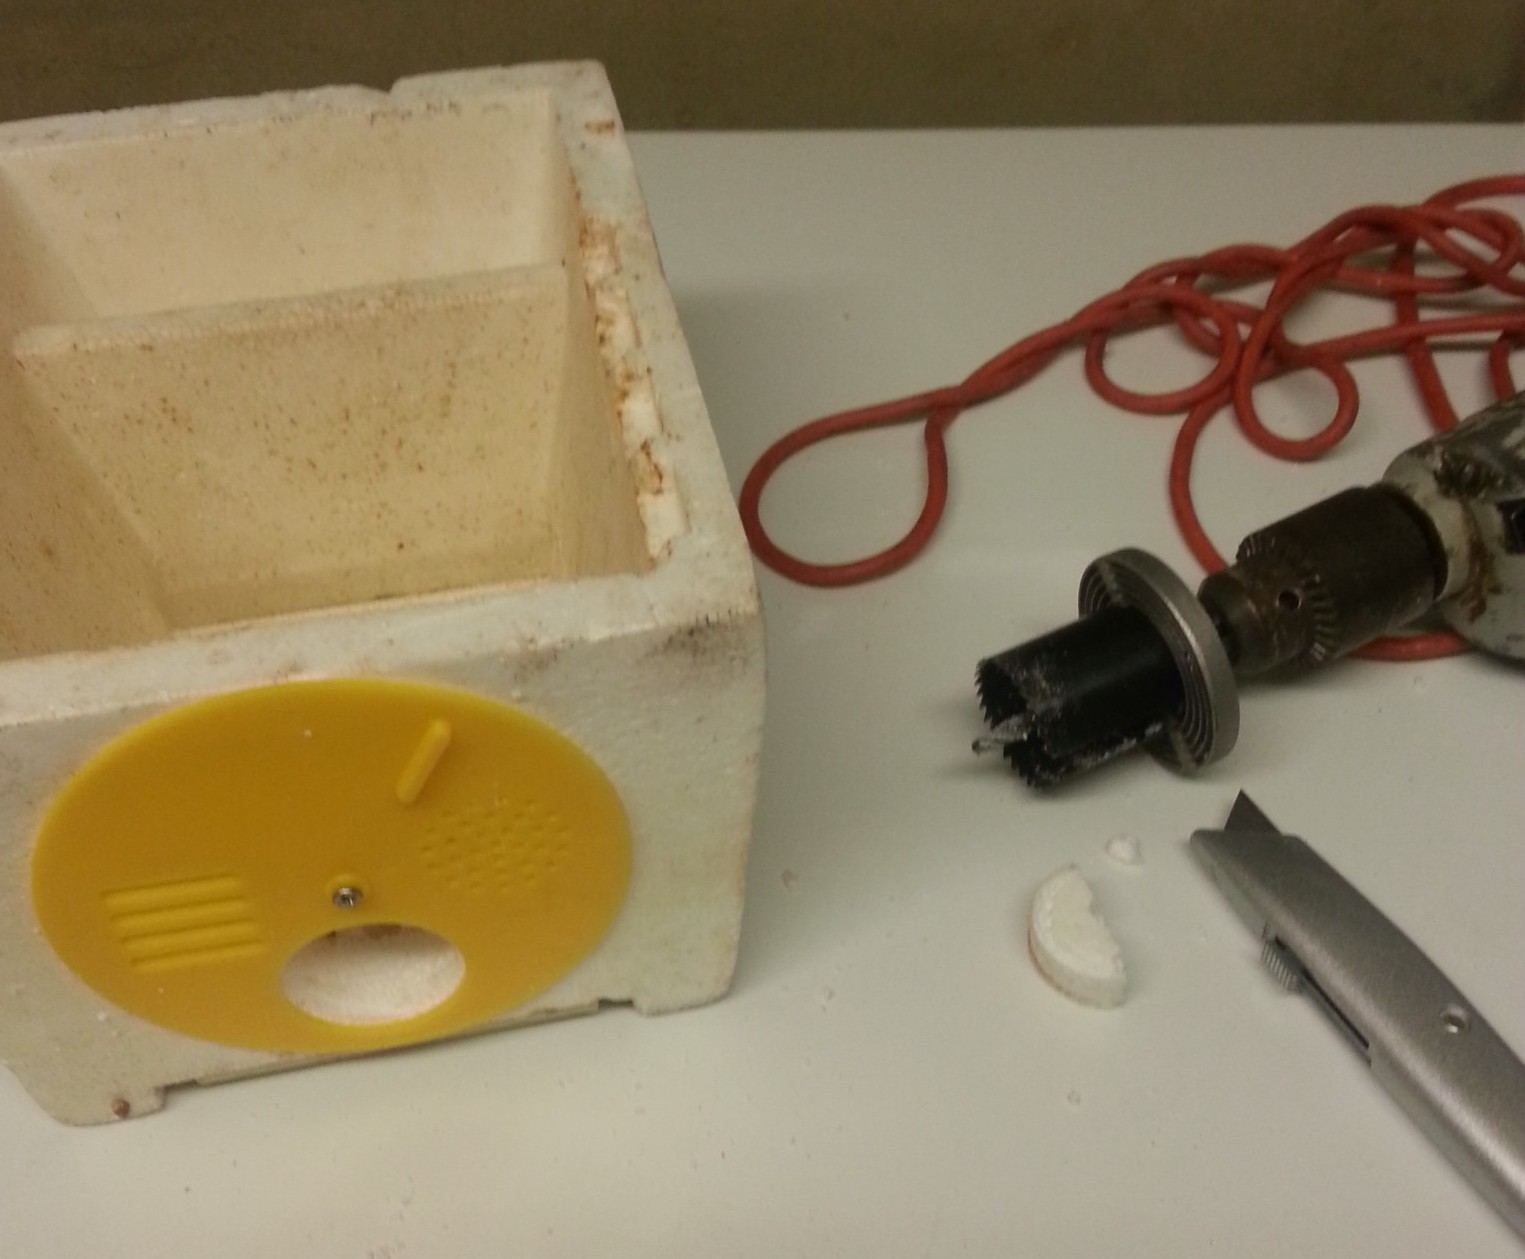
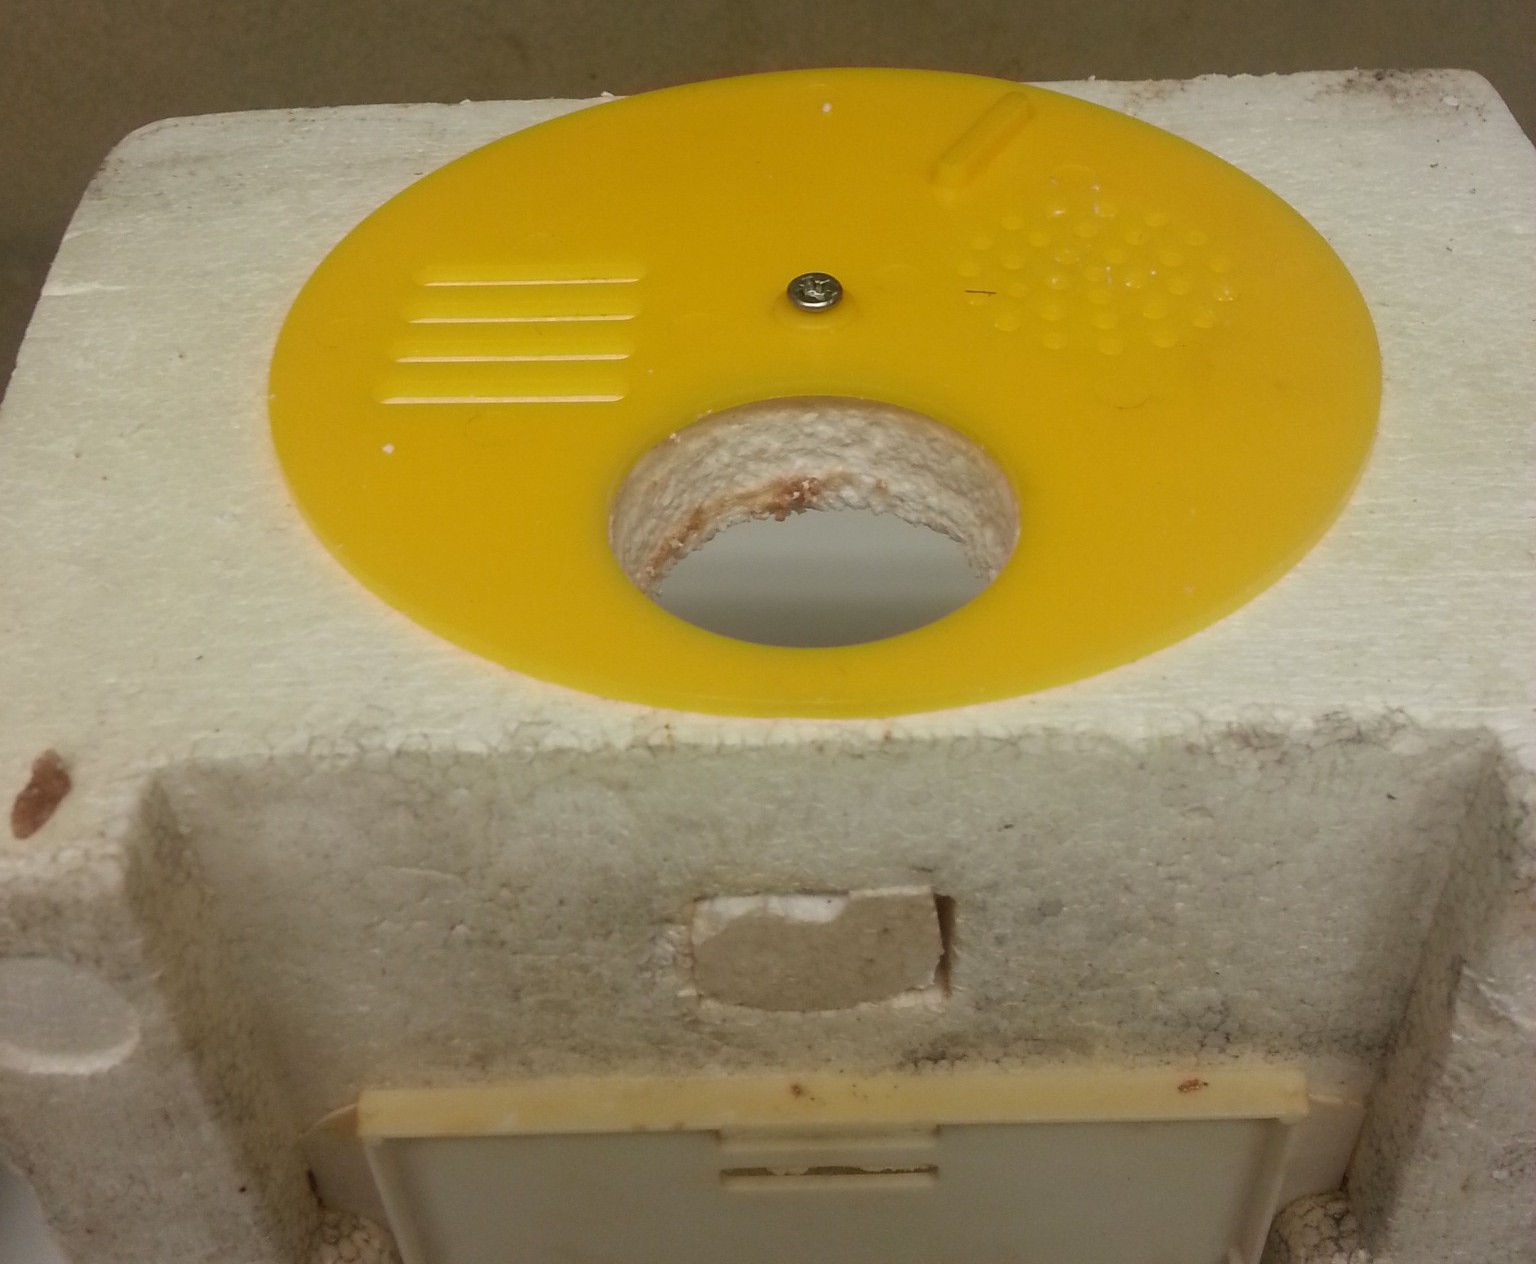
 The last job was re-assembly, another thing that had caused me issue was the entrance disks, held in by a screw, but not held in very well – the thread chewed the polystyrene and just came loose. On re-build I chose to fix this issue, drilling right through and fixing with a nut and bolt, with washers to make sure it didn’t just pull straight through. Finally I mixed and matched the roofs for the most discernible different and variety for the bees.
I still need to paint on numbers – for record writing purposes in queen rearing.