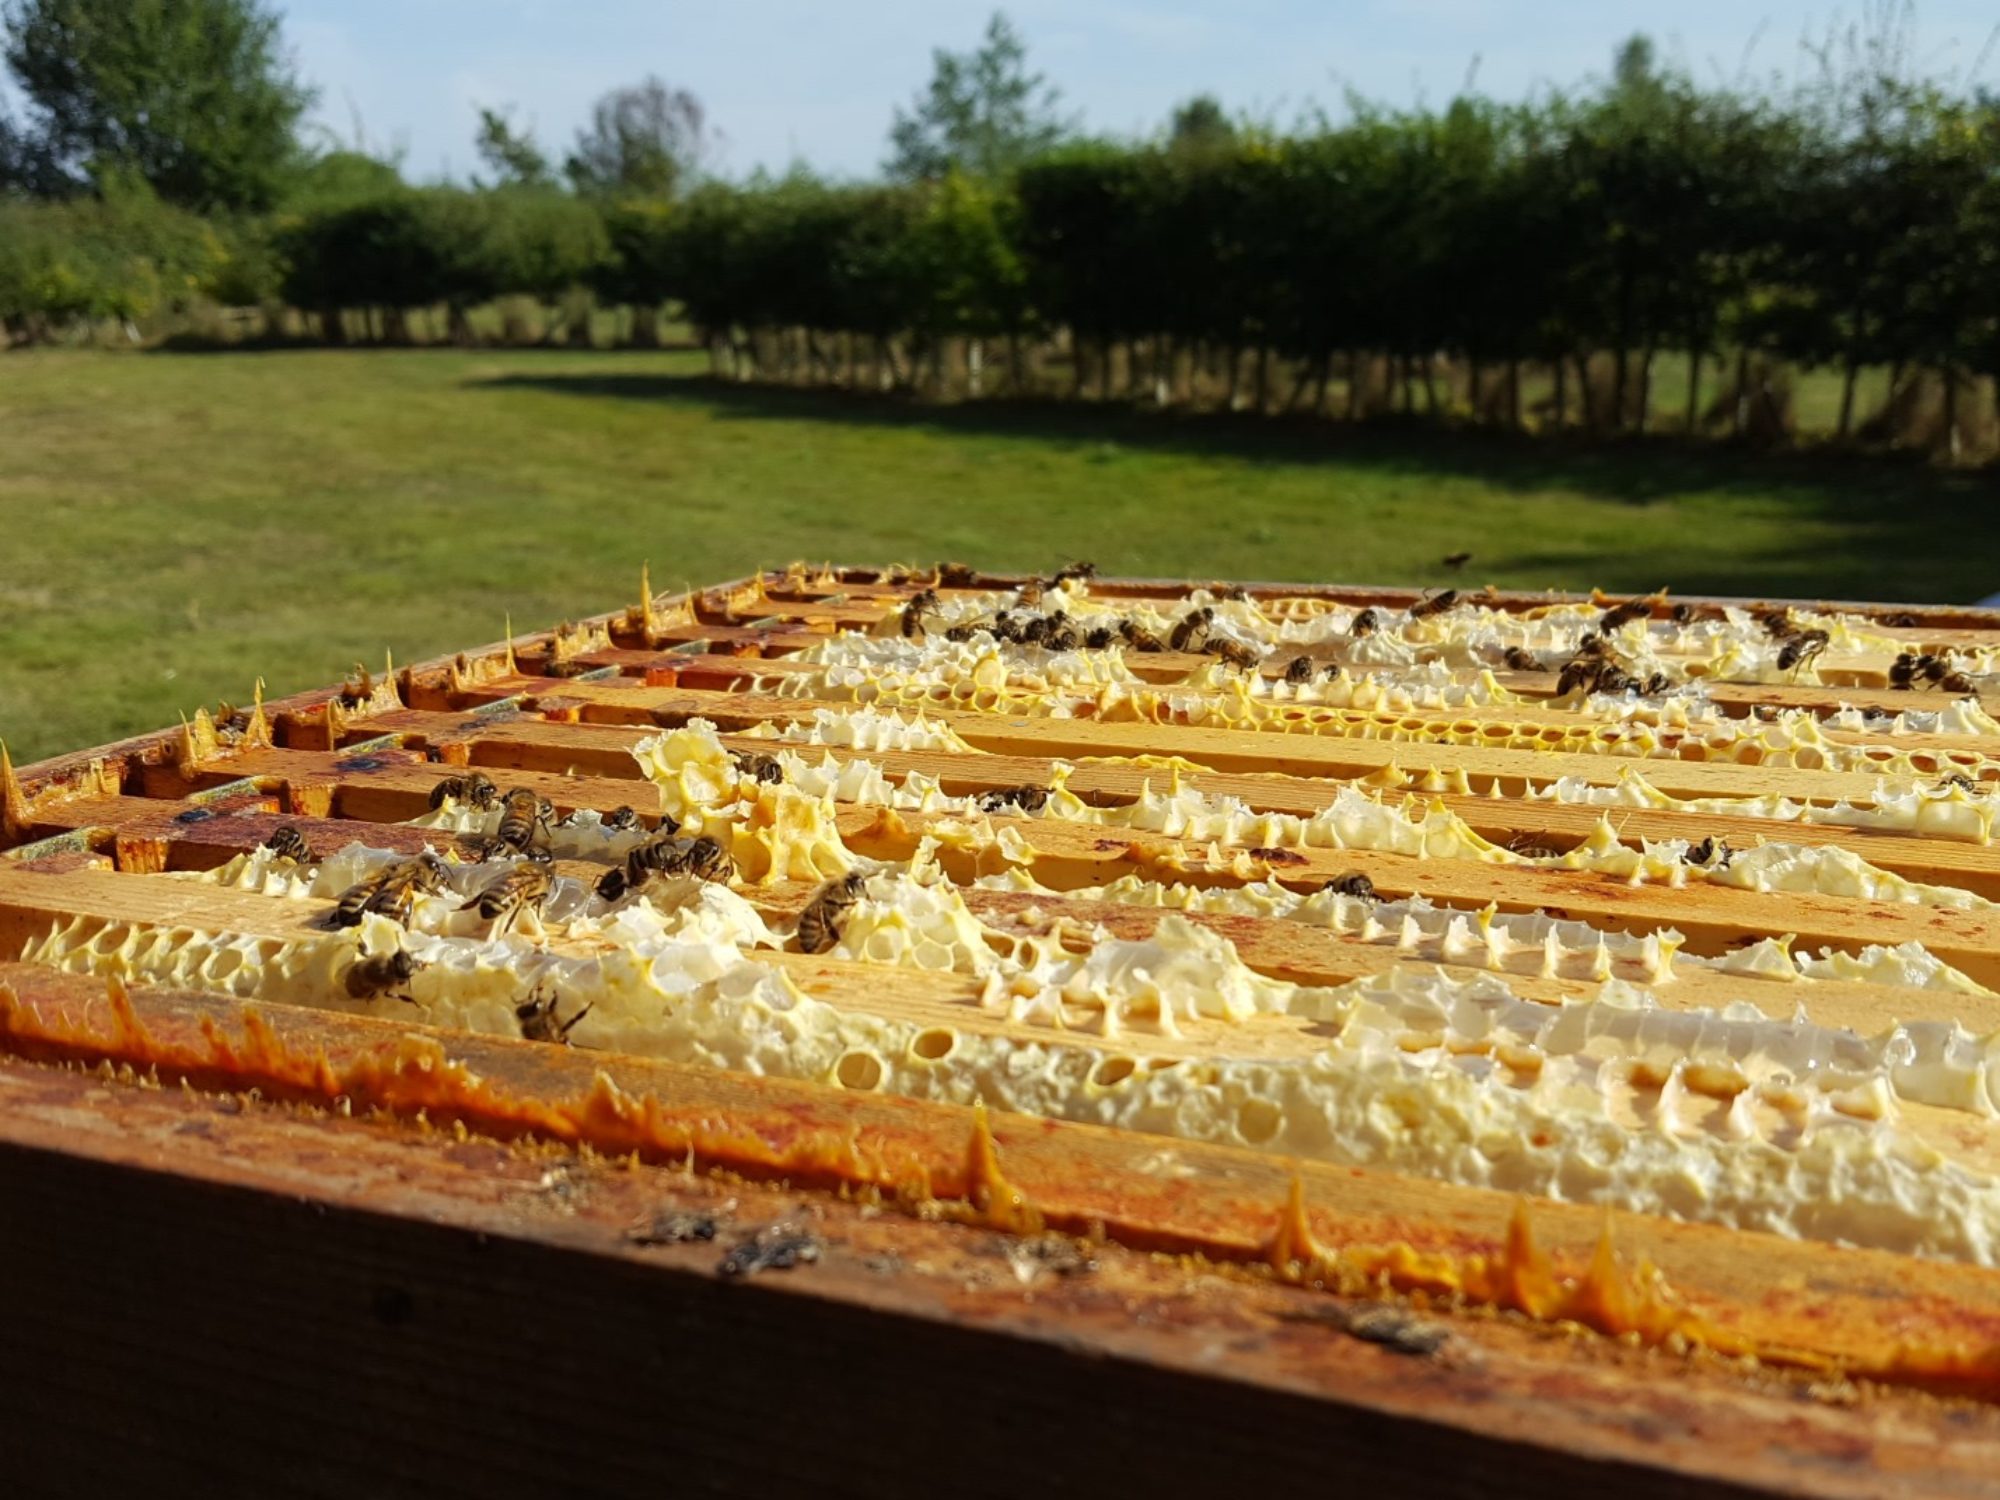
As I said previously, I was at Thorne’s centenary day, and bought some good bargains. One of those bargains was plastic excluders. Now, I have bottom bee space and so unframed excluders can be a pain; not easy to put on (‘move I said bees…!’) or take off (damn sticky propolis glue), not to mention that I think its harder for them to get through without a bee space. Last year I got some nice frames wire excluders, but now the cheapest I can find is £15 each and that is before shipping. These were £1 each, and I do like doing the woodwork bit and the gadgets I have to buy to get them done. This one would ‘require’ a new purchase, an electric nail gun / staple gun. Now quite excellently the nails (brads) this takes are just right to use instead of gimp pins for making frames with… Hooray !
This job also utilised my fondness for hoarding bits of wood, nice big bits of plywood, and a love of power tools, in this case my table saw. I started by cutting narrow lengths of 6mm ply, and laying them out like so:
…and then stapling it together, and to the excluder. Then turning over and repeating.
Now those of you paying attention will note that I have now put a ‘bee space’ on each side of the excluder, which is naughty, because the bees will now have more than a bee space between the excluder and the underside of the frames of the super. Tough ! I’ve tried doing framing on one side only, it doesn’t work well. I have some 3mm ply that I could have used to mitigate the issue; but at least this way its now reversible. I will see how it goes; can’t be as bad as when I did it one sided. I put to of them on hives already as I write this, and it seems to be acceptable access for the bees to go through nicely.
Tips and tricks – a couple of notes:
I offset the corners on one side with the other for strength
I used four staples on each edge, don’t want it to come apart when stuck down with propolis
I used longer staples on the other side, to go right through the ply, excluder and into the other ply, hoping for a more durable join.
Once I had finished I went around with a belt sander (cool toy !), sanding down the edges to allow easier access with a hive tool, so as to avoid accidental splitting.
So once I had done that there was no stopping me, I made up all 5; then I made a bee escape / clearing board , the type where they can see from below but they need to go round the long way. I may have overdone the depth of it there, using 3 layers of ply for the edges. I had planned fewer, but I needed the height to allow for the escape construction.
Framed excluders and a clearing board
So now I have replaced a few other excluders, I can put frames on those too (one wire, one zinc, two plastic). I quite fancy trying a Vortex bee escape, I should find my round escapes, or I may chose to be ‘creative’. Another bargain from Thorne was a whole load of varroa mesh, which will prove to be I’m sure invaluable.
