Making dummy boards

I have found beekeeping dummy boards to be quite expensive, especially if you use 14×12 boxes like me (approx £7). As a result I have often done without, which has on occasion given me grief of brace comb to the wall, or in other cases a whole new piece of comb handing from the roof.

This year I’ve decided I’ve had enough and that I would make some.

Step 1

I had spare top bars, so I used those – but you could easily use top bars from old frames, just clean and scorch them (or soak in 1:10 bleach or boil in washing soda) to make sure they are disease free.

Drill 3 small holes in each, smaller than the screws you are about to be using

Add a line of glue


Step 2

Cut some sheets of plywood to fit – I lined it up with a brood frame to check the height and the box for the width. Don’t forget the top bar adds a little height (like I did before cutting)

I used 12mm which is a bit overkill, but was what I had to hand – 9mm is probably best, with rigidity and ability to drill into from above. 3mm will glue on / nail on, but in previous experiments has been very flimsy / prone to damage and warping in practice. more than 12mm will protrude and may not sit flat with the weight. I used marine ply, which will probably last better in the humidity of a beehive .

I cut it with a mini circular saw, which left me with a bit of a messy edge, a rasp soon sorted this out.

Step 3

Attach the top bar to the ply wood, using the glue and holding it tightly in place while screwing in. When not pre-drilling the holes in the top bar it easily splits (from experience)

Preparing and cleaning mini-nucs

A couple of years ago I bought some polystyrene mini nucs. Over the last couple of years they have seen some good use; raising a good number of queens, for loss replacement, expansion and swapping mean queens out to improve colonies (and reduce stings).

2014-05-05 17.55.25Anyway with a couple of years of use it was time to give them a proper clean and spruce up; I’d had some that had been plagued by wax moth to the point where they leaked syrup when I fed them. Wax moth, while mating a mess digging holes though wax and leaving something that looks like spider web everywhere, dig into hives when they want to pupate; in polystyrene they dig right into the hives and sometimes through. Leaking syrup, besides being annoying, messy and a waste, it attracts wasps in – which to a small hive, with few bees to defend, it is almost certain death.

The first steps I took was to take out the top bars and see what was worth keeping. Each box needs at least a comb and a half to start with, for holding the queen cell and for stores, in this 4 bar hive the other 2 can be broken stubs of comb or foundation to be built up. Better prepared beekeepers will store theirs in sealed boxes with acetic acid, to kill the wax moth, and anything else about. Acetic acid is vinegar, but where normal strength on the table is about 6%, this is 90% plus; not something to mess about with, oh and it eats metal.

The  next step was cleaning the boxes themselves. Clearly the usual option for sterilising20160131_175032 a hive, blow torching, wasn’t an option. Starting with scraping off propolis and wax – this can be surprisingly difficult to get right, and I found the best tool was a blunt small wood chisel. After this soap and a scrubbing brush – but scrubbing a bit hard can end up damaging the box. Using a old toothbrush for the nooks and crannies seemed like a good idea but was often not up to the challenge. Moving from washing up liquid to kitchen cleaners didn’t really make an improvement. For getting rid of propolis this stuff can’t be beat, but its quite caustic so beware, and with this then the toothbrush does start to come in very handy for small areas as the propolis is ‘melted’ by the spray.

20160131_220439The recommended solution to cleaning poly hives is a bleach solution (warning handling bleach can be a danger to health if handled incorrectly – watch out for fumes and wear gloves). After my attempts at cleaning there was still ground in muck and so bleach it had to be. It did shift a lot with brushing, but a better solution was to soak. Of course soaking polystyrene has its own challenges – it floats, even more than wooden  frames. The solution? Well there are a few options, I used wedging something on top between that an a cupboard above, putting heavy things on top, and finally tying it down with string. Having 10 boxes to do and different sized containers to soak them in having a few techniques helps. As the containers were classically washing up bowls they also were not deep enough for complete submersion, so 1 week soaking on one side and 1 week turned over was the solution there – not forgetting to soak the internal cover, floor slider and the front entrance disk.

After a couple of weeks the hives were all but clean, rinsing well to get rid of the bleach, short of a scrape of wax here and there. Time to resolve a couple more issues – from the first picture some of you may have spotted an issue – drifting. The bees tended to gravitate toward the box on the right as they returned and didn’t know which box was which, not being able to read the numbers (tsk).  Now bees see colour very well (apart from red) so it is said that having hives different colours can help prevent drifting, also having poly hives painted (on the outside only of course) makes them last longer and easier to clean.

20160312_124845Painting poly hives is not difficult, fence / shed paint is inexpensive, comes in lots of different colours and as long as you cleaned all the wax off the paint goes on well, a couple of coats does the job nicely. So easy that in this case I actually employed bit of 10 and 12 year old help. Be warned spilt paint does not go well with carpets and so split open bin bags covered in newspaper is a good solution (mostly). The only down side here is running paint from little people heavy handed with the paint can end up with the hives stuck to the paper – another scraping job for the blunt wood chisel.

20160319_175636The last job was re-assembly, another thing that had caused me issue was the entrance disks, held in by a screw, but not held in very well – the thread chewed the polystyrene and just came loose. On re-build I chose to fix this issue, drilling right through and fixing with a nut and bolt, with washers to make sure it didn’t just pull straight through. Finally I mixed and matched the roofs for the most discernible different and variety for the bees.

I still need to paint on numbers – for record writing purposes in queen rearing.

A beekeeper’s pockets

I washed my beekeeping jacket tonight and thought I would share what  keep my pockets to do the task at hand – From the top – lighters (have a spare), multi-tool (pliers, knife, screwdrivers), compass & thermometer, keys to the farmer’s borage field, queen marking cages, butler cage, 3 puzzle cages, queen markers (this year’s blue for new queens, last year’s green for re-marking), hive strap, sting relief and scraps of paper to start the smoker. In the middle is a thin piece of plastic I use to break brace comb in mating nucs between the comb and the hive wall.

A beekeeper's pockets

New Apiary (hopefully)

For a few years now I’ve wanted to have bees on our allotment plot. Couple of difficulties with the public fear of bees meant that I was blocked from having bees there – long story that I have told far too many times. Either way pending a (so far) 6 week council review period I am hoping to have bees on my plot.

Keeping bees on an allotment plot would generally be advised to be in an enclosure, to prevent bees interrupting gardening activities; driving the bees up above head height to prevent bee-line collisions on their way to forage. I had planned one before and got as far as put posts up in preparation for a netting enclosure. This then became a rose garden and an asparagus bed (which didn’t work out), which then became overgrown.

I decided to have a clear up preparing for the bees. Fortunately on most of the area I had put down weed blanket; less fortunately I had put down wood chip which seemed to have a habit of turning to soil covered in weeds. Luckily I had used decent weed blanket which has survived underneath and was up to some sustained trauma while I pulled and scraped weeds off the top.

After a fair few hours of work the area now looks a lot better, cleaned of weeds, a nice spot for a hive, with wood chippings on the floor. One post had rotted had to be replaced. Along the top of the posts I put a wire in place to hang the mesh from for the bees to fly over. Also in the area there is a water butt fed by the shed roof; I plan to float something on the water surface, as otherwise bees make a habit of drowning. Having a water source so close by should be good for the bees also, with shorter flights; also it should be good for other allotment holders as bees visiting water sources can be a cause for conflict.

So, cross fingers that I can start using the space for its intended purpose soon.


Another beehive stand

Some of you may remember in my post of ‘how to make a double beehive stand‘ that I mentioned a friend who made one around the same time. The friend, Dave Eacott, said he would be ok with me showing where he got to with his DIY creativity.

“Please find attached pictures of my new hive stand.
It is not as robust as yours I was looking for something lighter that could be easily carried in the car. I did not shop around for best prices everything came from Wickes.
I have a few items left over that I could use on my next stand.
It cost around £25.00”

Making a double Bee hive stand

To help with making my hives being more transportable I decided to make a hive stand. One of the issues before in moving hives was not so much the hives, but rather the awkward size of the hive stands. I’d seen another that a friend had made and took my lead from that. Recognising the weight of honey that two hives can carry I decided to make it sturdy.

Shopping list :

Total = 37.60

Well, good enough I guess but the 2nd will be £9 because all that is used up is the wood.

I don’t tend to take measurements in the classic way of using a ruler or tape measure. I make things to fit their purpose by measuring against what they are going to be used with. One of my aspirations with this stand is to make it so I can hang a frame between the side bars when I take it out. This is so I can take frames of bees out and not have to rest them on the floor (I’m not keen on hive frame rests). So the first measurement was against the brood frames, wide enough to fit a frame not so wide as to drop the lugs at the edges

The picture does not do it justice, but the lugs are about 1cm longer than the cross bar shown here.

The next thing to do was to attach the side bars to the cross bars, I wanted it to be sturdy so I chose some hefty coach screws. I used 8mm metalwork all round, given the toughness of the unit as a whole maybe I should have used 10mm, but I am fairly sure it should be sufficient to the task.

As can be seen below I might have overdone the depth of the screw, I didn’t want to do things by half. Who is going to be the first to point out that its not weight bearing… ahh well wait a bit.


With the basic structure set it was time for the legs. Oh and note in this picture the use of a stool, a dremel case, a hive leg and an entrance block to hold up the other end. Don’t underestimate the usefulness of someone to hold the other end when dealing with such large heavy timbers. I definitely needed help when trying to cut the end of an 8ft 2×4.  As to the length of the stand, the length was defines as comfortably being able to hold a hive at either end with a nuc in the middle; might just be able to get three hives on at a squeeze. 


The next step was the ‘feet’. Given the legs point outwards I wanted them to be flat on the floor, requiring an angle cut. This is where  I did used two classic measurement tools. A tape measure to ensure the legs would all attach at the same relative point on the long bars and then a set square to make use of the right angles between the cross bar and the floor, to make sure the angle cut would be right.Before I get complaints, yes I know I have taken the blade protector off my table saw – don’t try this at home kids, its very dangerous.

Attaching the legs with the threaded bar was next. I tell you after this you wont ever want to look as a nut again, not to mention a washer that keeps down falling down. Anyway, 2 washers between the side bar and legs to allow movement and a washer inside each nut to it would not cut into the wood (like it did on the coach screws, oops).  


In this next picture you can see a couple of things. Firstly the legs fold in nicely for transport without meeting in the middle, an aspect that meant that I could not make the hive stand as tall as I would have liked, but it saved on wood. Secondly, something to remember next time, the screw bars are still a metre long, not that I forgot, as one you cut them you can’t get a nut on that end as the screw gets messed up. The issue here is that I wanted to cut it nice and close so it would not catch on things in transport, because it was in place I could not get the jigsaw in close enough that I had just found a metal cutting blade for, so I had to do both with a junior hacksaw. That took some time – lesson, plan ahead.

And here is the finished article (short of running round it with the sander to get rid of corners).

Now it is finished, what would I do different?

  • Well it is heavy, so I would like it made of cedar to lower the weight.
  • I’m not sure of the need for the threaded bar, maybe just long bolts would do. It would cut down on the time I spent spinning nuts down the threaded rod.
  • Next time I will cut the bars with the jigsaw before putting them in.
  • I would have preferred bigger penny washers between the legs and the side bars
  •  I will sand the wood before assembly next time.
  • A friend of mine made a lighter and smaller one – I will see how he does with his this year and maybe make mine smaller next time.

I’ve not tried to fit mine in the car yet…

Mini nucs’ prep

Last year I went on a queen rearing course and at the end I bought some mini nucs. They needed cleaning first so I did that first.  Then I was left with an interesting design choice by the manufacturer of having a bottom entrance. So I decided to change it, cutting a hole in the front and adding a rotating disc opening restrictor; one of those things you turn to choose open, vented, closed or queen restricted. Well a picture paints a thousand words so here….

As I had cut out the new entrance with a hole saw I had a nice chunk of wall material with which I could fill up the old entrance.

Then I took the top bars and cleaned them up and melted the wax in the slot and used it to hold a new starter strip.

On occasion I have broken foundation sheets, either in storage or when trying to put them into frames. This is why is it a good idea to keep them. In the background is my jar for odd bits of wax, which can be used as hot glue or melted elsewhere for reuse.

Finally, my old friend correx (aka fluted board plastic) came to my aid as an inner cover which I am told is a good idea. Just cutting round the nuc as a template and then trimming a bit so it does not get stuck in the lid as you lift it.

Red is what I had, if they did clear that would have been better as I could have seen the bees through it.

All it needs now is a sugar tray for the back section, some bees and a queen cell.

Making bees wax polish

Cake of pink-ish beeswaxI have this 1lb block of bees wax (or is that beeswax?) and it is pink / red tinged with propolis so I decided not to use it for lip balm like last time.

Now last year, on a whim I bought a couple of boxes of wax tins with the theory of making some polish. I figured to make some polish at some point, seemed like another nice side hobby / feature of  beekeeping. There are so many : woodwork, food handling, advertising and selling honey, etc

Turps and linseed oil bottles
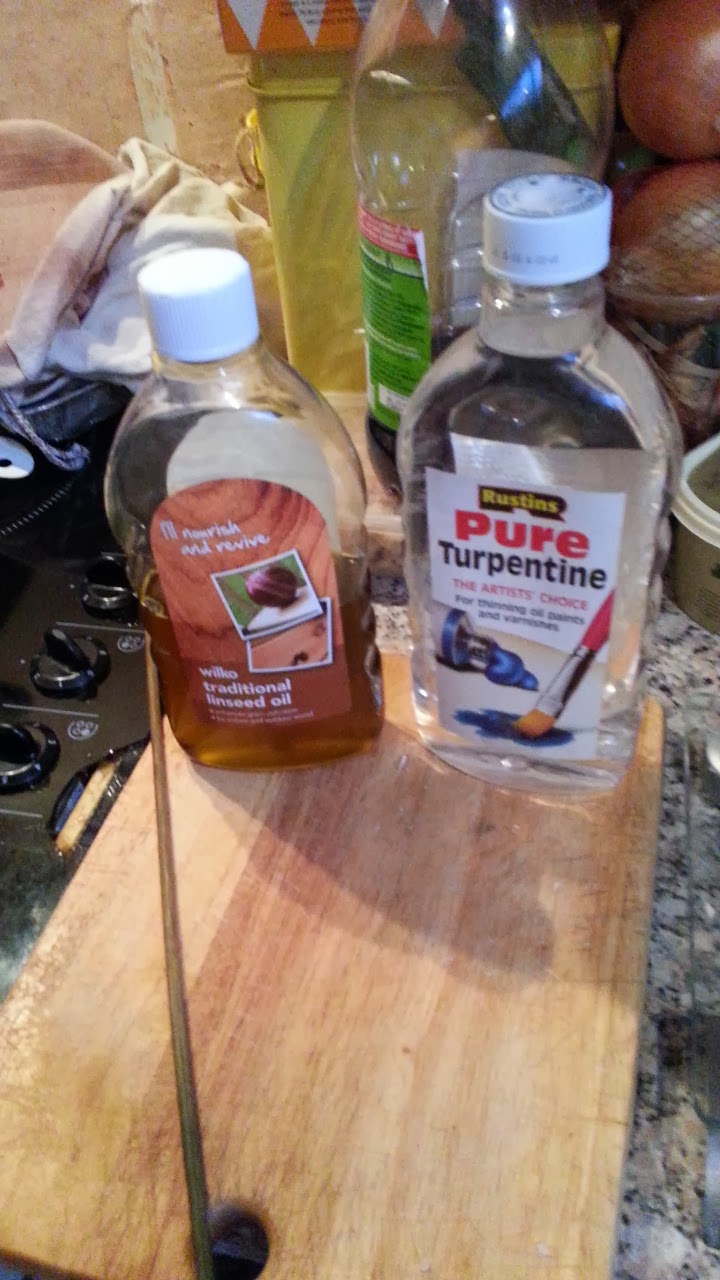
The thing that held me back was trying to find turpentine which I read was the other ingredient. Everywhere I looked it was turpentine substitute. Finally I found the real thing and it wasn’t cheap, about £8 per 500ml bottle, no wonder they have turpentine substitute, it is only about £1.50 for that much.

With the red wax that I didn’t have another clear use for I decided it was time to bite the bullet, so I bought the turpentine.

Today when I finally decided to get to doing it I looked on the internet for ratios and to check ingredients. At this point I found LOTS of recipes, lots of different recipes with very little in common.  Turpentine, beeswax, carnauba wax, olive oil, essential oils, soap flakes, water, linseed oil, other non-turpentine solvents (arghh !).

Various recipes here and a no solvent recipe with olive oil

In the end I decided to make two batches, each with a different recipe and see how it would turn out.

Recipe 1

  • 1 part Bees wax
  • 1 part Turpentine

Then I decided to cut it with linseed oil to make it go further (based on a recipe, not just to make it less expensive), not to mention that I already had some of this to hand; I have bought bottle after bottle for treating the outside of wooden hiveparts to protect them from the weather.

Recipe 2

  • 1 part Bees Wax
  • 1 part Turpentine
  • 1 part Linseed oil

I would have liked to use…

Recipe 3

  • 1 part Bees Wax
  • 4 parts Olive Oil

…but I didn’t have enough olive oil in the house. I also thought about using essential oils, but I figured that might not work for the usual carpentry buff who might buy it, and I would need to use a fair bit to get over the smell of the turpentine (phew!).

bees wax metin in a bain-marieI melted the bees wax in the bain-marie (not to hot or it will degrade). A bain-marie is just one saucepan that fits inside another saucepan with boiling water in. So the inner pan can never get warmer than 100C (212F), because the water boils off. Then I added the turpentine and mixed it in. On the second recipe I further added the linseed oil, which incidentally made for a much better looking product.

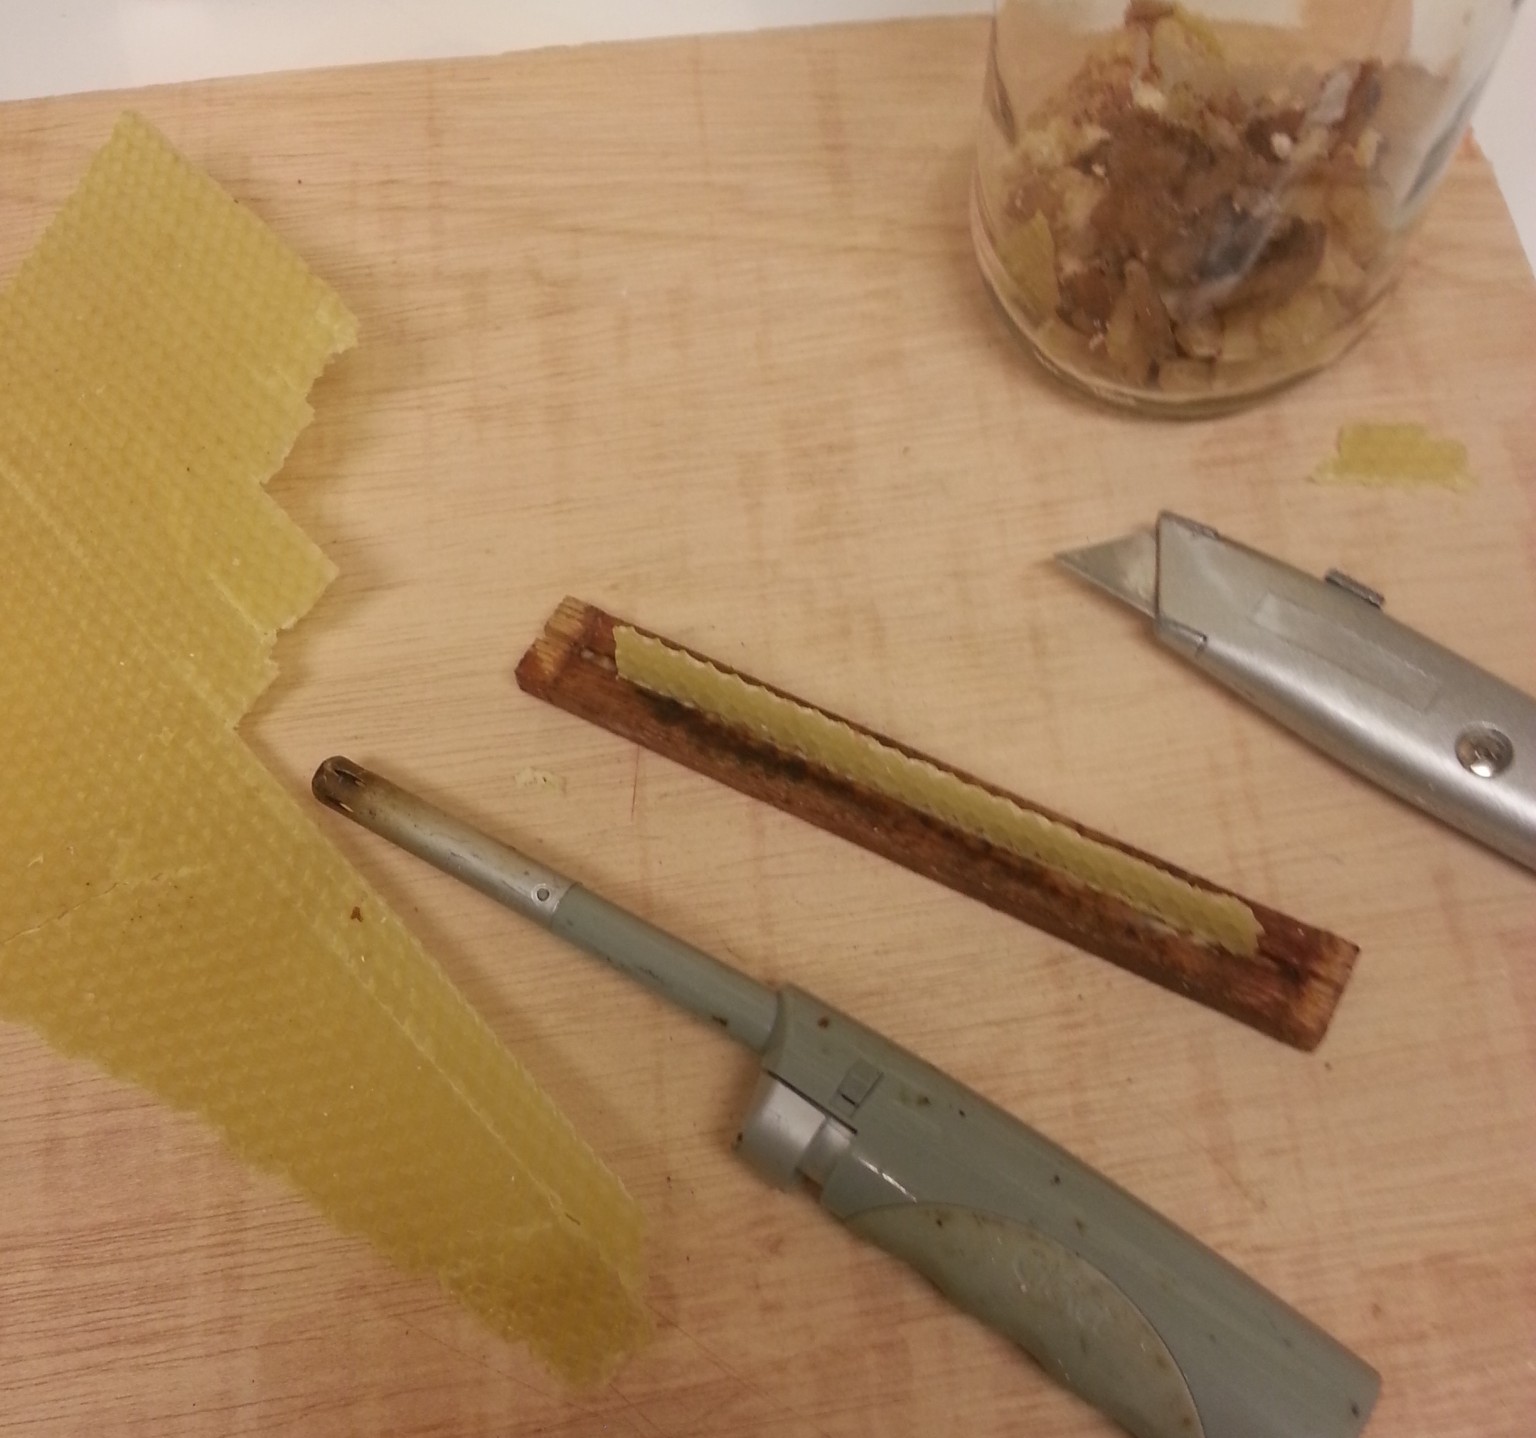
I made myself a paper funnel to help pour the hot polish into the tins. Note for those who might try this, if you do so, bind it with selotape, like I did the second time. The first time I held the cone in shape with my hand, hot turpentine and wax soak into the paper a bit and paper is not the best insulator in the first place. Only a bit Ouch! And I only missed a bit, cough… well the chopping board looked like it needed a polish anyway 🙂

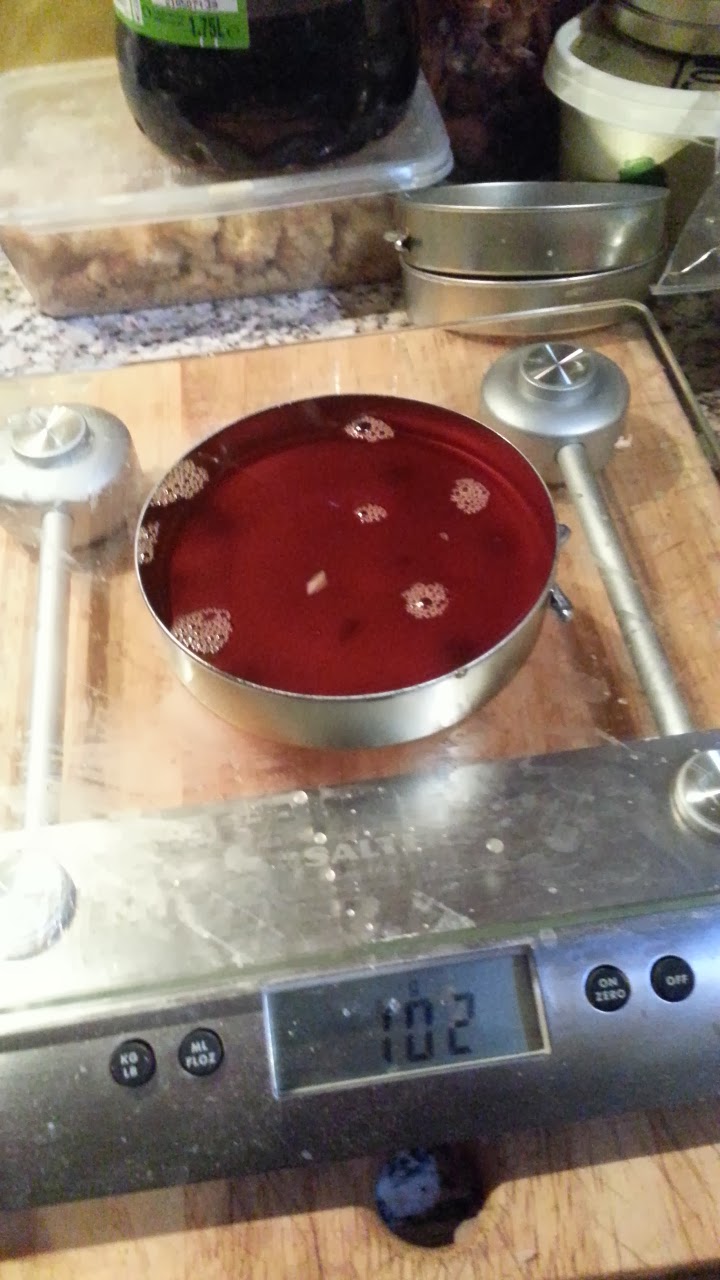
On the first batch I just poured the polish in and filled the tins, by eye, to what I felt was a sensible level. On weighing this later it was fairly consistent in weight, but not the 100g they are supposed to weigh.

102g of molten beeswax in a tinOn the second recipe / attempt I thought I should try to get them to be the right weight and so carefully weighed them on the electric scales. Getting all 100g in was not that easy, it was right up to the lip of the tin. But I managed it

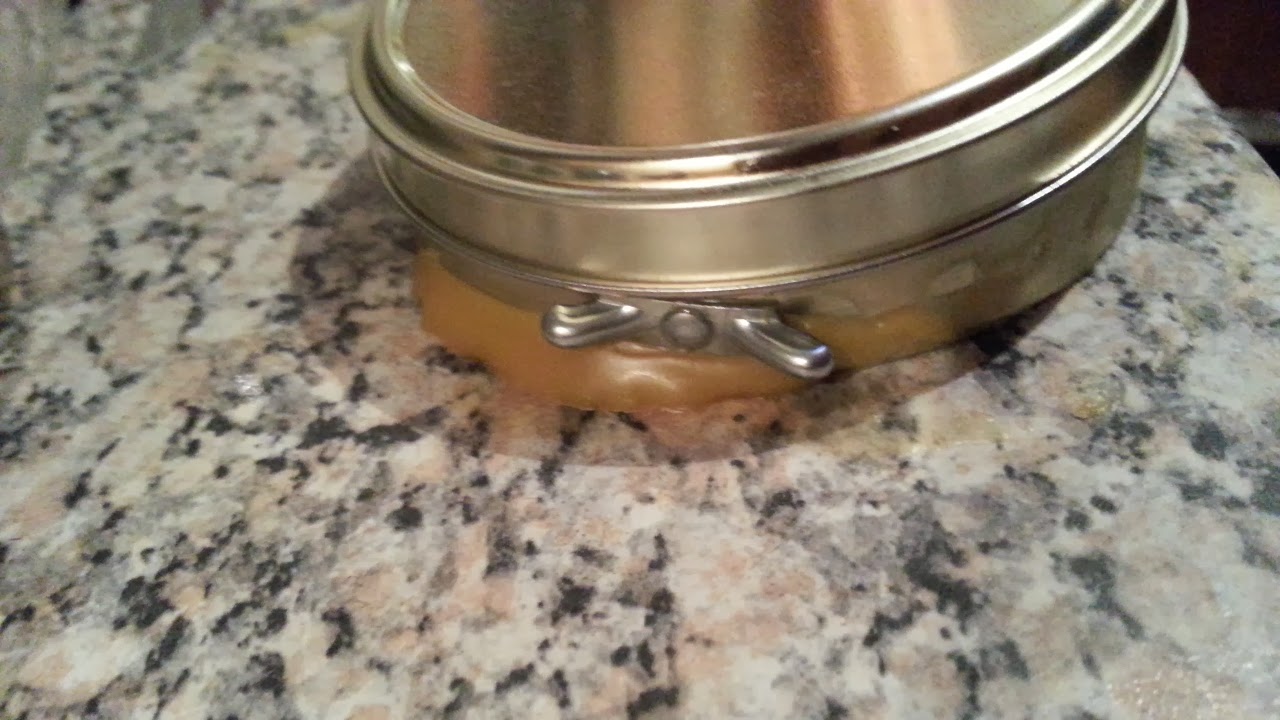
Good plan doing it on the scales and getting it right to the lip with exactly 100g of polish in, right?

bees wax overflowing from a tin

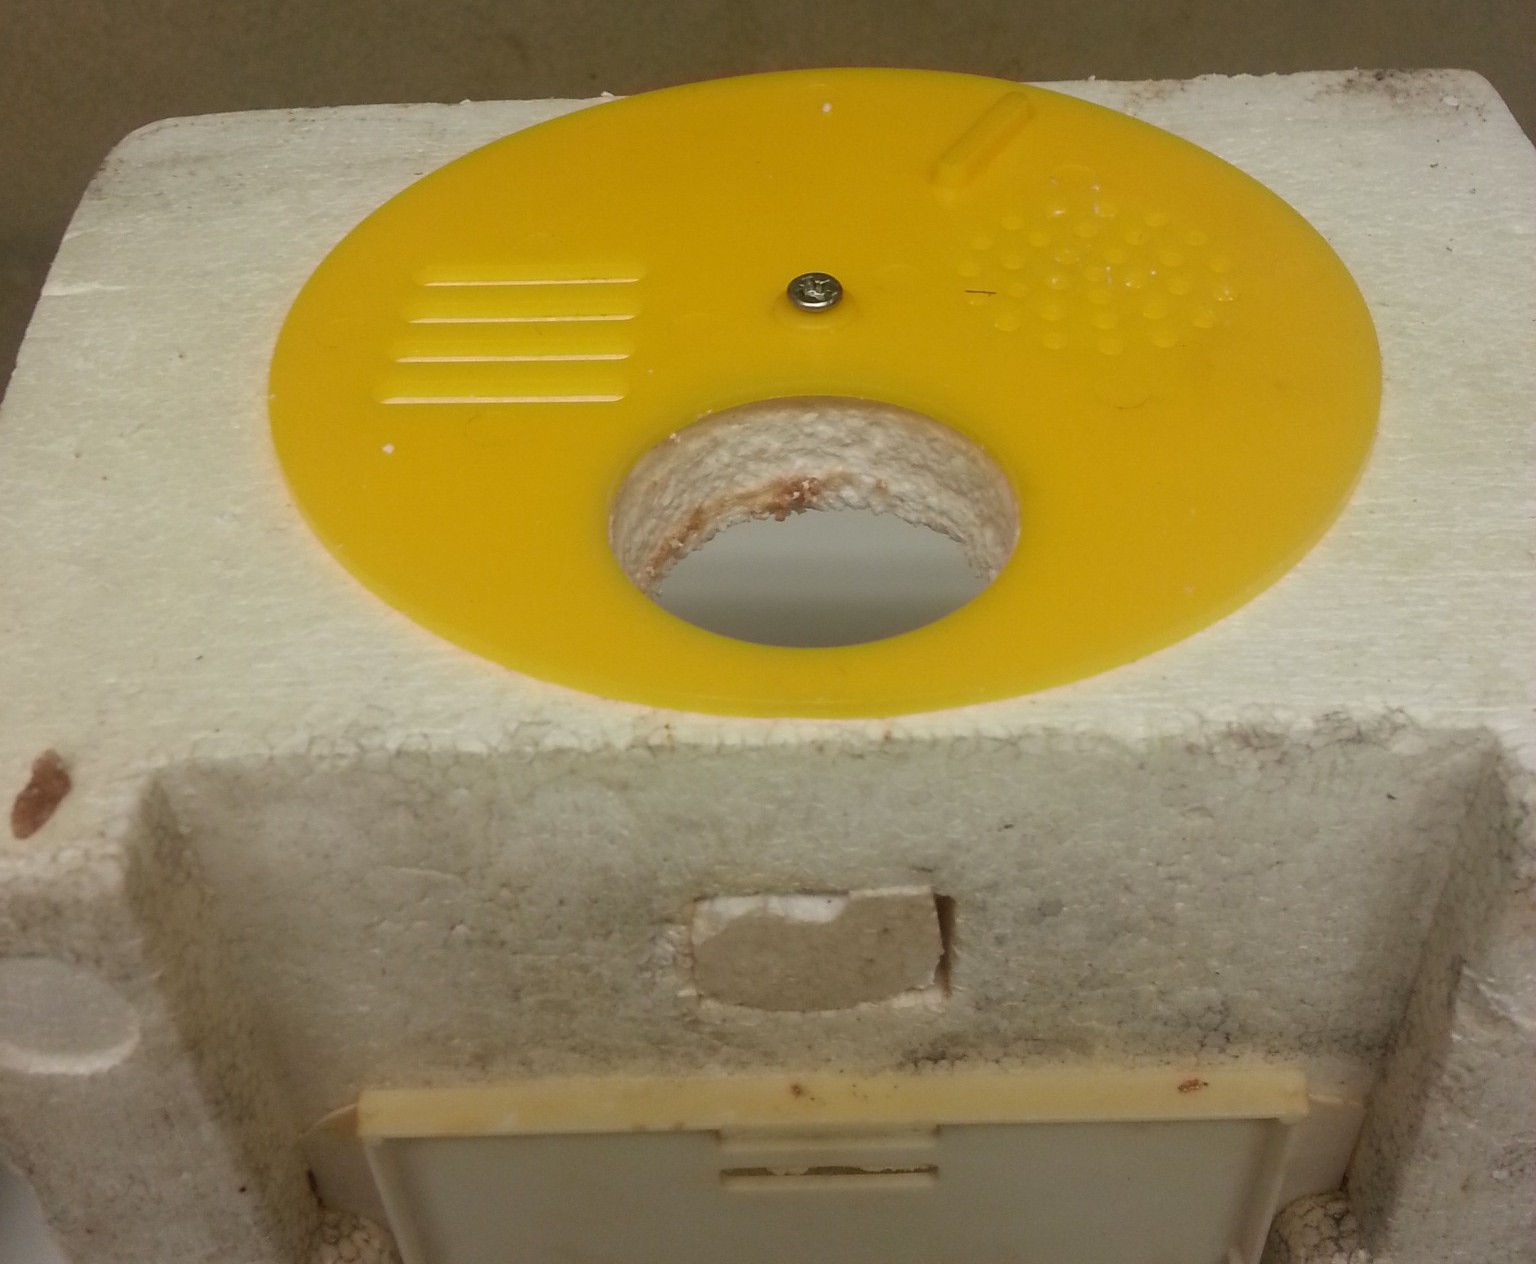
Wrong ! Filling hot molten polish into tins, obviously in hindsight, makes the metal tin expand. What happens when the metal cools and contracts? That’s right, less space for the polish and so it overflows… Darn ! This photo was actually one that overflowed not very much, but I forgot to take a photo earlier on the one that went across the counter and headed for the cupboard. Luckily you can just scrape it up with a knife and re-melt it again.

finished bees wax in a tinIn the end the linseed version came out a better colour. I can’t speak to how wel it will work as a polish, not having experience in using beeswax polish before as a comparison, but its made a nice sheen on the chopping board 🙂
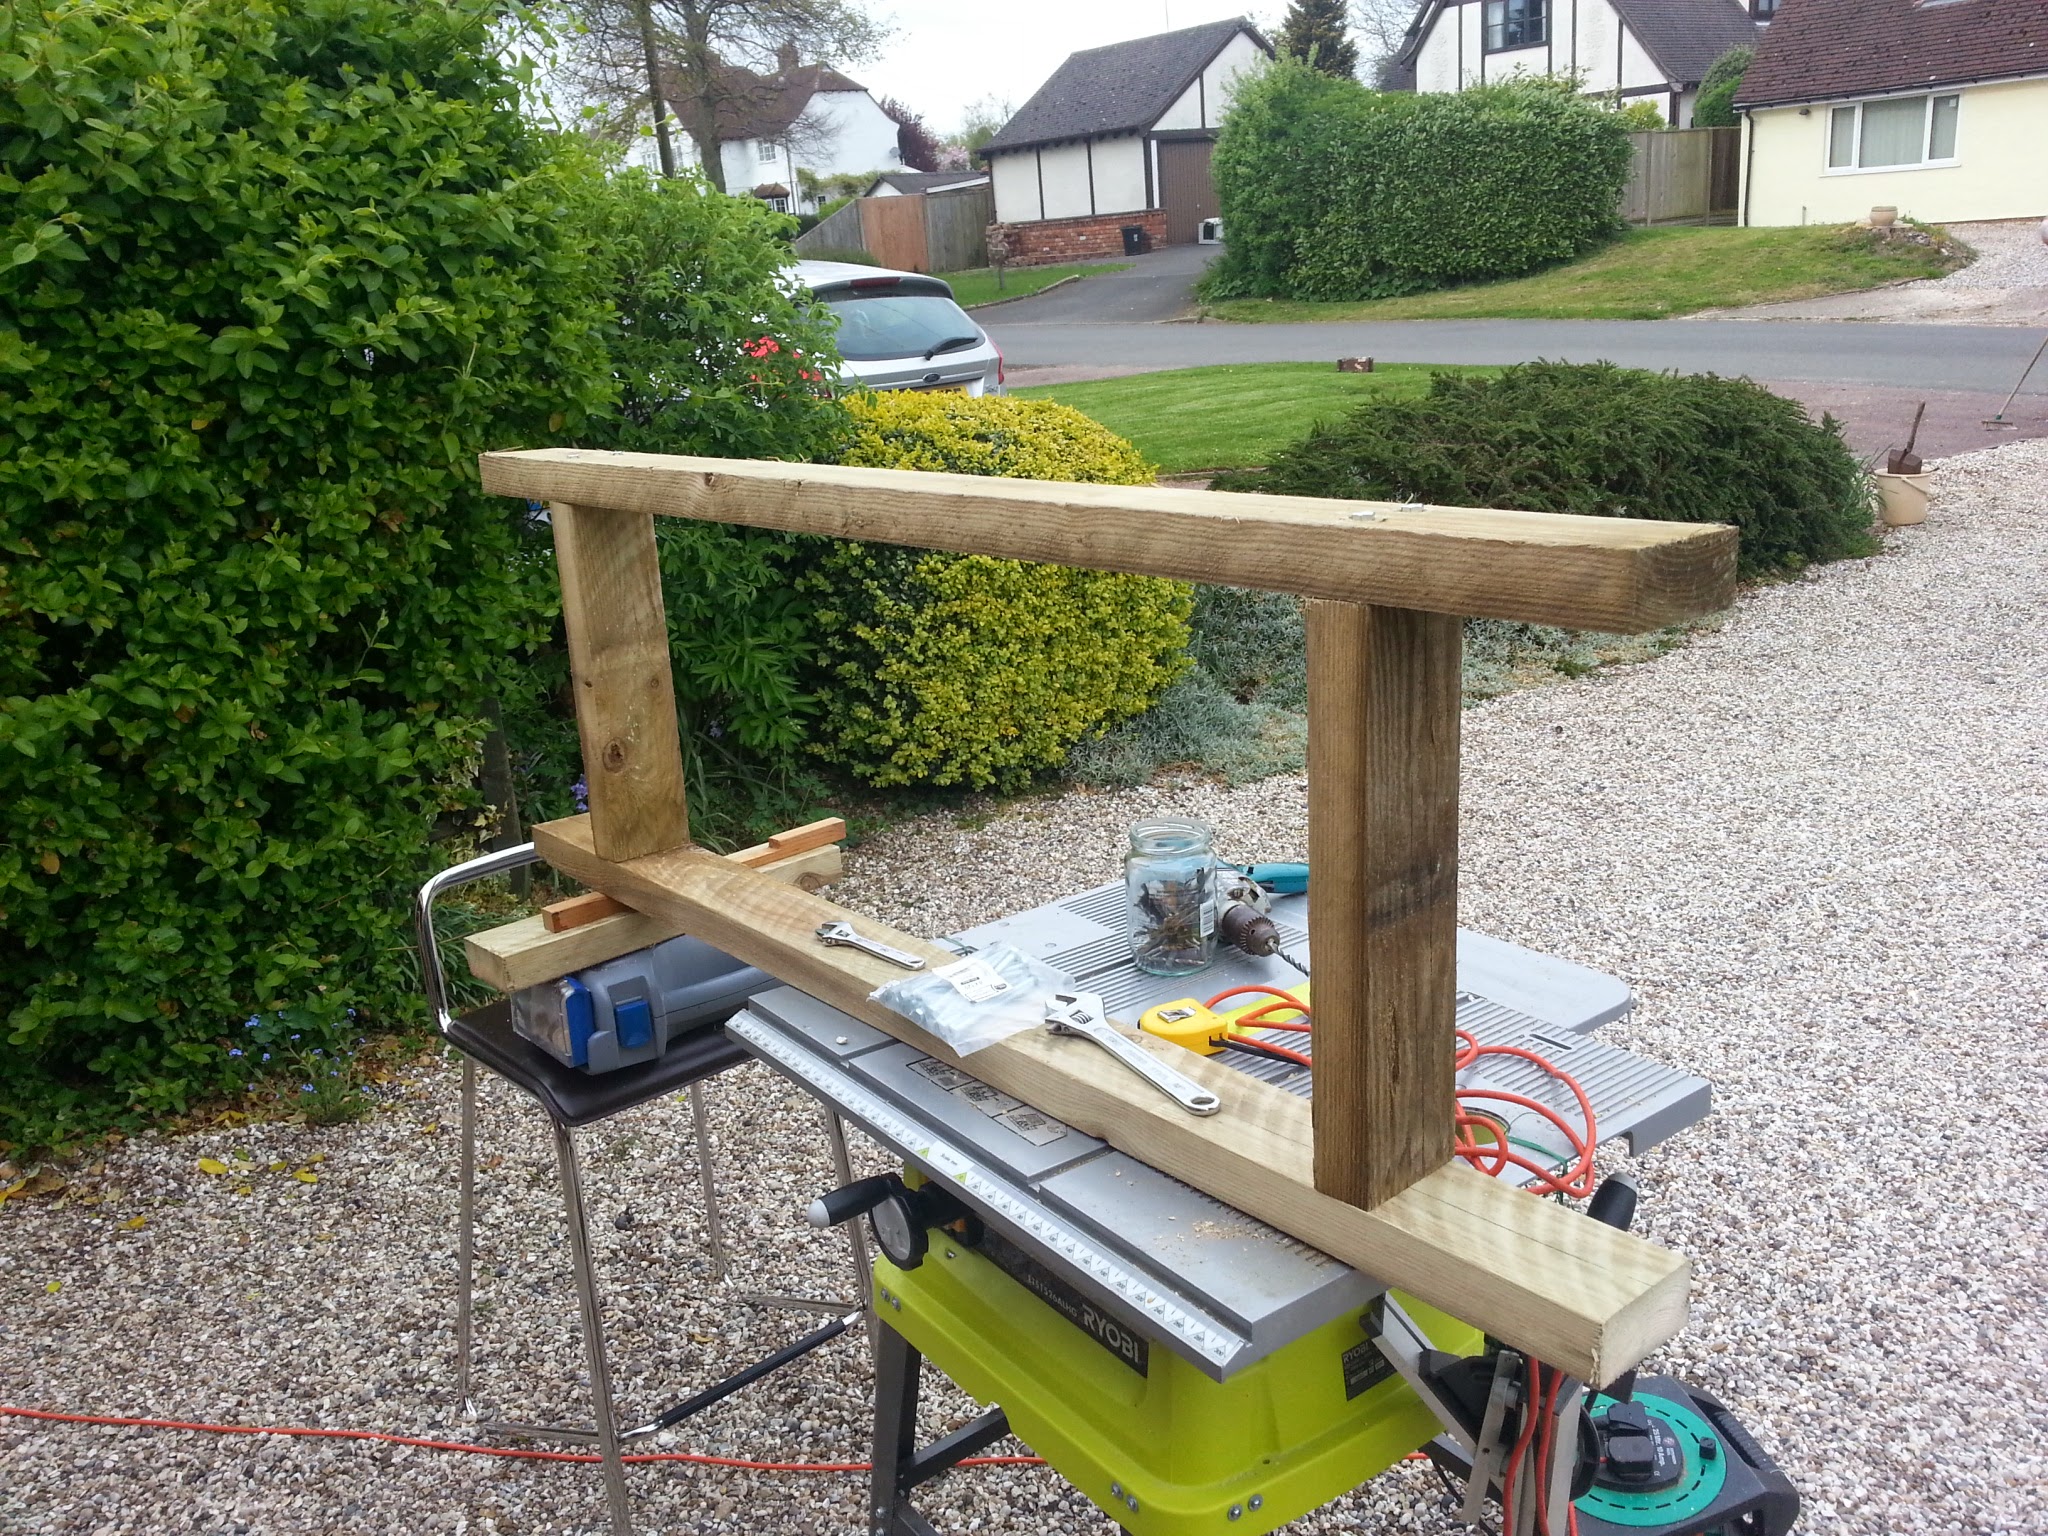
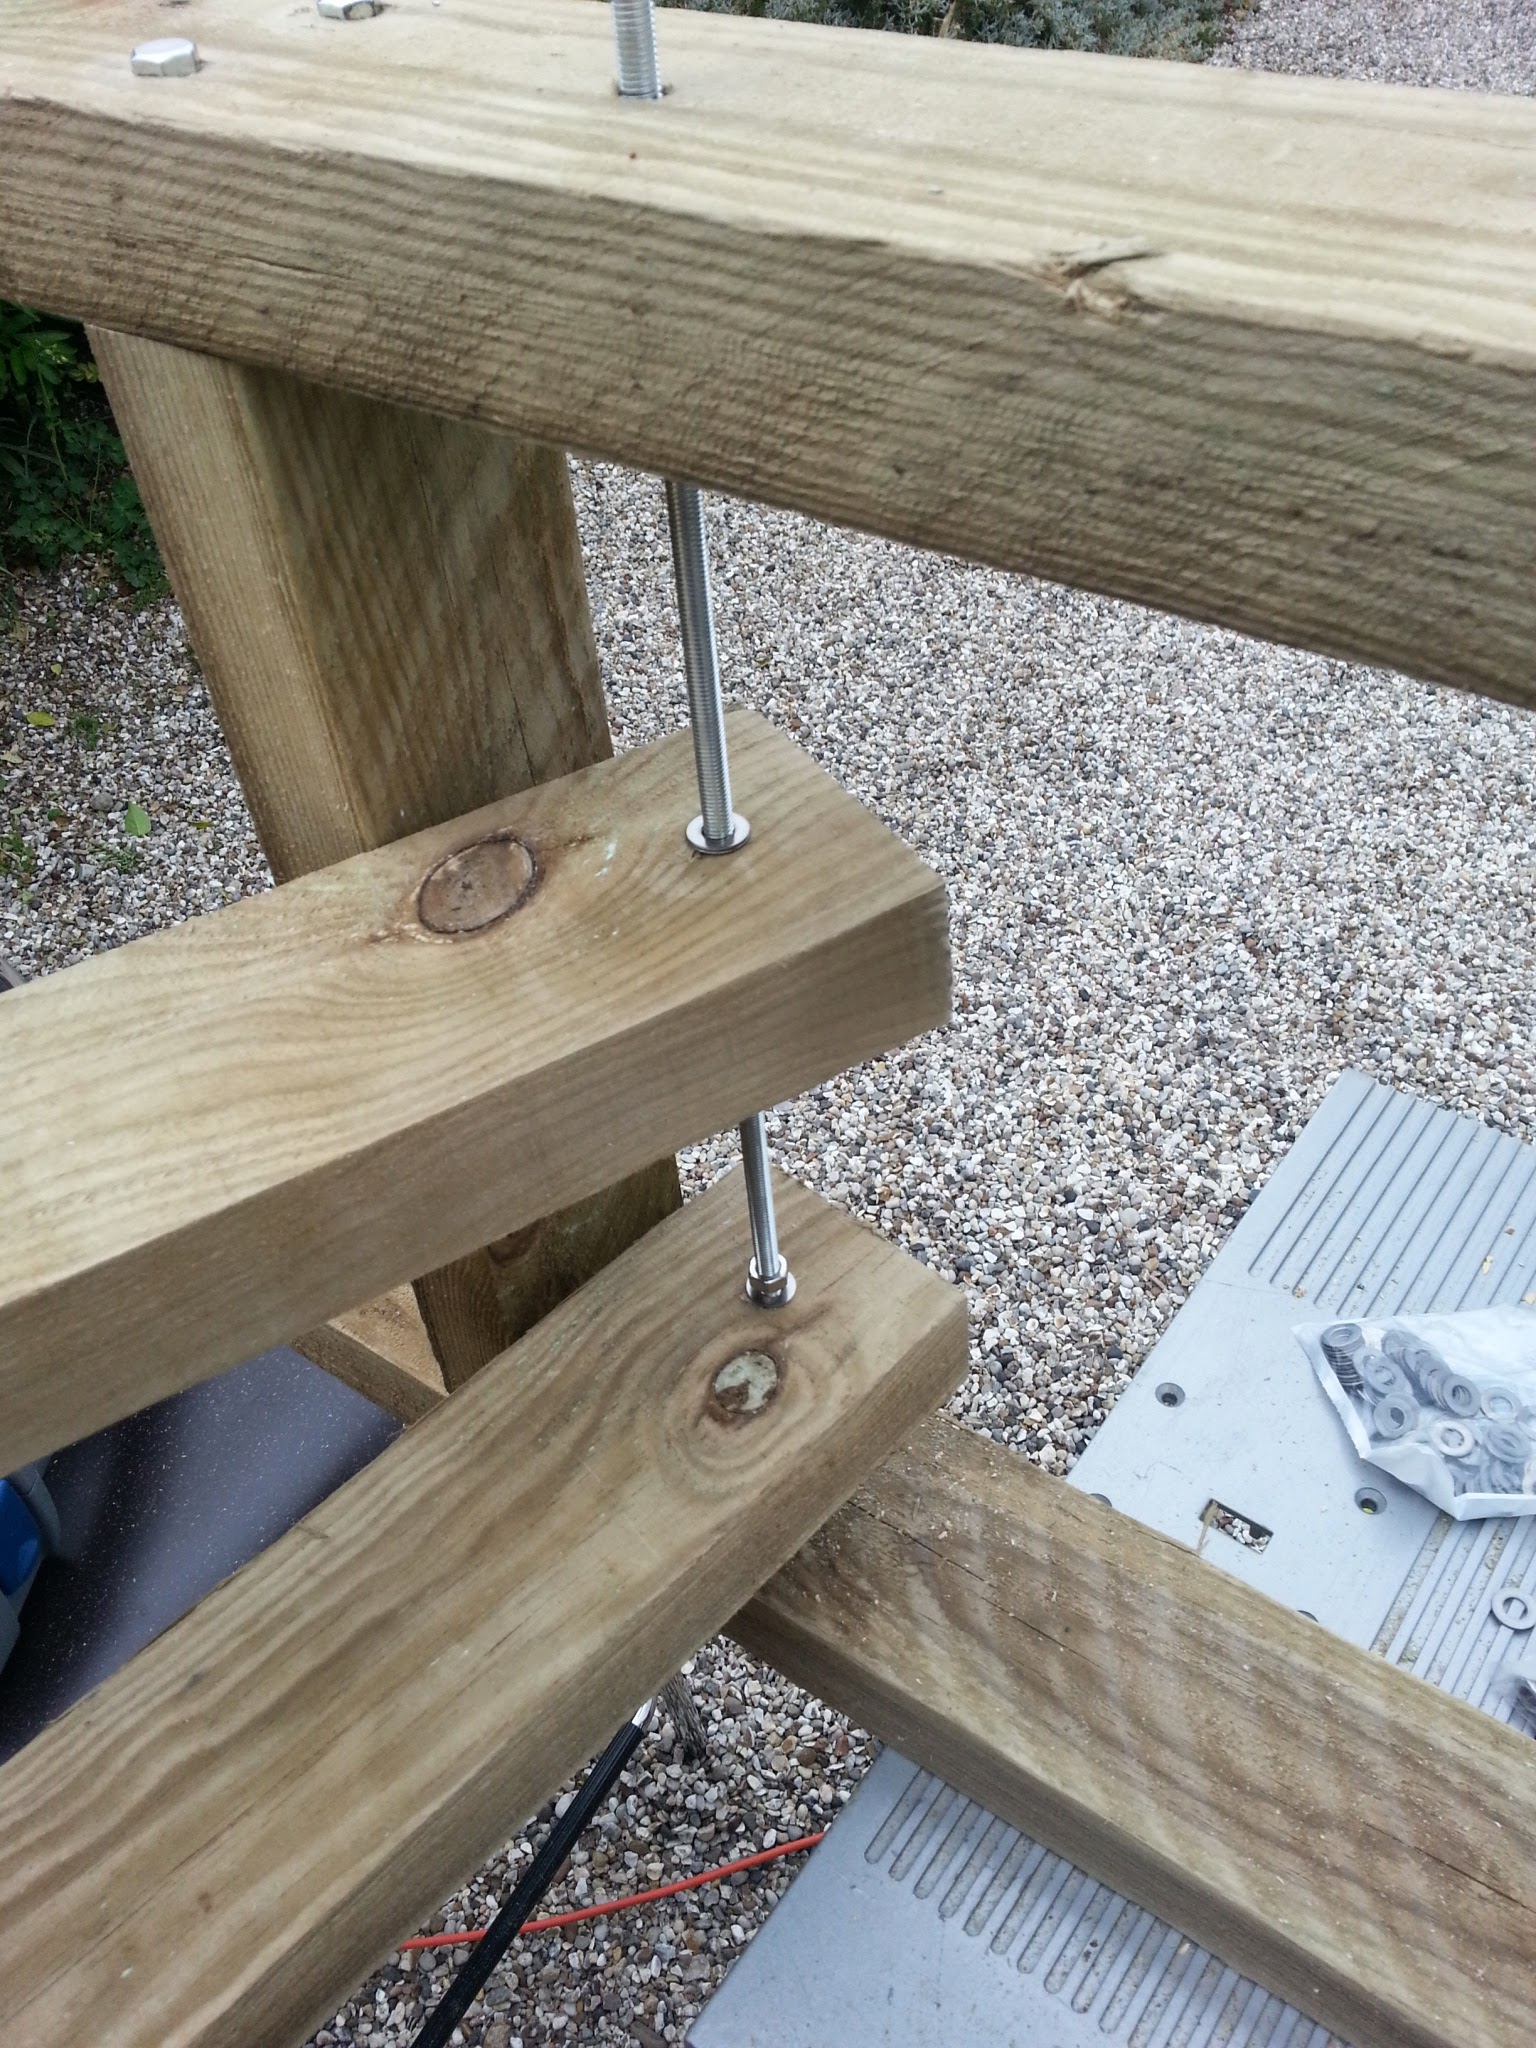
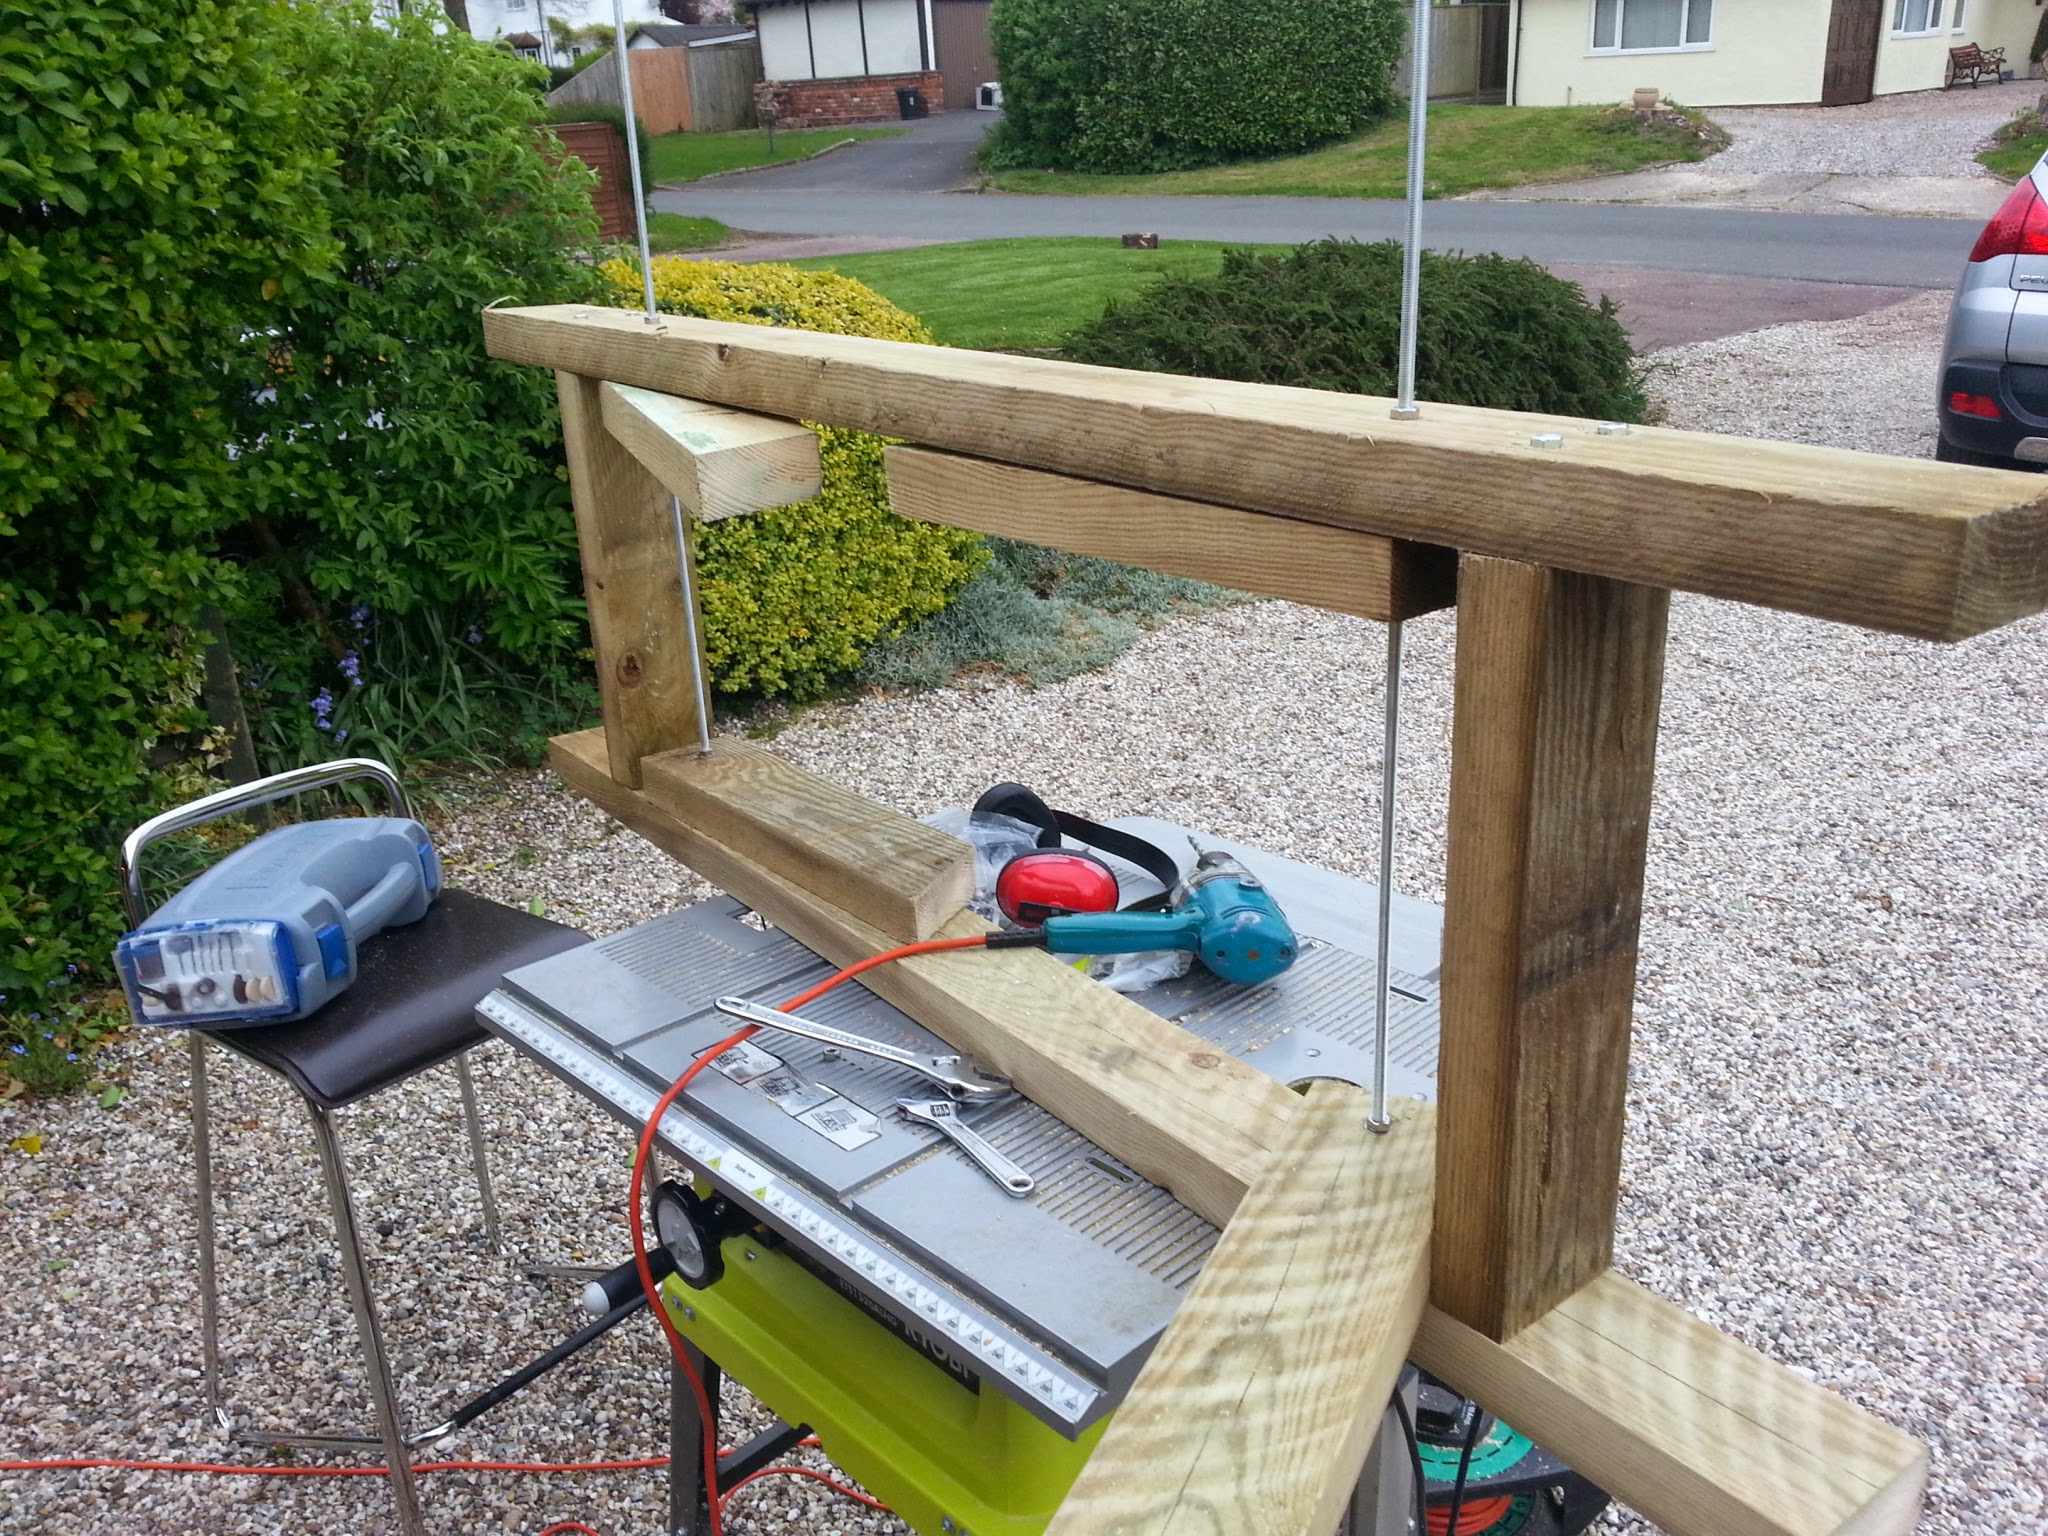
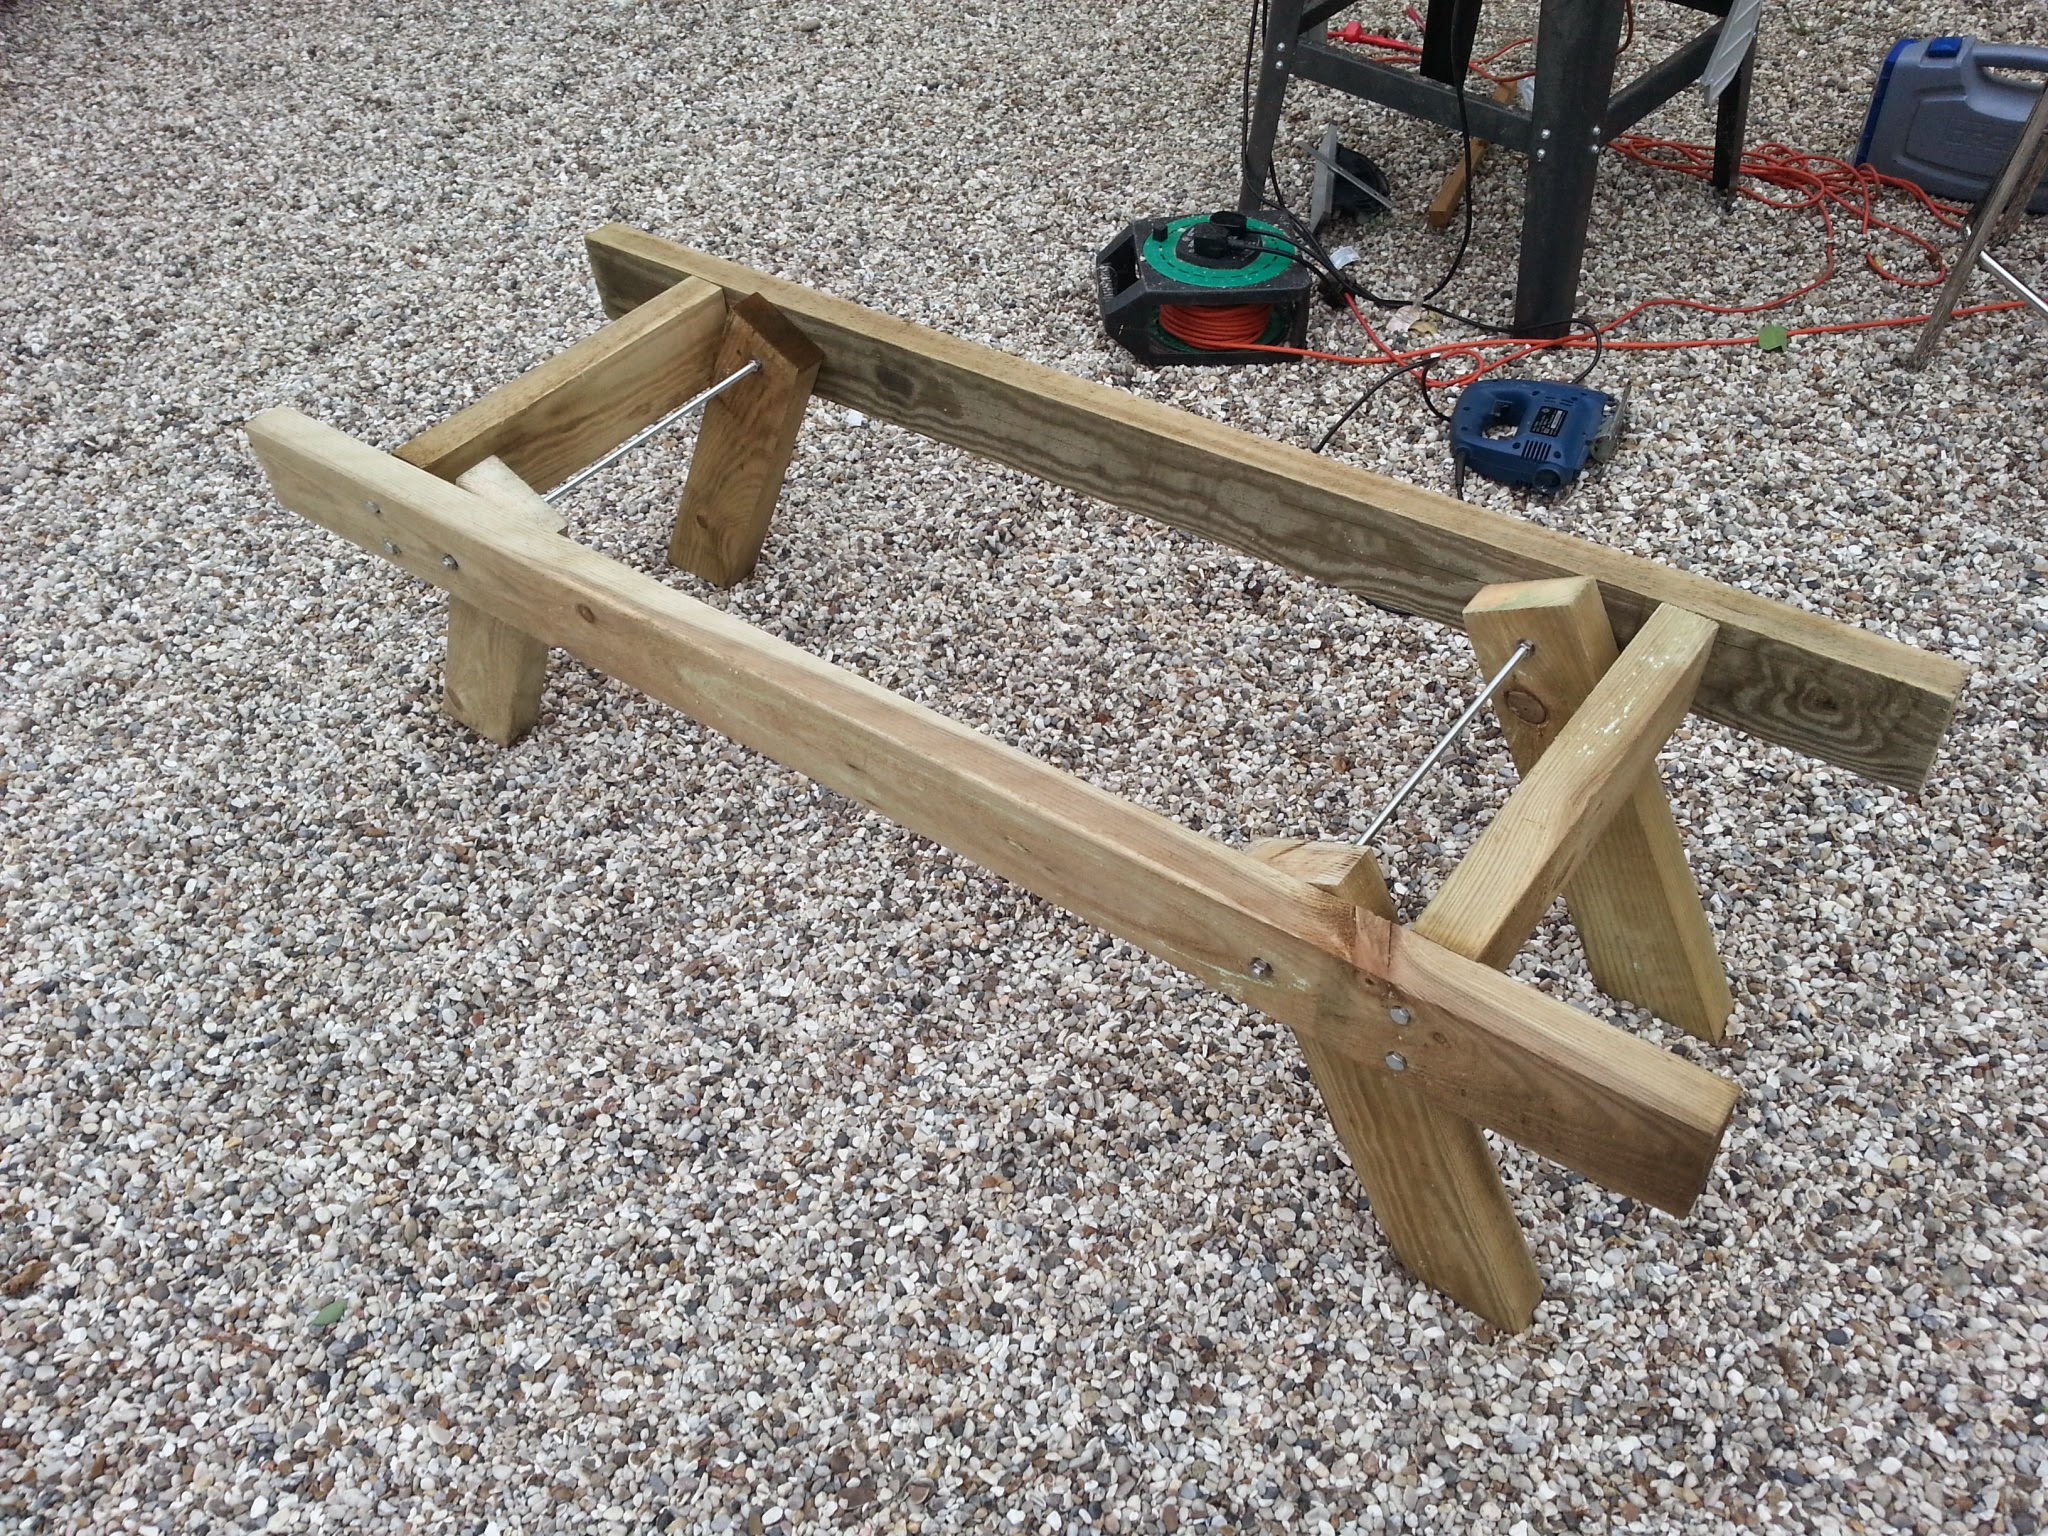
Winter Antics

Well it has been a while since I posted, highlighted by me wiping out my site but managing to get most of it back by the wonders of google cache. So what have I been up to in the bee world, well I have :

– been reading Snelgrove
– bought far too much bee woodwork from Thorne‘s sales, given I don’t want to increase from 10-12 hives
– bought an electric staple / nail gun and put plywood trim on plastic excluders to give them bee space
– found that said nail gun made putting together super frames very quick and easy
– put together lots of supers and dremel’d my initials into the side (hives do get stolen)
– fed my bees lots of sugar syrup and treated them with Api life var
– insulated inside the cover with hessian sacking
– insulated outside the hive by cutting up sheets of solid insulation board (20mm celotex) to make a cube shape that fits over the side, with correx on top with an overhang to keep the rain off.
– last but not least bought myself a 9 frame radial manual honey extractor. Finally, using my “honey money” to pay for it.

And next?

– Well, more woodwork assembly, coating with linseed.
– I am going to try to get hold of some acetic acid to protect the supers and other foundation from disease and wax moth.
– The big experiment next year is to try hypoaspis mites, a biological control for varroa mites. A naturally occurring mite that usually lives in leaf litter, which feeds on varroa mites.

Wish the bees and me luck.

Framing and making an escape…

As I said previously, I was at Thorne’s centenary day, and bought some good bargains. One of those bargains was plastic excluders. Now, I have bottom bee space and so unframed excluders can be a pain; not easy to put on (‘move I said bees…!’) or take off (damn sticky propolis glue), not to mention that I think its harder for them to get through without a bee space. Last year I got some nice frames wire excluders, but now the cheapest I can find is £15 each and that is before shipping. These were £1 each, and I do like doing the woodwork bit and the gadgets I have to buy to get them done. This one would ‘require’ a new purchase, an electric nail gun / staple gun. Now quite excellently the nails (brads) this takes are just right to use instead of gimp pins for making frames with… Hooray !

This job also utilised my fondness for hoarding bits of wood, nice big bits of plywood, and a love of power tools, in this case my table saw. I started by cutting narrow lengths of 6mm ply, and laying them out like so:


…and then stapling it together, and to the excluder. Then turning over and repeating.

Now those of you paying attention will note that I have now put a ‘bee space’ on each side of the excluder, which is naughty, because the bees will now have more than a bee space between the excluder and the underside of the frames of the super. Tough ! I’ve tried doing framing on one side only, it doesn’t work well. I have some 3mm ply that I could have used to mitigate the issue; but at least this way its now reversible. I will see how it goes; can’t be as bad as when I did it one sided. I put to of them on hives already as I write this, and it seems to be acceptable access for the bees to go through nicely.

Tips and tricks – a couple of notes:

I offset the corners on one side with the other for strength
I used four staples on each edge, don’t want it to come apart when stuck down with propolis
I used longer staples on the other side, to go right through the ply, excluder and into the other ply, hoping for a more durable join.
Once I had finished I went around with a belt sander (cool toy !), sanding down the edges to allow easier access with a hive tool, so as to avoid accidental splitting.
So once I had done that there was no stopping me, I made up all 5; then I made a bee escape / clearing board , the type where they can see from below but they need to go round the long way. I may have overdone the depth of it there, using 3 layers of ply for the edges. I had planned fewer, but I needed the height to allow for the escape construction.

Framed excluders and a clearing board

So now I have replaced a few other excluders, I can put frames on those too (one wire, one zinc, two plastic). I quite fancy trying a Vortex bee escape, I should find my round escapes, or I may chose to be ‘creative’. Another bargain from Thorne was a whole load of varroa mesh, which will prove to be I’m sure invaluable.