Super queen mating hive

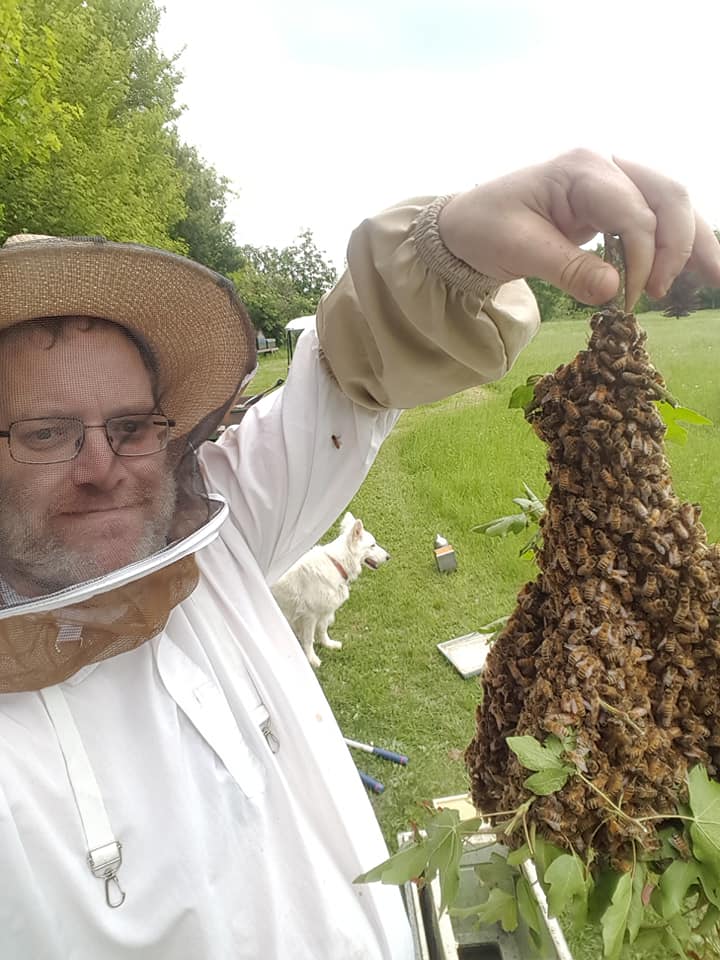
I’ve been working on raising queens, so far only hatched, unplanned, queen cells. I’ve got a Apidea hive, and a mating hive that I created myself using frames similar to Apidea frames. Well Apideas are not cheap, and not big enough to be left alone for long without support feeding. My first attempt at making my own was pretty successful, but it had one of the issues that the Apidea had also, trying to load it with worker bees was not easy. Also it was multi chamber, with easy mini-colony only being big enough to hold over for a few weeks. Will I continue to use them? Well, yes, apart from anything else the project I’m about to outline is not proven.

What is a Super queen mating hive?

Put simply, the idea is to use a national super as a mating hive. The simplicity of taking a standard piece of hiveware, with standard frames with foundation; where the bees can be transferred easily by frame swapping from an active colony’s super.

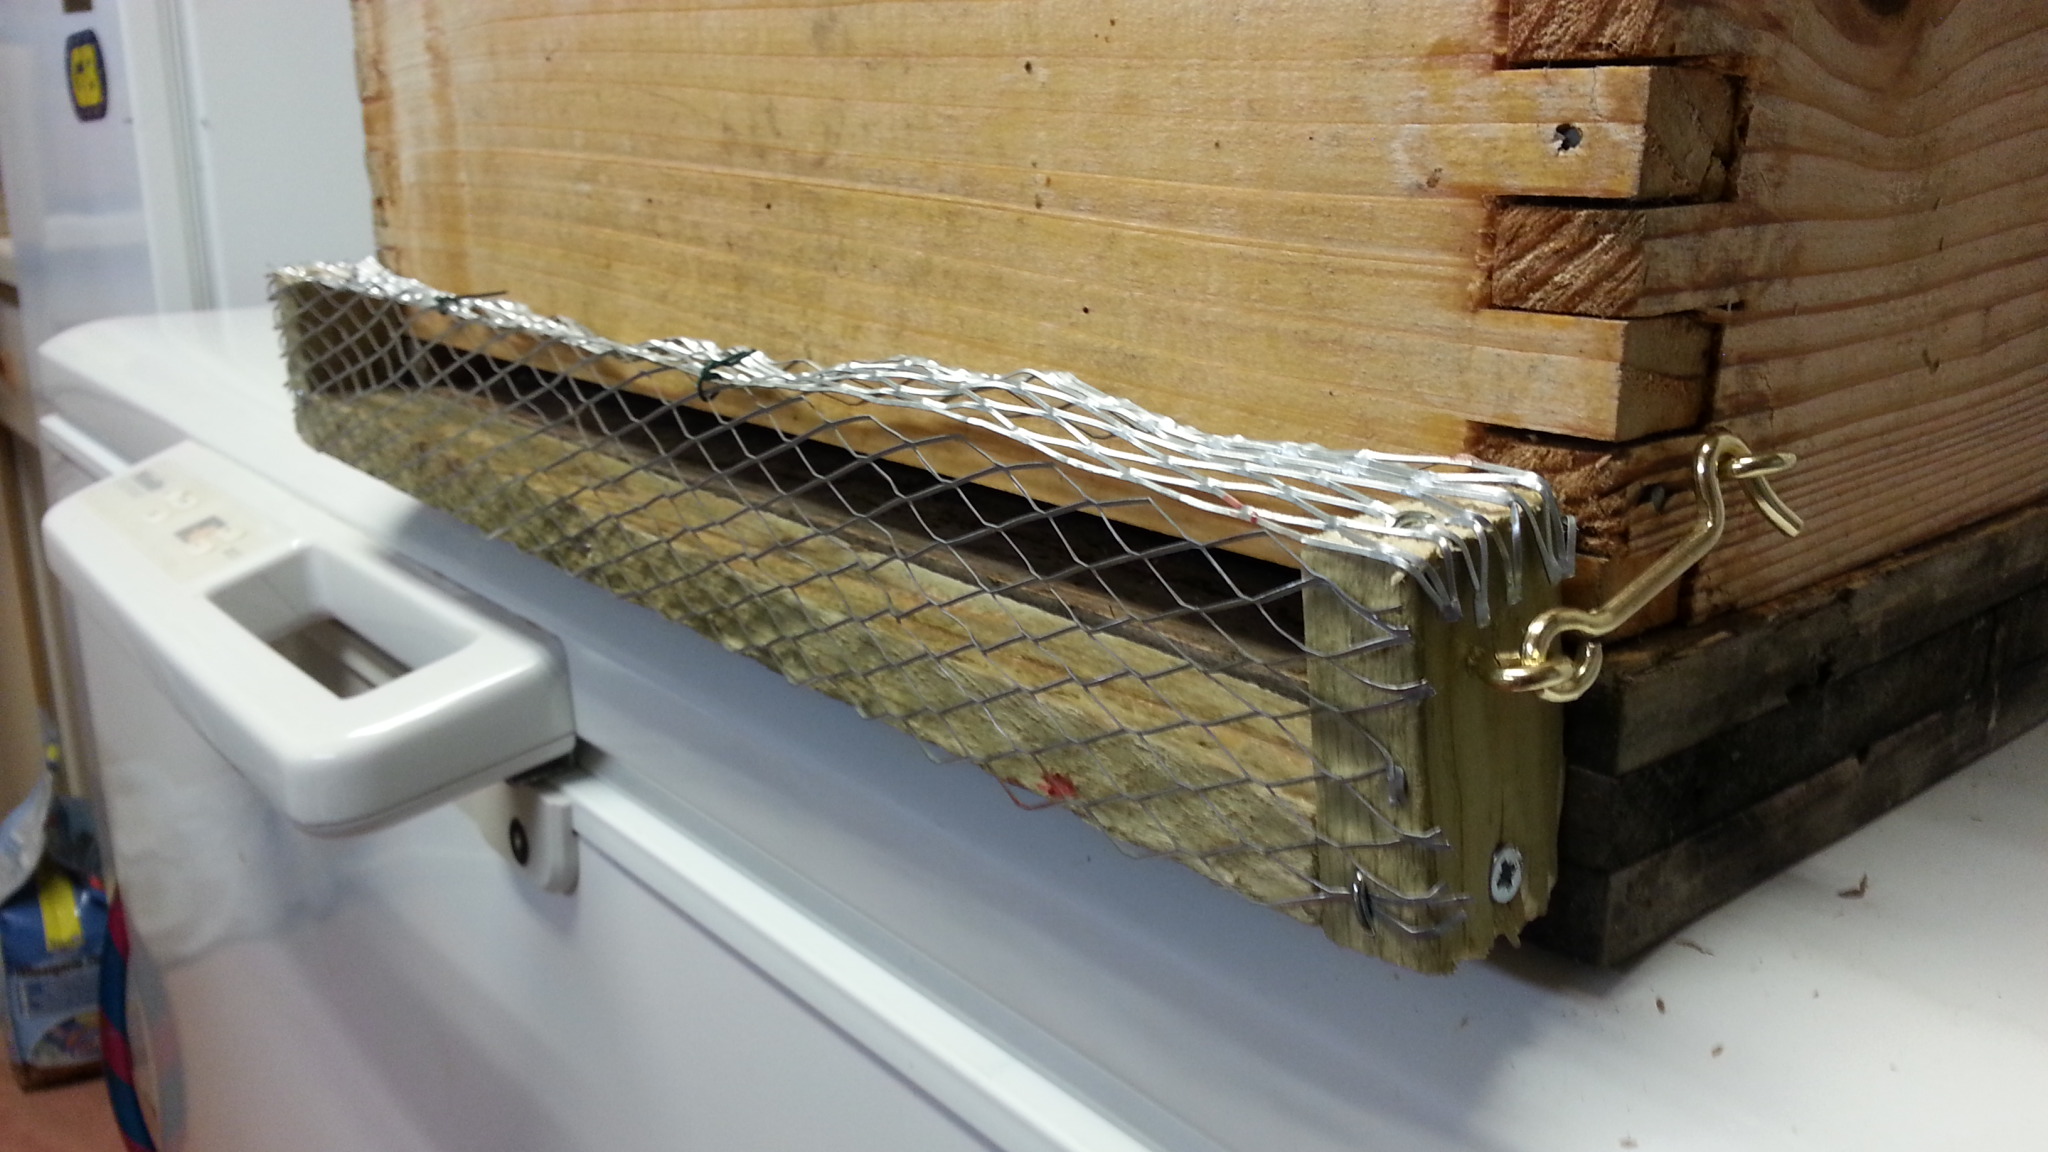
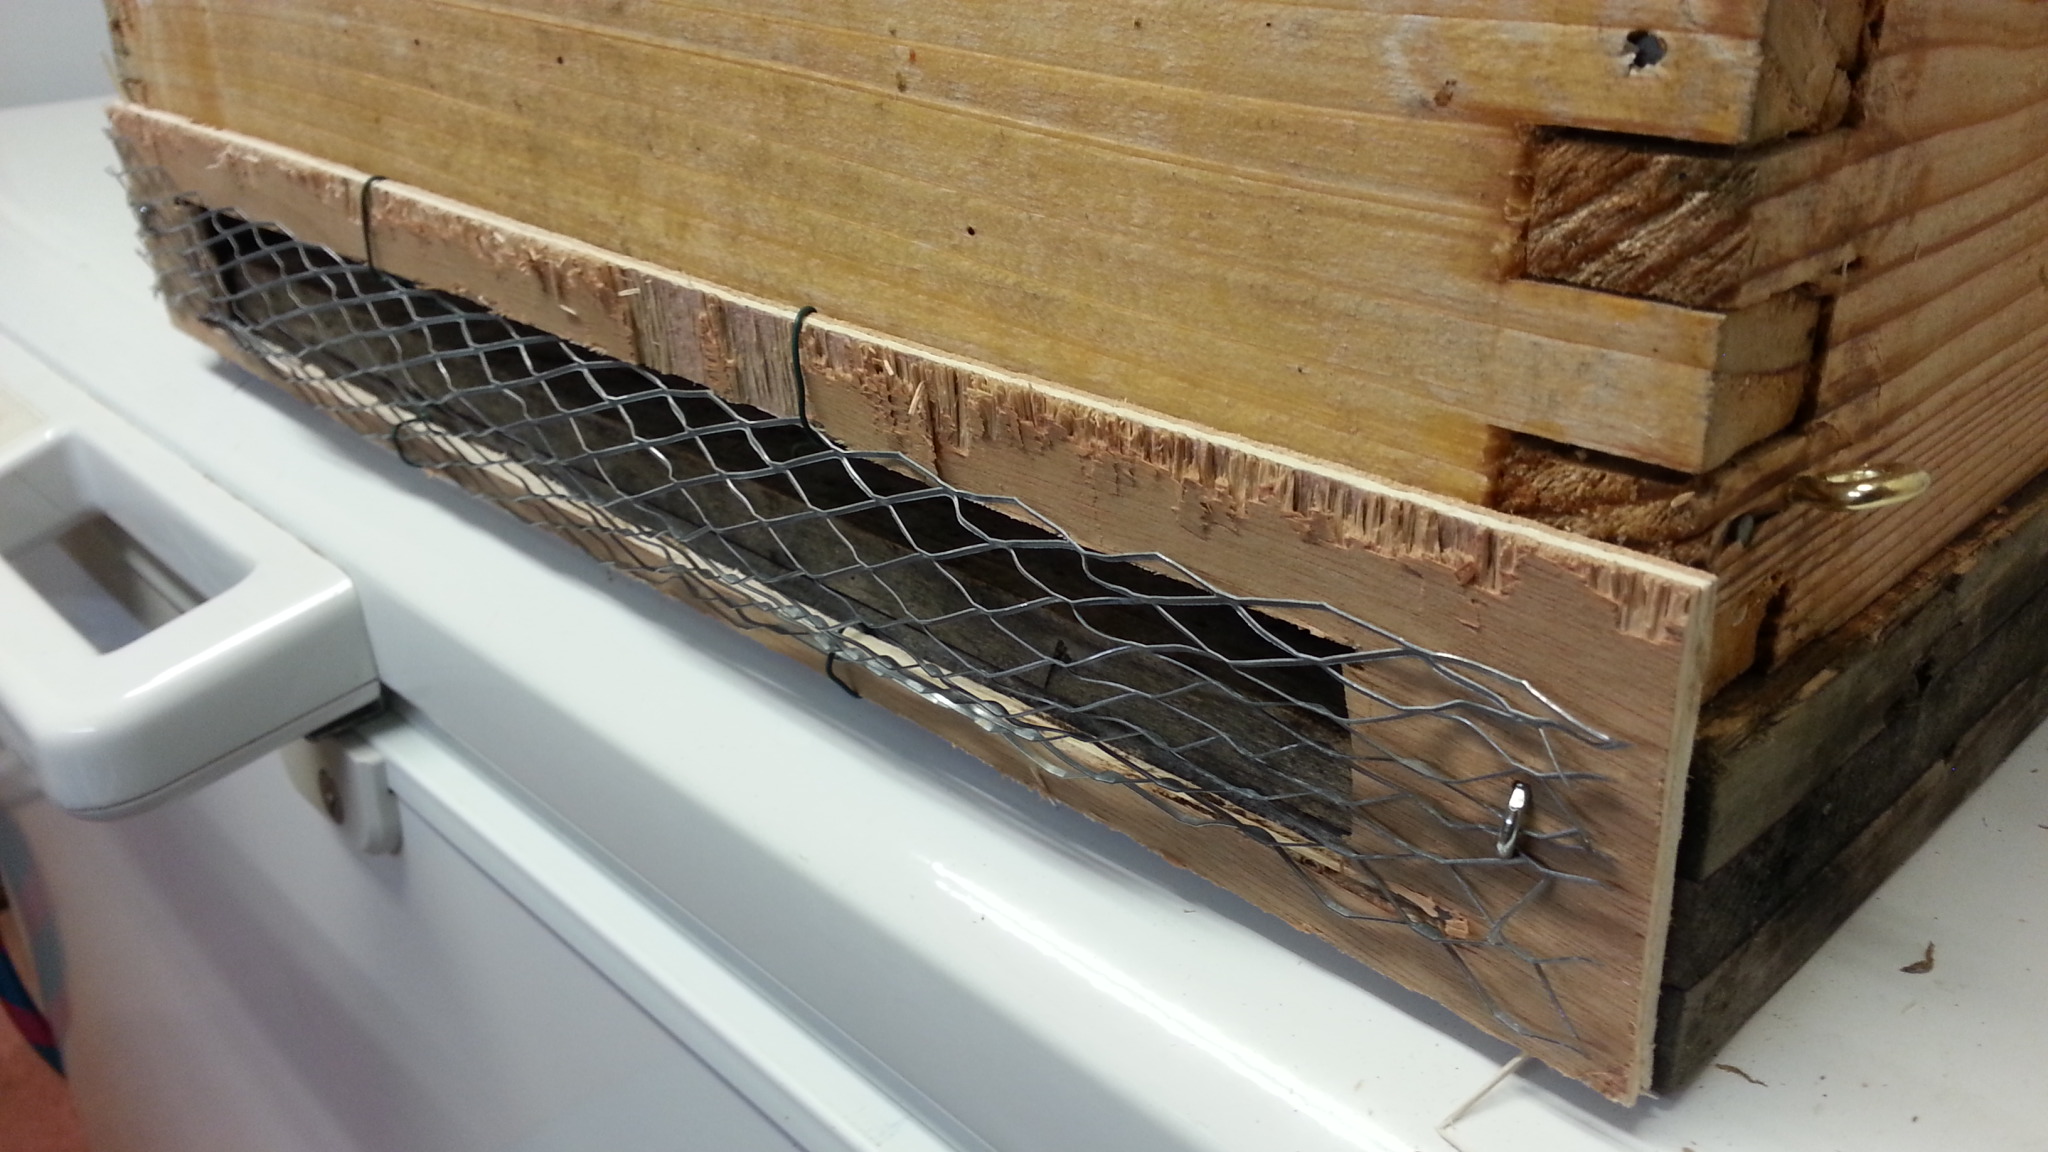
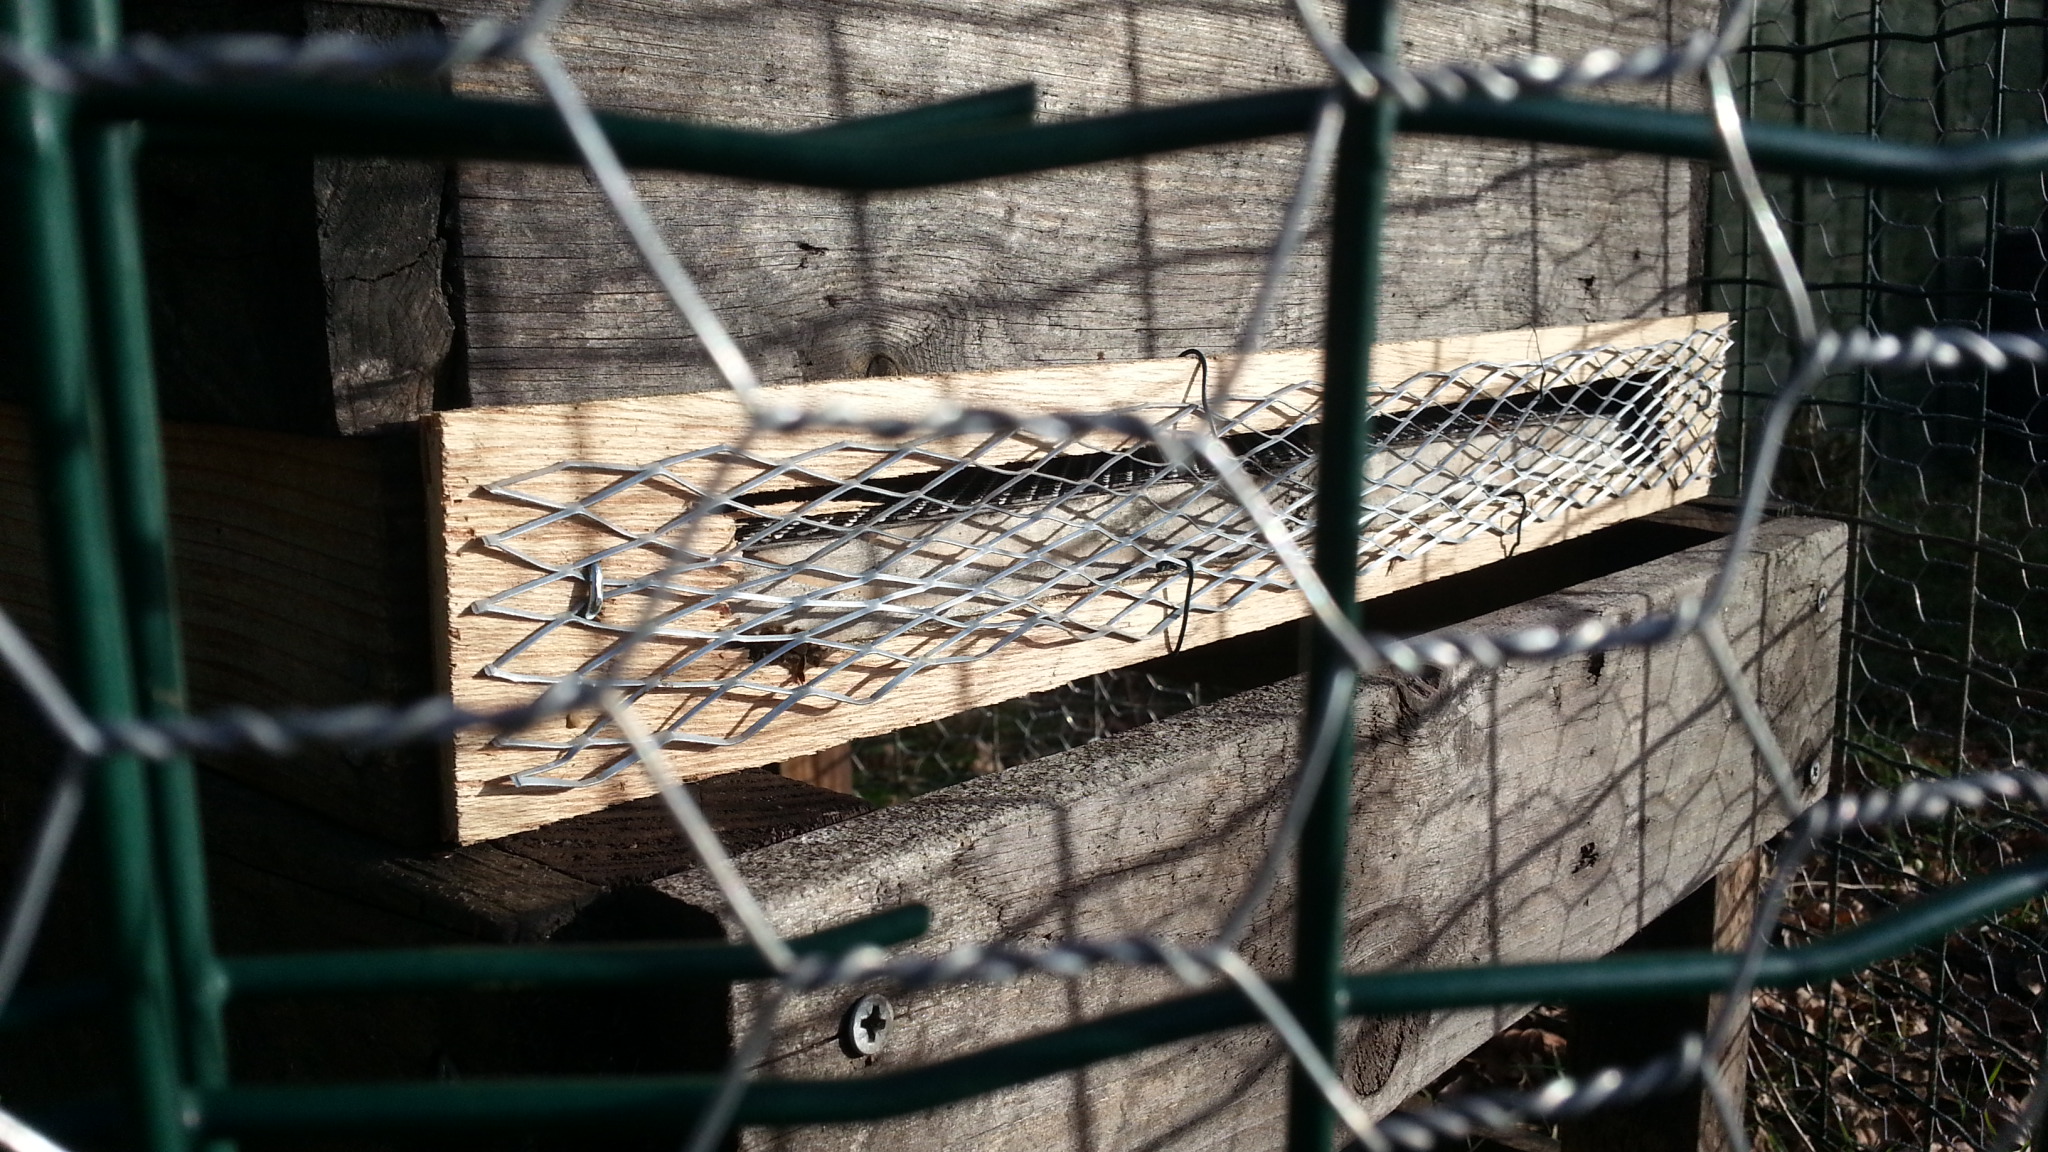
Now using a whole super for one mating hive is a bit excessive, as as with my first DIY job, I split it into multiple parts. Given I wanted it to have it be a bit more self sustaining than the Apidea size model, I figured two frames would be too few, so three or more was the plan. A super fits 12 frames, but I needed a bit of space for walls between each compartment and for manipulation. Nine frames left a lot of space for brace comb, so I decided on having a 4, 3, 4 setup; having the extra advantage of trialling the different number of frames. The sections needed to be kept separate so the dividers needed to come up above the frames and to be affixed to the bottom.


The sections needed to be open-able independently to prevent the individual colonies fighting with each other on inspection. They also have a hole in the crown board for when I get round to making a feeder to support them.


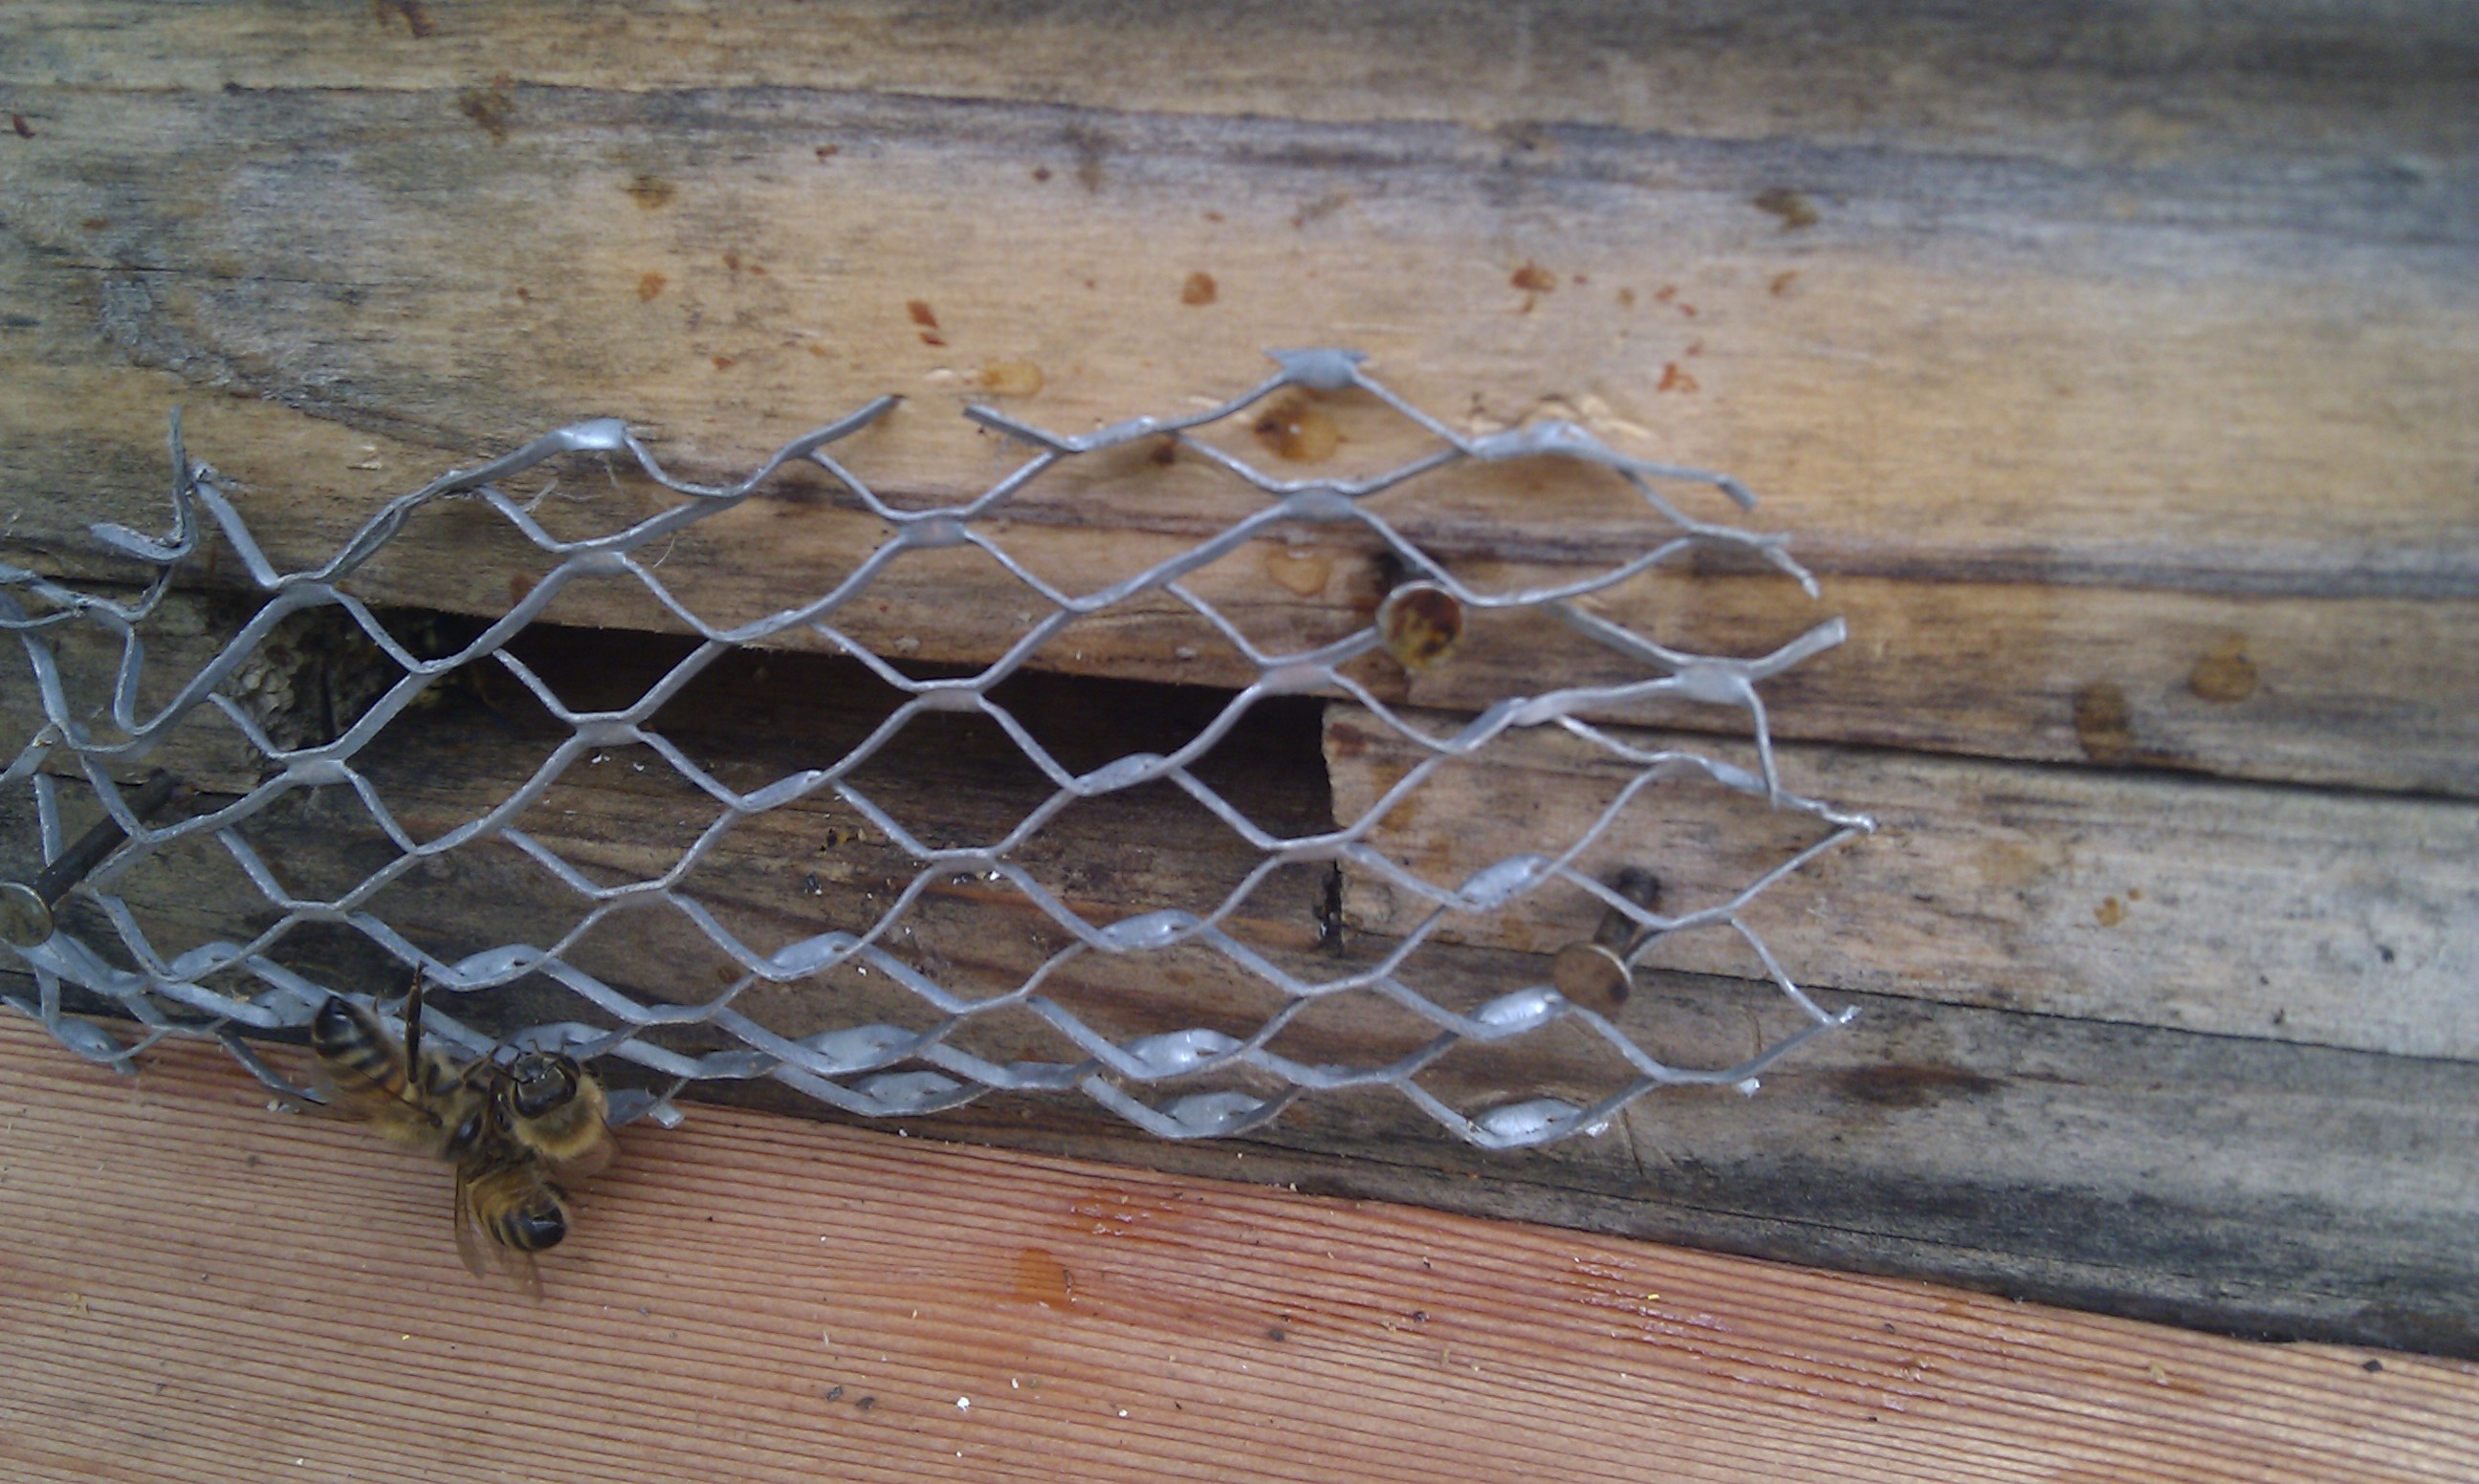
Then finally, I decided they should exit the hive separately, two to the front, with their own ‘alighting board’ to land on ahead of entering through a small defend-able entrance.

What’s next?

Well I’m going to

  • cut a hole in the far side for the centre chamber
  • paint the entrances different colours to help prevent drifting. 
  • cut out the floor of each chamber and put mesh under them so they will have a varroa floor, and ventilation. 
  • make a roof for it 
  • make a stand for it 
  • add foundation to the frames that don’t have it.

To prevent drowning bees

So the last couple of years I have had a little problem with feeding bees with a miller feeder. They somehow seem to end up in their dozens finding their way to the main pool of syrup and drowning themselves. This winter I am going to solve the problem. I have fixed a lid to it, with windows to check on them and a hatch to feed through.

Back to the woodshop

So after a year that has been short on honey, at least I’ve got through without loosing my bees like some have, touch wood.

Anyway, last year I used some wire mesh tacked onto hives with nails. It was messy, took too long in-front of the hive and wasn’t ever-so effective I suspect, although I didn’t get mice.

This year I had an idea of a framed wire framework attached to the hive front, full width of the entrance. The first attempt was a ‘bit’ over-engineered, more wood than was necessary, more mesh and a slightly extravagant attachment mechanism including a screw in hook and eye. On balance I might have had enough to make 6 or 7, but I needed to make more in the order of 10.

But all is not lost on that solution, although we will be changing the parameters of the problem at hand. I am thinking I will use it as an anti-robbing cage, closing the mesh up to prevent anything getting through and then opening at one end on the outside and the other end on the inside, making a cage tunnel. But more of that when I get round to it.

So I resolved to have a simpler solution, a piece of 3mm ply wood with a letter box style cut-out. Then attach the mesh with a staple through and tied on with wire along the length. The staple being pushed through to also allow me to just hammer the whole thing onto the front of the hive, for minimal time sat in the danger zone (albeit using a hammer on the hive at the time).

Anyway, 10 made up in record time… A table saw really does make things far simpler and quicker. I popped them in place and the bees happily crawled through them, although I’ve no idea why they were out on a day when it was 8 deg C !

New hive, new apiary

I was invited to have a hive at a new apiary, another large gardened countryside house. I had decided that I should sort out a new hive in order to do this, and someone had just mentioned they had some old WBC hives for sale. I quite fancied the idea of trying out a WBC hive, they do look quite nice after all, the classical image that people have if you say bee hive to them. The one I bought had five lifts (storeys if you like) and was in need of a bit of renovation and modernisation.

I stripped it down, sanding everything and removing the paint from the metal covered roof. The roof was quite rusted in parts and the wooden strip down the middle that covers the gap between the sloping panels of metal was rotted. Still, that was a good excuse to use my table saw to its fullest, including the 45deg tilt I could get on the blade. With a bit of sanding I got great results, looking like an oversized toblerone, to go along the top of the hive.

I’d decided that the obvious colour for the classic hive was white, but I really don’t like dealing with gloss paint, and having to deal with a primer and an undercoat, so I opted for garden wood paint. I also needed to coat the metal roof; so, after stripping it down I painted it with hammerite to give a good protective layer. The hammerite was bright red and as much as it looked nice, it stood out a little to starkly for its intended destination I thought. I sprayed paint over this base, trying out a few light colours to start with but they didn’t quite look right, not contrasting enough to look quite right. I settled on a mid blue, which struck the right note; and interestingly ended up looking quite greek (blue and white being the classic house colour in greece).

Oh and I said modernisation; well that was a case of cutting a hole in the floor and giving it a varroa mesh floor. It wasn’t quite the full floor size due to the entrance slope which I didn’t really want to cut into; still it should put a dent in the varroa hopefully, and give some nice ventilation either way. I used a 14 x 12 deep national as the brood box rather than reusing the pre-exisitng brood box which remains in need of some serious clean up.

Anyway, the end of the story is a successful merge of hives with a lots of brood, a nice south facing site with wind protection from a 5ft hedge and an extra bonus of 20 acres of borage being grown a mile away.

Nuc-lear Beekeeping

…aka building my first nucleus hive. So I had a piece of wood lying about and a penchant to have a go at making a nucleus hive. I started with the easy bit, making the box; just screwed butt joints for now. I’ll get round to building things using finger joints.

With a bit of light chiselling I made a simple rabbet for the frames to sit on, using a bit of trial and error for sizing, using a commercial brood frame for dimensions.

With a bit of ply making a crown board was fairly simple, making a frame and popping the board on top.

Making the roof was a similar affair, I also added spacers to rise the roof above the crown board to allow for ventilation, and wedges down the side to keep the roof centred on the hive.

The floor for this was and interesting one; rather than an entrance at the front I’ve gone for an entrance below leading up to to the wire mesh floor. I’ll tell you how I get on with that one. As for the mite tray, I figured as the whole thing will be pretty light, I can just lift the hive and place the corex board underneath.

The usual 5 frames fit in nicely leaving just a little space for manipulation.

And there we go, job done. Well just short of a stretch of roofing felt to keep out the rain and probably a lick of paint for the rest of the box too.

First hive clean and move – part 3

So just on the day I’d come to swap it out, wouldn’t you guess it, she had only gone and laid in it. Fresh eggs by the look of it. 24hrs earlier I would have been fine… Grr ! They must have gone through a LOT of honey to make space in that comb, or maybe they moved it to comb 1 where it was all uncapped. The last frame was full of uncapped honey too, and braced to the wall, unusually.

Anyway, that was the 2nd plan out of the window, no nice easy swap of brood frames… At this point I had a step back to think. I could move them, put a queen excluder on and a super and let them get on with it. But, they were building brace and clearly didn’t have enough room. I didn’t want to abort so many eggs that she had taken the time to lay, so my plan to put the disfunctional frames to one side for them to rob was clearly out.

So… hmm… I transferred the combs over to the new box, barring the last two. In their new position I put framed foundation, giving me uncomplicated frames and the queen somewhere to lay, once they were pulled out with wax. The remaining two troublesome frames I left where they were, put a queen excluder over the new box and this box on top, with the 3rd frame of foundation I had brought. That way the nurse bees would still look after the eggs, the queen could not get up there to put any more in, and I could remove them later, and they would not have competition to rob their honey back. All upside? well not quite, I’d be leaving the rest of the old box open for them to fill with brace comb, and I’d be taking a chance on the eggs surviving, but then nothing is perfect.

So with that done, and a bit more storage for them, I squirted hiveclean on them all, put the crown board on top and the super above that (remember I didn’t want hiveclean tainted honey in the supers), and put the roof on top.

Oh, nearly forgot, I was putting cone vents on that pent roof, and, of course the battery drill runs out, half way through the first cut… Pahh !!

A lot of bees were still sat on the old floor, so I propped that up against the landing board so they could crawl up to the new entrance.

So, after all this lot… Do I really feel like going through it all again with the next hive? 2 stings down, next door hive with upset bees flying about, returning foragers coming back to chaos, and not knowing where their hive had gone. What do you think?

But… if I didn’t hiveclean then, I would not be able to get the super on that they no doubt needed just as much by now too. So I levered the brood off the base, moved it to the new position on the mesh floor, squirted them with hiveclean, crownboard on, clean brood box on, queen excluder, super, roof on top, put the old floor in front leading to the entrance. Done. 6 mins.

And so, I left. Had I done the right thing? on balance I think so. Getting as much of the job done given the situation, balancing upset (on both parts), with the need for a clean, more room and so on.

What’s next? Well I have to go back, transfer the 2nd hive to the next box while scraping off the frames, and give them access to the super. I need to go back to the first box, see what is happening with the old brood box frames with eggs. Scrape off frames, and at some point put a super on. Hmm when is it safe from hiveclean? What about build up of brace comb in the old box in the mean time? When can I put the super on top safely.

For these answers and more tune in to the next edition of “What does he think he is doing !! tsk tsk tsk”.

First hive clean and move

So as the big day approached I was getting everything ready. I made 2 new hive floors, I’d bought new stands in November, I’d prepared empty brood boxes, supers full of frames and a plan. Well kind of a plan…

I knew what was involved in cleaning, I knew I wanted to put supers on, I’d worked out which frames I wanted to swap out due to irregular comb formation. The ones fully of honey, the last 2 in the hive were one ones in question.

So first change to the plan. I’d bought some hiveclean. As its not to be used when the bees are storing honey where it will be collected. So the supers could not go on today.

I got to the apiary about 12:30 (summer time today), and there was bright warm sun… but only 8°C. So… was I going to have change two be postponement to another day? The bees were not flying, surely a sign of ‘don’t even bother’. I busied myself watering the plants I put in the other week. Some had been lost when the local bunnies had dug them up. Not to eat as far as I can see, but either for fun or trying to use the hole I dug as a new warren entrance.

So, after arranging everything on the ground near the hives, I put the new stands, floors and brood boxes in place. I had decided to turn the entrance 90° in each case, so the entrance would not be north facing and in constant shade. To the east, for the morning sun, would have been my preference, but that pointed straight at someone else’s garden through a wire fence. So for now it is pointing west. In addition, with the original hives side by side, turning them both 90° would have one exiting right into the back of the other one, or at least into my back while I inspected the other one; so with this in mind I offset them, so they will be exiting up the left side of the first hive.

Varroa floor two – the table saw strikes back

So, hive floor number two… Well, yes, good and not as good. It was made of pine this time as I ran out of cedar. Its not as nice a wood to work with or to look at, and it hasn’t got that lovely cedar smell either. Having done one already I had more than a sketch of an idea. I went with deeper cuts in the sides to put the bottom board in and the slide tray too. While making the slide tray so much easier than on the first one structural integrity was diminished… should be ok, cross fingers.

Actually I did have one little piece of cedar left, with which I made a new block entrance. The slots cut were not quite centrally, but it adds to the character (ha !), and I think the bees won’t be too bothered by that on balance. Having a little centre hole option will give them a defensible option in the case of wasp attack.

After make these I prepared for the Sunday adventure of doing an inspection, a hive clean, new stands, floors, brood box, queen excluders, supers and some replacement frames. This little lot did fill the car up I can tell you.

My first first hive floor.

So I built my first hive floor this evening, and used my table saw for the first time. All in all I can honestly say I think it was a success.

I drew up some quick rough sketches of how I would build it. There weren’t too much in the way of measurements and everything was done by eye. I started with an entrance block that I bought a while ago and worked out everything to fit to that. Well that and the dimensions of a national super.

I had some cedar bits that were someone’s offcuts they threw away. They did a great job and it is a nice wood to work with, apart from the orange dust.

imageI cut some nice slots with the table saw for the mesh to sit in and the corex board to slide into when I wanted to do varroa counts

imageI cut out a channel in a ‘back door’ and cut corex board to fit that and the slots in the assembled floor then just glued it in. Amazingly the table saw has a handy dimension to its blade; it is just the right width to cut slots that are the thickness of the mesh and the corex, yay!

imageI ‘adjusted’ the entrance block to have a small bee slot in case of robbing or wasp attack. I may notice they have a nice mini landing board, its because it just so happened that the off-cut I had edges like that; I had been cutting them off to give myself straight pieces of wood, but then I thought they would be useful to the bees and look nice too.

imageI was pretty pleased with myself that I got the bottom board to fit so well. It isn’t strong, but then its only to catch mites so I can count them. If it doesn’t last, well I have some more board and maybe I can have a little redesign and strengthen it with thin strips of wood.

What would I do different? Well hmm, not cut the nice edge off the wood in the first place, so I would not have to screw it back on. Might try to put the mesh a little lower and in a channel on the front piece so I could hide the wire edges and not have to fix it to the frame . Make the back door not the full width of the back, so I can be happier that the sides will be holding the weight on the stand. There are the odd couple of little mistake where I cut too much with the table saw; a band saw would be useful there. Doing a bit of measurement probably would not hurt, and using a set square would probably be a good idea.

Tyrolean Bee Chalet

So, I’ve looked on at gabled roofs of bee hives for some time, thinking how much they improve the look of a standard bee hive away from a ‘wooden box on a stand, to something that might look a bit better.

I needed something a bit more sturdy than ply wood to make a roof from. I didn’t really want to make a roof covered with a metal capping (expensive & unpretty) or have to deal with a glass fibre roof (glass fibre sounds complicated), both of which I have on current 2nd hand roofs. I have a few rolls of shed felt around so that was plan B, with a ply sheet and a light framework. Plan A was a lapped roof hopefully with something better than fence lapping and enough angle pitch to stop the rain from sitting too still and getting through.

Then someone brought to my attention that there was something called the Phoenix resource centre that had just opened in Harlow. Its a very good idea, where they take from companies, old stock, offcuts and the like that would normally be going to landfill, and short of costs, give the stuff away. Anyway, it was brought to my attention by a member of my local Bee club that this was a good place to get offcuts of wood and other DIY materials suitable for supporting my Bee keeping activities.

On going to the resource centre, I hit gold; loads of ply, framework timber, tongue and groove board / floorboard. Sure the pieces were short and uneven sizes, they were offcuts from a company that made summer houses I’m told, but they were just right for my needs. Then I found something that was even better, 4 panels of wood that were of good quality thick wood. They had been, I think, a practice for someone, as they were not even depth and some of the feature cuts were uneven, also the wood had not been finished smooth everywhere. But, good enough for bees and me.

So first I set up the gable ends from the tongue and groove boards. I needed to know what the pitch angle should be. With the thick wood panels unfortunately they were not wide enough to cover an entire side, so it would have to be 2 per side. As a result this ended up with a pretty high pitch of roof, but I was happy enough with that, it made it unique, if a bit tall.

So I made the gable ends that applied the pitch, made a box bottom for the whole thing to sit on, attached the panels together as pairs and attached each pair to the base. Then came a fun part. What to run along the top ridge to stop the water getting in the peak, and stop the water getting to the end grain of the panels while it was at it. Well, a nice piece of 2 inch square wood bar would do the job. But, of-course, square bars of wood have 90deg angles, and not the obtuse angle needed here. Well, the correct way to do it would be to measure carefully and then cut the wood bar appropriately (?) with a … jigsaw??

Well I don’t know, and the angles were not consistent because the panels were not consistent thickness, and the whole thing had by now been done by eye (and luckily turned out quite well). So, a bit of chiselling and a bit of sanding with a belt sander, and a bit of fitting to see how it was going. Rinse and repeat, as they say, until it more or less fit. Then, as is classic in cases like this, screw it and pull the wood faces into position, ensuring a tight fit, if a little applied bend to the wood with brute force, here and there, and maybe the slightest bit of swearing and resetting the panel on the frame a couple of times. And hey presto, done… Well nearly. On putting the constructed roof on the hive box, it wasn’t square at the base; entailing a bit more swearing and r-setting and screwing the panels on and off a few more times to get it just right. And then noticing that the flat bottom of the frame was not quite smooth and level, so a bit of chiselling slices off, and sanding, and trying, and rinse and repeat…

Tadah… a finished roof… Short of linseed oiling….

Freshly sanded hive body with new ply inserts
Gable end boards ready for cutting to shape
Roof Panels attached together

Gableswith panels and roof bar
Finished roof part 1 – pre squaring and bottom profiling to fit
Bee Chalet