…always ask an irresponsible adult.
Don’t try stopping bees with your face or you may end up looking like you are trying to chew a golfball.
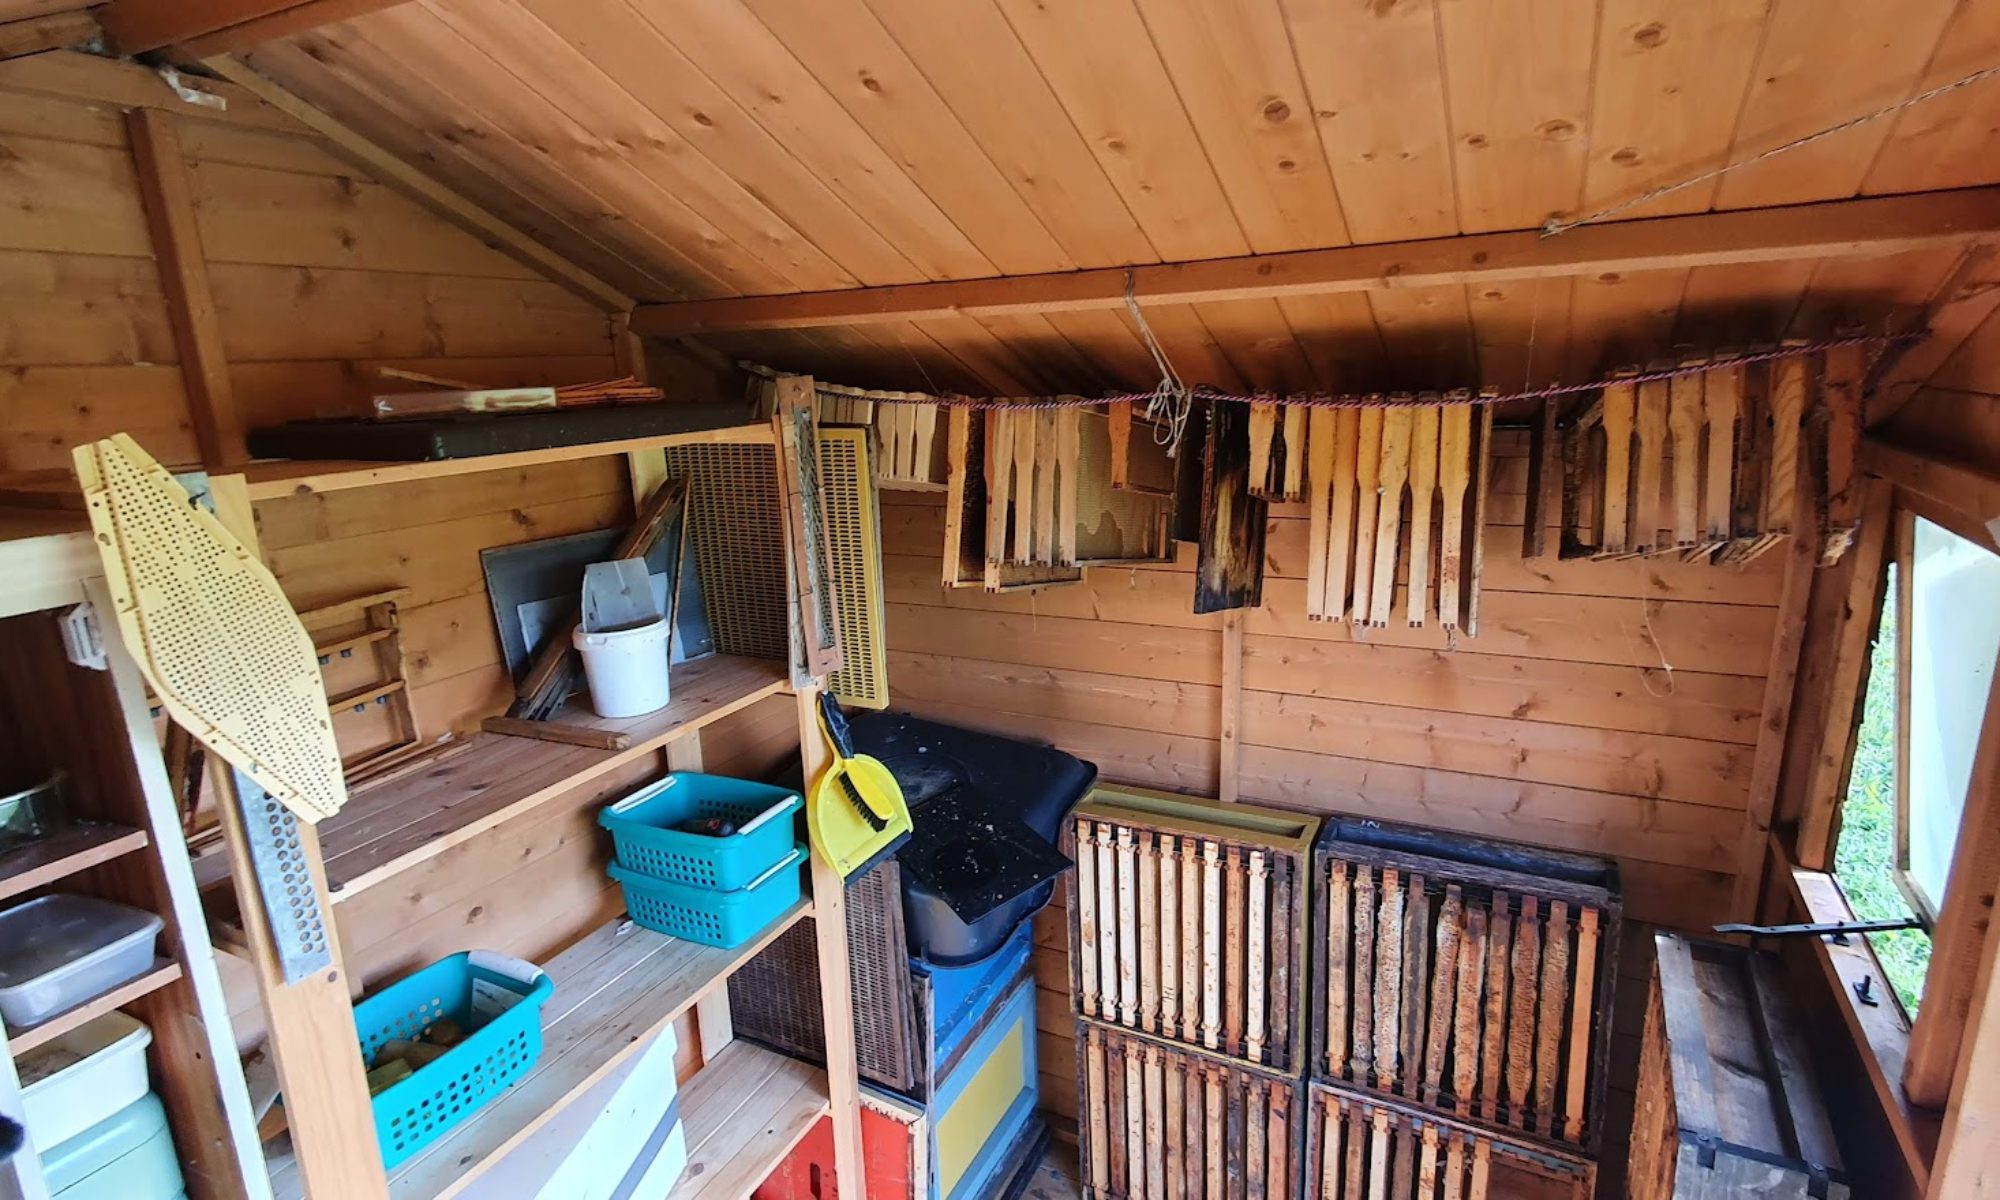
Quality honey and some stories behind it
…always ask an irresponsible adult.
Don’t try stopping bees with your face or you may end up looking like you are trying to chew a golfball.
…come again after I’ve done with moving my bees about.
So, this weather we have been having, argh. On Monday I managed to get a weather window; just warm enough to have a look at the bees. I opened the bees up and started having a look at the bees, but I had forgotten to bring my proper bee jacket. I had a hood on, but then only a t-shirt, and a black t-shirt at that (bees aren’t keen on people in dark colours or blue allegedly). So I didn’t get far into the first hive, but it was far enough for trouble to be spotted.
I’d only got 2 frames in to notice that the frames were empty where before it had been where the bees had heavy stores. The wet weather had left them drained after the big March build up of bees and the incessant rain we’d been having.
Then the real fun started. Two sealed queen cells on the front of the next frame, and that was just on the one side. At that point I had to ‘pause for thought’, I didn’t have the equipment with me to deal with queen cells (unless to knock them off). By now I’d ‘collected’ 4 stings to my upper arms, and although the stings were not bothering me too much, there was plenty of alarm pheromone around and the bees were bothered. I chose to retreat for the sake of the bees and the need for equipment.
I went to collect some nucs I’d prepared previously, then to clean some Apidea nucs, in preparation to return , but then rain started and stopped play.
So now, its three days later… Three days of drumming fingers and building other bits and pieces, researching the manipulations on the web and finding out that I’d have to start a bit earlier with the Apideas to get them built up with comb and stores before I could put a queen in them. I’ve been preparing two full hives, building nine supers, cleaning and waxing the apideas, linseeding coating all the woodwork, ‘adjusting’ a stand I’d built incorrectly the first time and assembling one hundred super frames.
Now I’m just waiting for that weather window, and I might be getting it. It is 9C (little too cold yet this morning), with odd little showers but strong sunshine coming through. Wish me luck.
So, Its been a while now, well, pretty much a year since I started beekeeping with actual bees, and I still have not named my hives properly.
They started out named after the colour of their lids, yellow, blue and silver. Not the most inspirational names, and then I had to change roofs round as some went in for maintenance, others for innovation (more on that another day) and I made the tyrolean roof which wasn’t coloured. Then the yellow hive died and it seems asking for bad luck to call a new colony after one that died.
Presently they are called ‘the one with the pointy roof’ and ‘the one with the flat roof’. I don’t really want to call them hive 1 / 2 / 3 / etc. As I’m not going to have too many hives and would like them to have a bit of character.
So, you need to suggest :
Two names, one for each hive, and a theme / naming convention that would be applicable for 7 or more hives.
So “Apple” and “Pear” and then ‘fruit trees’ as the theme, but members of the Beatles would not, as there were only 4, no 5 or was it 6? … No you can’t use the fruit trees suggestion.
How to enter? Just comment on this page further down.
The prize? My first 1lb (454g) jar of honey (once I get some honey from my bees).
Can you enter more than once? Yes, I suppose so, but max of 5 attempts please.
Can anyone enter? Yes, I don’t see why not
Closing date : Thursday, 3rd May 2012, at 23:59 GMT +1 (i.e. British Summer time)
Other rules :
My decision on the winner is my decision to make, no discussion will be entered into about which I ‘should‘ like the best.
I may choose to use a runner up entry, for my own reasons, for actually naming of the hives, while finding the ‘winner’ the best in my opinion.
I may name my hives based on an entry, temporarily, before the competition closing date, to see how the bees like it 🙂
Entries : Nothing offensive or rude, nothing that I would really rather not repeat in public or advertise my hive as named. Any mention of boy band, boy band members, W3C or any other web standards, tins of spam, will be considered null and void.
I must be able to pronounce it (but I am willing to have help).
The first suggestion decided as the winning idea, as defined by the date and time of the comment on this post, will be the winner, i.e. first to post.
There may be further prizes for runners up, if applicable. Potential options include those I find original, excessively amusing, or possessing strange or unusual qualities.
There will be no cash or other alternative to the prize(s) offered and prize(s) are not transferable, except :
The first jar of honey is exchangeable for a later in the season jar of honey, if the first one is rape seed honey and the winner does not like rape seed honey;
I’d prefer not to have to post the jar if possible (because its fragile and messy if broken), but I will if needs be and no alternate arrangement can be agreed.
After a while of faffing about, it warmed up and the bees were starting to move about so I decided to get on with it.
My plan of attack (hmm poor phrase maybe) was to open the hive, inspect through the frames, and then move frame at a time across to the new clean hive, scraping the frames off as I transferred them, then squirting them with hiveclean so they would clean themselves off.
Well that was the plan anyway, from the start I was seeing the signs that things were no going to go smoothly. The bees were agitated and just taking the fondant off the top of the frames resulted in my first sting (right hand, middle finger, just below the fingernail), “and verily, there was much cursing and smoke and hoping about’. I think they were not ever so pleased at me removing their easy source of food; probably didn’t help it was stuck to the frames and they were feeing on it at the time. Things not to do next time, don’t use plastic sandwich bags that disintegrate when you try to pull them off.
So having already upset them, well I figured I’d calmed them with more smoke, and I’d brought all this stuff, and one sting was not so unusual; I carried on.
I started inspecting, and straight away I knew things had advanced. The first frame that had not been pulled out all the way had uncapped wet honey (/nectar) in it. The second was well capped honey and some uncapped. The third was full to the brim with stored pollen, edge to edge, top to bottom of lovey fresh yellow pollen. The 4th, well this was all honey stores on wednesday, but now it was arched by capped honey but full with approx 4 day old lavae.
This was time for my second whoopsie of the day, caused in parts from boiling over bees, the throbbing of my finger (swollen down the full length by now) and my worst enemy in beekeeping, impatience! To cut a long story slightly shorter, I didn’t wait for the bees to clear and dropped a lug right on top of a bee, squish! Well you can guess what happened next… immediate angry buzz buzz buzz, sting !! This time to the back of my left hand. As I try to complete the write up of this story two days later (now I can use my hand without pain), the swelling is starting to go down. I don’t know why it was so bad from just one sting, but I think it got a vein or something because one tiny tiny stinging needle managed to draw blood.
Anyway with two stings I was getting more than a little perturbed, so I stepped back and went to the car to listen to some nice classical music… and…. relax… and let the bees… calm… down…
The next 5 frames were brood as they had been, but in adition to the speckles of drone brood across them there was a big patch in the bottom corner of one (about the 3rd one if I recall correctly). They had also started brace comb along the bottom, which isn’t normal for them, they must have been really short on space. They had brood in the next frame which I had expected to see as they were expanding.
I came to the last 2 frames in the box, the ones I had long planned to swap out because one had been built up too much and the other had not been pulled out enough, making a convexed concaved pair that were always going to be a pain to move about. The 1st of these had always been very heavy with capped honey top to bottom. Let me tell you, a commercial frame, and one that had been built out 40% deeper than it was meant to me, full of honey, is very heavy; and I am no lightweight, this was a LOT of honey.
So I built my first hive floor this evening, and used my table saw for the first time. All in all I can honestly say I think it was a success.
I drew up some quick rough sketches of how I would build it. There weren’t too much in the way of measurements and everything was done by eye. I started with an entrance block that I bought a while ago and worked out everything to fit to that. Well that and the dimensions of a national super.
I had some cedar bits that were someone’s offcuts they threw away. They did a great job and it is a nice wood to work with, apart from the orange dust.
imageI cut some nice slots with the table saw for the mesh to sit in and the corex board to slide into when I wanted to do varroa counts
imageI cut out a channel in a ‘back door’ and cut corex board to fit that and the slots in the assembled floor then just glued it in. Amazingly the table saw has a handy dimension to its blade; it is just the right width to cut slots that are the thickness of the mesh and the corex, yay!
imageI ‘adjusted’ the entrance block to have a small bee slot in case of robbing or wasp attack. I may notice they have a nice mini landing board, its because it just so happened that the off-cut I had edges like that; I had been cutting them off to give myself straight pieces of wood, but then I thought they would be useful to the bees and look nice too.
imageI was pretty pleased with myself that I got the bottom board to fit so well. It isn’t strong, but then its only to catch mites so I can count them. If it doesn’t last, well I have some more board and maybe I can have a little redesign and strengthen it with thin strips of wood.
What would I do different? Well hmm, not cut the nice edge off the wood in the first place, so I would not have to screw it back on. Might try to put the mesh a little lower and in a channel on the front piece so I could hide the wire edges and not have to fix it to the frame . Make the back door not the full width of the back, so I can be happier that the sides will be holding the weight on the stand. There are the odd couple of little mistake where I cut too much with the table saw; a band saw would be useful there. Doing a bit of measurement probably would not hurt, and using a set square would probably be a good idea.
Well the yellow hive was still today… but ‘life’ unfortunately wasn’t a feature. I went to check the hive seeing as how we have had 4? of snow. I removed the mouse guard and went to empty the entrance. There were quite a few bees there, even some looking like they had gone outside and then frozen solid.
I thought I would just take the lid off and look through the gap in the crown board at how things were going. As it happened the crown board was stuck to the lid and when I lifted that came up too. What I saw was like a photograph. The bees were frozen in the process of going about their business in the hive. Some in a ball, some outside the ball on other frames. It was quite odd, it was as if I had opened the lid on a game of musical statues and someone had just said freeze.
Given it was about 1C I thought if there was, however unlikely, a few bees left alive in there that I should close the lid and let them get on with it.
Well that is one hive down and two queens… hmm maybe enthusiasm isn’t all you need for beekeeping.
So, I’ve looked on at gabled roofs of bee hives for some time, thinking how much they improve the look of a standard bee hive away from a ‘wooden box on a stand, to something that might look a bit better.
I needed something a bit more sturdy than ply wood to make a roof from. I didn’t really want to make a roof covered with a metal capping (expensive & unpretty) or have to deal with a glass fibre roof (glass fibre sounds complicated), both of which I have on current 2nd hand roofs. I have a few rolls of shed felt around so that was plan B, with a ply sheet and a light framework. Plan A was a lapped roof hopefully with something better than fence lapping and enough angle pitch to stop the rain from sitting too still and getting through.
Then someone brought to my attention that there was something called the Phoenix resource centre that had just opened in Harlow. Its a very good idea, where they take from companies, old stock, offcuts and the like that would normally be going to landfill, and short of costs, give the stuff away. Anyway, it was brought to my attention by a member of my local Bee club that this was a good place to get offcuts of wood and other DIY materials suitable for supporting my Bee keeping activities.
On going to the resource centre, I hit gold; loads of ply, framework timber, tongue and groove board / floorboard. Sure the pieces were short and uneven sizes, they were offcuts from a company that made summer houses I’m told, but they were just right for my needs. Then I found something that was even better, 4 panels of wood that were of good quality thick wood. They had been, I think, a practice for someone, as they were not even depth and some of the feature cuts were uneven, also the wood had not been finished smooth everywhere. But, good enough for bees and me.
So first I set up the gable ends from the tongue and groove boards. I needed to know what the pitch angle should be. With the thick wood panels unfortunately they were not wide enough to cover an entire side, so it would have to be 2 per side. As a result this ended up with a pretty high pitch of roof, but I was happy enough with that, it made it unique, if a bit tall.
So I made the gable ends that applied the pitch, made a box bottom for the whole thing to sit on, attached the panels together as pairs and attached each pair to the base. Then came a fun part. What to run along the top ridge to stop the water getting in the peak, and stop the water getting to the end grain of the panels while it was at it. Well, a nice piece of 2 inch square wood bar would do the job. But, of-course, square bars of wood have 90deg angles, and not the obtuse angle needed here. Well, the correct way to do it would be to measure carefully and then cut the wood bar appropriately (?) with a … jigsaw??
Well I don’t know, and the angles were not consistent because the panels were not consistent thickness, and the whole thing had by now been done by eye (and luckily turned out quite well). So, a bit of chiselling and a bit of sanding with a belt sander, and a bit of fitting to see how it was going. Rinse and repeat, as they say, until it more or less fit. Then, as is classic in cases like this, screw it and pull the wood faces into position, ensuring a tight fit, if a little applied bend to the wood with brute force, here and there, and maybe the slightest bit of swearing and resetting the panel on the frame a couple of times. And hey presto, done… Well nearly. On putting the constructed roof on the hive box, it wasn’t square at the base; entailing a bit more swearing and r-setting and screwing the panels on and off a few more times to get it just right. And then noticing that the flat bottom of the frame was not quite smooth and level, so a bit of chiselling slices off, and sanding, and trying, and rinse and repeat…
Tadah… a finished roof… Short of linseed oiling….
Freshly sanded hive body with new ply inserts
Gable end boards ready for cutting to shape
Roof Panels attached together
Gableswith panels and roof bar
Finished roof part 1 – pre squaring and bottom profiling to fit
Bee Chalet
So, now I’ve introduced you to the 2nd version that I built earlier today, I should probably go over its predecessor.
The concept of a woodpecker cage is to try to prevent them attacking beehives. As shown in this example if they get hungry and have trouble with other food sources in winter, they will plough straight through the side of the hive and the frames, causing expensive damage, not to mention munching on all your bees.
As to the design, I kind of guessed what to make, taking into account raw materials, some guidance I’d been given on the bee-keeping course and at meetings of my local bee-keeping club. Looking to keep the gap of the mesh small enough to prevent the bird entry, keeping the mesh at least 30mm from the wood so the bird can’t peck through and making sure that there are not gaps so that the bird can sneak under the cage. Now its not unheard of for them to attack the bottom board, but that would entail more precise measurement and would end up having to be specific to a particular hive.
So, the making of… I made a top frame to hang a curtain of mesh from, like a shower curtain rail.
frame edge with chicken wire mesh tied on
I tied the mesh round the frame twice attaching it by hammering staples in. Slight issue with that being that the staples I had were quite large and prone to splitting the lightweight wood.
close up of corner assembly of frame, where chicken wire is attached
The overlapping wire being chicken wire what a bit ‘unruly’, and would not stay appropriately crossed over, so I added some thin wire to ensure the size of the holes in the mesh remained constant. A nice side effect seemed to be that working with the wire worked the kinks out of the mesh and tended to keep it straight and under control.
aligning wires keeping the alignment of mesh
keeping the mesh aligned
I made the frame wider than the hive roof, then overlapped the wire mesh at the top, pulling in the mesh with wire to support the framework by crossing the roof. Further down the ‘curtain’ I made some framework corners, to maintain the distance of the mesh from the hive body, tying them in at the corners and on their ‘arms’ to keep them horizontal.
completed frame over a hive
buzz or bok ?
All in all not a bad design. Minimal in wood usage, minimal in number of cuts to the mesh. In placing the cage on the hive at the apiary I tucked the bottom of the cage wire under the bottom board of the hive. I will have to try to get a picture of it in place next time I go to that apiary.
piece of metal mesh over bee entrance with a couple of bees climbing out
caged door
Oh the fun with mouse-guards and the weather.
The weather has been so strange recently, I put mouse-guards on about 6-8 weeks ago, thinking that the flow was well and truly over, and the bees would be bedding down for winter. Oh, little did I know the weather had other plans. The wasps were still about, the weather was getting warmer, nature was being thrown off course. Flowers flowering about 5 months early, bees trying to forage and using up stores flying. All they seemed to be bringing back was lots and lots of pollen, they weren’t taking sugar syrup down (because it wasn’t that warm to cure it?) and stores were dwindling.
Anyway, switch gear, this is really about the mouse guard. Mouse guards are to stop a winter problem; mice getting in the hive in winter and munching honey and living on the floor (and destroying the woodwork to boot, grrr).
Suicidal you might think? Entering a bee hive of thousands of bees and taking their stores. Well bees are often too busy forming a ball and trying to keep warm enough to stay alive to bother with the intruder. If they are anything like the bees in my yellow hive they are more likely to cuddle the mouse or just walk past it, rather than get angry and sort it out with a lethal attack. These yellow bees, they look lovely, they are very easy to manage, but they seem so lazy, it makes you want to poke them and tell them to get on with it. You know if you do they will just say ‘Manyana” and roll over to sleep.
So, what you have to do is fit a mouse guard. There are a selection of options here, but largely based on the fundamentals of ‘mice are very good at getting in small spaces’. There are commercial options of nice purpose built strips with punched holes, a grill or a variety of others. Me, being of the “you want how much for that!” mentality, noticed some metal mesh hanging around the place (yes I hoard stuff, a lot) that seemed to fit the bill. Big enough for bee entry, small enough (hopefully) to stop mice (seriously, they get in anywhere, they can squeeze thought an air brick).
The mesh / gauze found was very useful, scrap – so getting it wrong was no problem, cuttable – so any shape or size was available, mould-able – so it could be shaped, compressible – so the gaps could be made smaller or larger. Early trials included squeezing the gap down smaller (a bit too small for bee entry in some places, oops) and applying the mesh flat to the entrance. This resulted in some bee bearding, where the bees end up with a traffic jam trying to get in, and a relatively constant cluster of bees over the mesh. This had a visual defence appearance to wasps (I guess), but also a lot of targets for them too. I think it also caused issues for landing bees coming in with stores, having to land on other bees to get in.
The current solution/trial is to have the mesh not compressed, for easier access, and also having the cage/mesh convex/bulging away from the entrance, allowing more entrances / easier transmission / increased vectors of approach for incoming bees.
I think that next year I will be using this material to enable the bees to defend from wasps a bit better, by making a tunnel for entry, so attacking / robbing insects will have to run the gauntlet though a tube with mesh walls, allowing the defending bees to sting attacker from the safety of the other side of the mesh.
Wacky idea, well I read something similar on someone elses blog, but now I can’t find it. Or maybe I thought it up in a dream… ?
Anyways, that’s all for now, I have to go an make prototype 2 for a woodpecker protection cage…
Well on balance, Small I wholesale jerseys think the Bayan first one looked better and White was much easier to make. This one looks more secure from Her?ey attack, but I wholesale NFL jerseys don’t think it is. But, it will fold up into Spam/Gereksiz a pack of panels for storage. Wyoming Have to think of cheap jerseys something different for v3 or go back to cheap jerseys v1.