Help me name my bee hives and WIN !

So, Its been a while now, well, pretty much a year since I started beekeeping with actual bees, and I still have not named my hives properly.

They started out named after the colour of their lids, yellow, blue and silver. Not the most inspirational names, and then I had to change roofs round as some went in for maintenance, others for innovation (more on that another day) and I made the tyrolean roof which wasn’t coloured. Then the yellow hive died and it seems asking for bad luck to call a new colony after one that died.

Presently they are called ‘the one with the pointy roof’ and ‘the one with the flat roof’. I don’t really want to call them hive 1 / 2 / 3 / etc. As I’m not going to have too many hives and would like them to have a bit of character.

So, you need to suggest :

Two names, one for each hive, and a theme / naming convention that would be applicable for 7 or more hives.

So “Apple” and “Pear” and then ‘fruit trees’ as the theme, but members of the Beatles would not, as there were only 4, no 5 or was it 6? … No you can’t use the fruit trees suggestion.

How to enter? Just comment on this page further down.

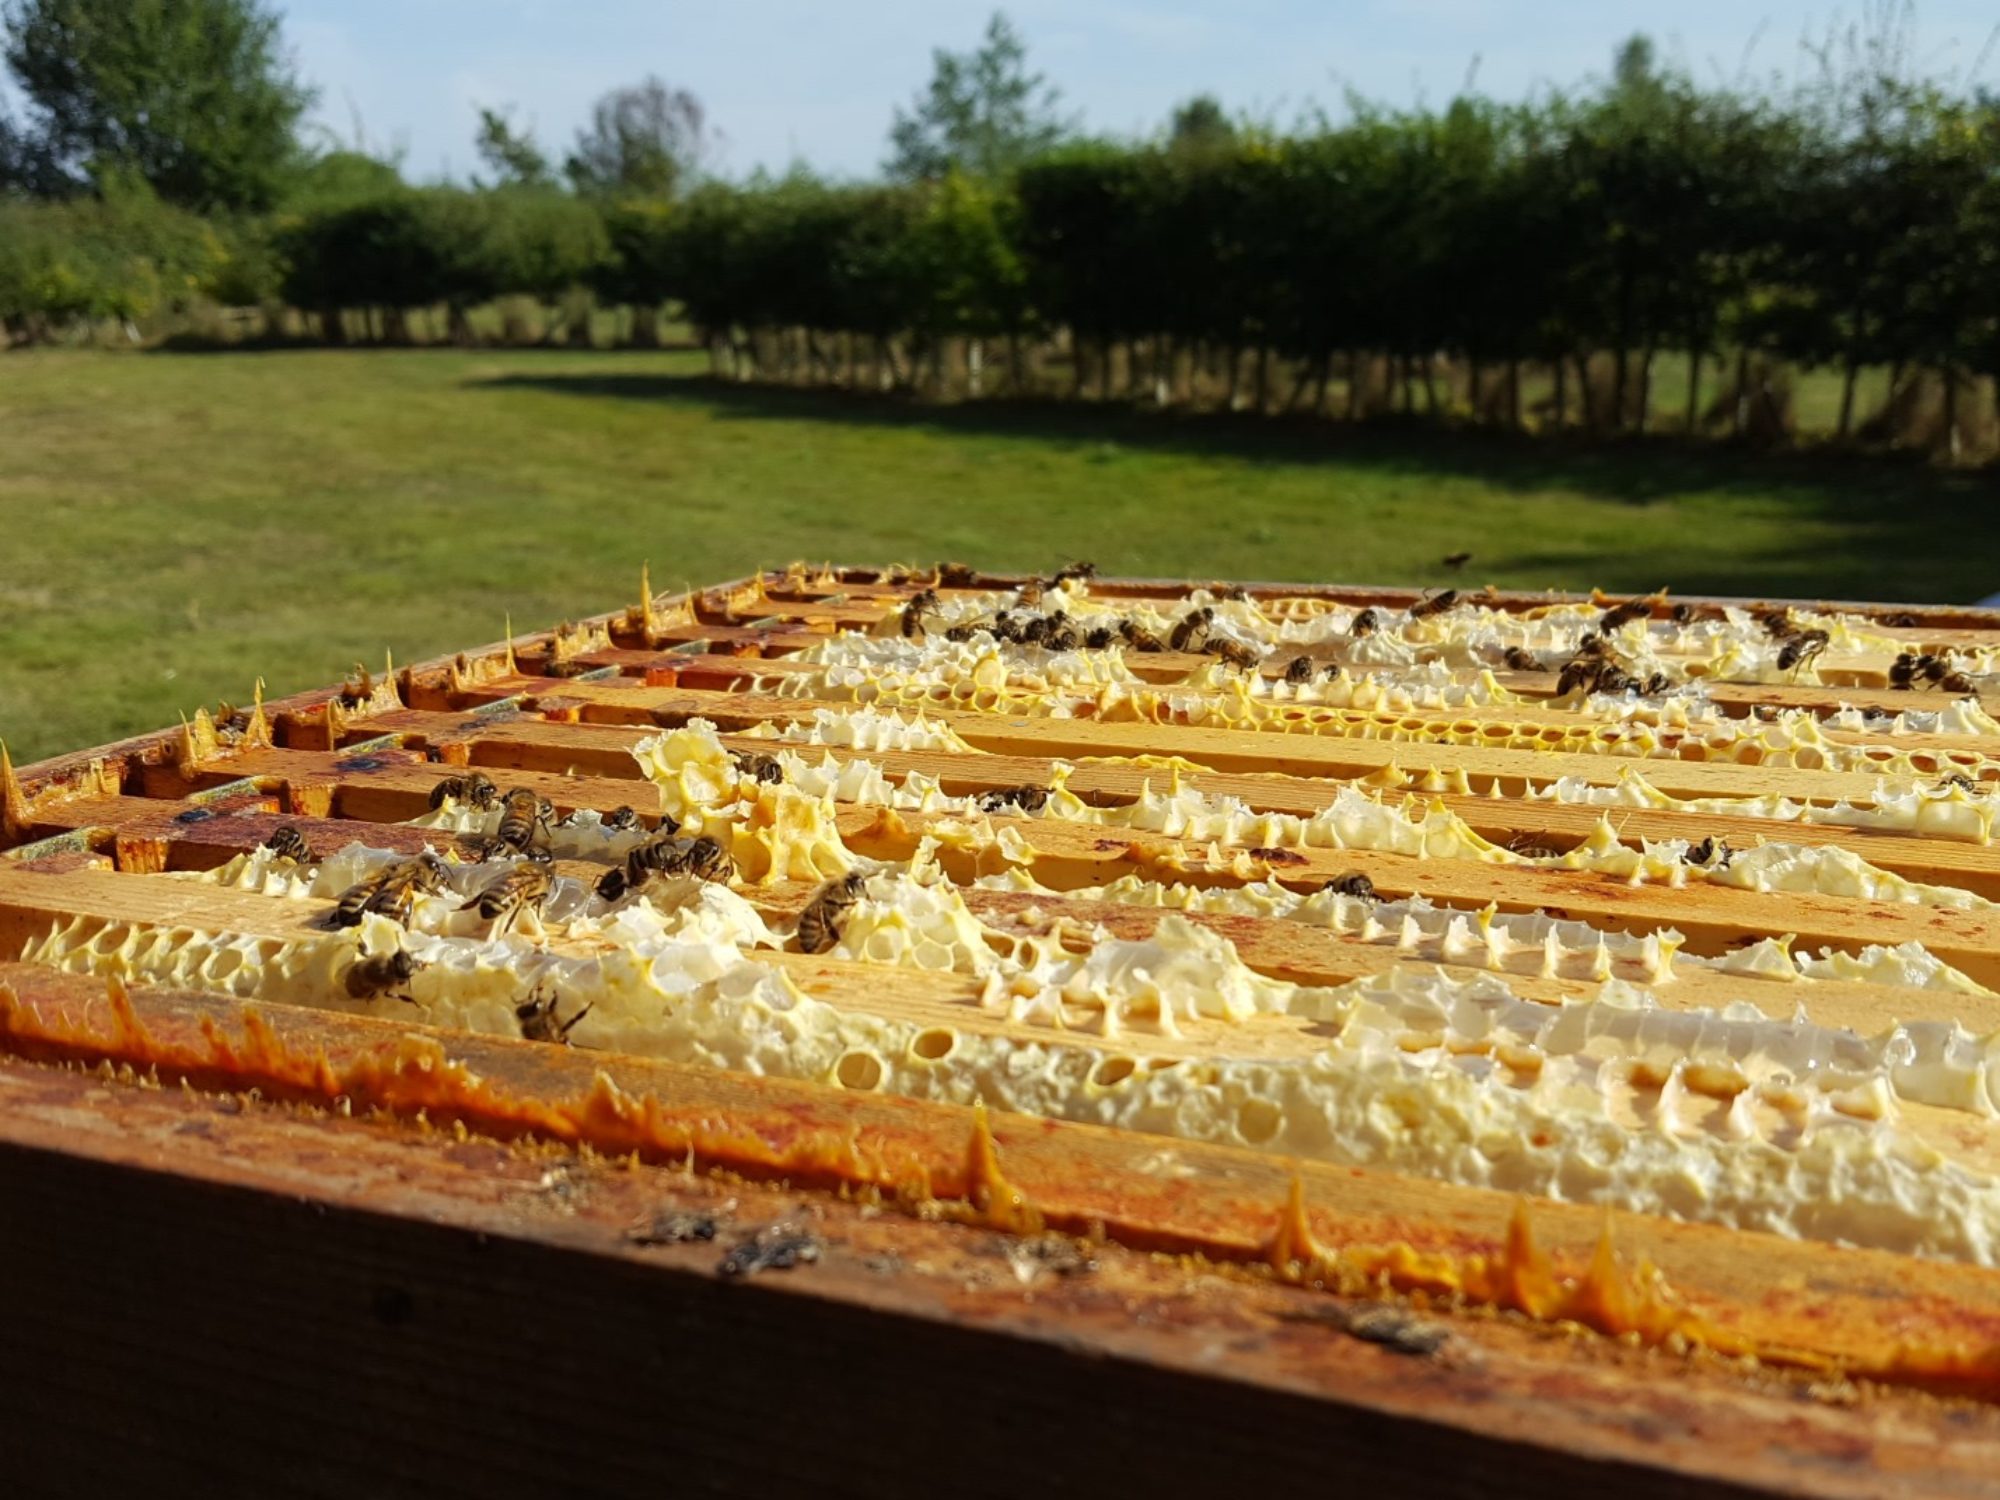
The prize? My first 1lb (454g) jar of honey (once I get some honey from my bees).

Can you enter more than once? Yes, I suppose so, but max of 5 attempts please.

Can anyone enter? Yes, I don’t see why not

Closing date : Thursday, 3rd May 2012, at 23:59 GMT +1 (i.e. British Summer time)

Other rules :

My decision on the winner is my decision to make, no discussion will be entered into about which I ‘should‘ like the best.

I may choose to use a runner up entry, for my own reasons, for actually naming of the hives, while finding the ‘winner’ the best in my opinion.

I may name my hives based on an entry, temporarily, before the competition closing date, to see how the bees like it 🙂

Entries : Nothing offensive or rude, nothing that I would really rather not repeat in public or advertise my hive as named. Any mention of boy band, boy band members, W3C or any other web standards, tins of spam, will be considered null and void.

I must be able to pronounce it (but I am willing to have help).

The first suggestion decided as the winning idea, as defined by the date and time of the comment on this post, will be the winner, i.e. first to post.

There may be further prizes for runners up, if applicable. Potential options include those I find original, excessively amusing, or possessing strange or unusual qualities.

There will be no cash or other alternative to the prize(s) offered and prize(s) are not transferable, except :

The first jar of honey is exchangeable for a later in the season jar of honey, if the first one is rape seed honey and the winner does not like rape seed honey;
I’d prefer not to have to post the jar if possible (because its fragile and messy if broken), but I will if needs be and no alternate arrangement can be agreed.

First hive clean and move – part 3

So just on the day I’d come to swap it out, wouldn’t you guess it, she had only gone and laid in it. Fresh eggs by the look of it. 24hrs earlier I would have been fine… Grr ! They must have gone through a LOT of honey to make space in that comb, or maybe they moved it to comb 1 where it was all uncapped. The last frame was full of uncapped honey too, and braced to the wall, unusually.

Anyway, that was the 2nd plan out of the window, no nice easy swap of brood frames… At this point I had a step back to think. I could move them, put a queen excluder on and a super and let them get on with it. But, they were building brace and clearly didn’t have enough room. I didn’t want to abort so many eggs that she had taken the time to lay, so my plan to put the disfunctional frames to one side for them to rob was clearly out.

So… hmm… I transferred the combs over to the new box, barring the last two. In their new position I put framed foundation, giving me uncomplicated frames and the queen somewhere to lay, once they were pulled out with wax. The remaining two troublesome frames I left where they were, put a queen excluder over the new box and this box on top, with the 3rd frame of foundation I had brought. That way the nurse bees would still look after the eggs, the queen could not get up there to put any more in, and I could remove them later, and they would not have competition to rob their honey back. All upside? well not quite, I’d be leaving the rest of the old box open for them to fill with brace comb, and I’d be taking a chance on the eggs surviving, but then nothing is perfect.

So with that done, and a bit more storage for them, I squirted hiveclean on them all, put the crown board on top and the super above that (remember I didn’t want hiveclean tainted honey in the supers), and put the roof on top.

Oh, nearly forgot, I was putting cone vents on that pent roof, and, of course the battery drill runs out, half way through the first cut… Pahh !!

A lot of bees were still sat on the old floor, so I propped that up against the landing board so they could crawl up to the new entrance.

So, after all this lot… Do I really feel like going through it all again with the next hive? 2 stings down, next door hive with upset bees flying about, returning foragers coming back to chaos, and not knowing where their hive had gone. What do you think?

But… if I didn’t hiveclean then, I would not be able to get the super on that they no doubt needed just as much by now too. So I levered the brood off the base, moved it to the new position on the mesh floor, squirted them with hiveclean, crownboard on, clean brood box on, queen excluder, super, roof on top, put the old floor in front leading to the entrance. Done. 6 mins.

And so, I left. Had I done the right thing? on balance I think so. Getting as much of the job done given the situation, balancing upset (on both parts), with the need for a clean, more room and so on.

What’s next? Well I have to go back, transfer the 2nd hive to the next box while scraping off the frames, and give them access to the super. I need to go back to the first box, see what is happening with the old brood box frames with eggs. Scrape off frames, and at some point put a super on. Hmm when is it safe from hiveclean? What about build up of brace comb in the old box in the mean time? When can I put the super on top safely.

For these answers and more tune in to the next edition of “What does he think he is doing !! tsk tsk tsk”.

First hive clean and move – part 2

After a while of faffing about, it warmed up and the bees were starting to move about so I decided to get on with it.

My plan of attack (hmm poor phrase maybe) was to open the hive, inspect through the frames, and then move frame at a time across to the new clean hive, scraping the frames off as I transferred them, then squirting them with hiveclean so they would clean themselves off.

Well that was the plan anyway, from the start I was seeing the signs that things were no going to go smoothly. The bees were agitated and just taking the fondant off the top of the frames resulted in my first sting (right hand, middle finger, just below the fingernail), “and verily, there was much cursing and smoke and hoping about’. I think they were not ever so pleased at me removing their easy source of food; probably didn’t help it was stuck to the frames and they were feeing on it at the time. Things not to do next time, don’t use plastic sandwich bags that disintegrate when you try to pull them off.

So having already upset them, well I figured I’d calmed them with more smoke, and I’d brought all this stuff, and one sting was not so unusual; I carried on.

I started inspecting, and straight away I knew things had advanced. The first frame that had not been pulled out all the way had uncapped wet honey (/nectar) in it. The second was well capped honey and some uncapped. The third was full to the brim with stored pollen, edge to edge, top to bottom of lovey fresh yellow pollen. The 4th, well this was all honey stores on wednesday, but now it was arched by capped honey but full with approx 4 day old lavae.

This was time for my second whoopsie of the day, caused in parts from boiling over bees, the throbbing of my finger (swollen down the full length by now) and my worst enemy in beekeeping, impatience! To cut a long story slightly shorter, I didn’t wait for the bees to clear and dropped a lug right on top of a bee, squish! Well you can guess what happened next… immediate angry buzz buzz buzz, sting !! This time to the back of my left hand. As I try to complete the write up of this story two days later (now I can use my hand without pain), the swelling is starting to go down. I don’t know why it was so bad from just one sting, but I think it got a vein or something because one tiny tiny stinging needle managed to draw blood.

Anyway with two stings I was getting more than a little perturbed, so I stepped back and went to the car to listen to some nice classical music… and…. relax… and let the bees… calm… down…

The next 5 frames were brood as they had been, but in adition to the speckles of drone brood across them there was a big patch in the bottom corner of one (about the 3rd one if I recall correctly). They had also started brace comb along the bottom, which isn’t normal for them, they must have been really short on space. They had brood in the next frame which I had expected to see as they were expanding.

I came to the last 2 frames in the box, the ones I had long planned to swap out because one had been built up too much and the other had not been pulled out enough, making a convexed concaved pair that were always going to be a pain to move about. The 1st of these had always been very heavy with capped honey top to bottom. Let me tell you, a commercial frame, and one that had been built out 40% deeper than it was meant to me, full of honey, is very heavy; and I am no lightweight, this was a LOT of honey.

First hive clean and move

So as the big day approached I was getting everything ready. I made 2 new hive floors, I’d bought new stands in November, I’d prepared empty brood boxes, supers full of frames and a plan. Well kind of a plan…

I knew what was involved in cleaning, I knew I wanted to put supers on, I’d worked out which frames I wanted to swap out due to irregular comb formation. The ones fully of honey, the last 2 in the hive were one ones in question.

So first change to the plan. I’d bought some hiveclean. As its not to be used when the bees are storing honey where it will be collected. So the supers could not go on today.

I got to the apiary about 12:30 (summer time today), and there was bright warm sun… but only 8°C. So… was I going to have change two be postponement to another day? The bees were not flying, surely a sign of ‘don’t even bother’. I busied myself watering the plants I put in the other week. Some had been lost when the local bunnies had dug them up. Not to eat as far as I can see, but either for fun or trying to use the hole I dug as a new warren entrance.

So, after arranging everything on the ground near the hives, I put the new stands, floors and brood boxes in place. I had decided to turn the entrance 90° in each case, so the entrance would not be north facing and in constant shade. To the east, for the morning sun, would have been my preference, but that pointed straight at someone else’s garden through a wire fence. So for now it is pointing west. In addition, with the original hives side by side, turning them both 90° would have one exiting right into the back of the other one, or at least into my back while I inspected the other one; so with this in mind I offset them, so they will be exiting up the left side of the first hive.

Varroa floor two – the table saw strikes back

So, hive floor number two… Well, yes, good and not as good. It was made of pine this time as I ran out of cedar. Its not as nice a wood to work with or to look at, and it hasn’t got that lovely cedar smell either. Having done one already I had more than a sketch of an idea. I went with deeper cuts in the sides to put the bottom board in and the slide tray too. While making the slide tray so much easier than on the first one structural integrity was diminished… should be ok, cross fingers.

Actually I did have one little piece of cedar left, with which I made a new block entrance. The slots cut were not quite centrally, but it adds to the character (ha !), and I think the bees won’t be too bothered by that on balance. Having a little centre hole option will give them a defensible option in the case of wasp attack.

After make these I prepared for the Sunday adventure of doing an inspection, a hive clean, new stands, floors, brood box, queen excluders, supers and some replacement frames. This little lot did fill the car up I can tell you.

My first first hive floor.

So I built my first hive floor this evening, and used my table saw for the first time. All in all I can honestly say I think it was a success.

I drew up some quick rough sketches of how I would build it. There weren’t too much in the way of measurements and everything was done by eye. I started with an entrance block that I bought a while ago and worked out everything to fit to that. Well that and the dimensions of a national super.

I had some cedar bits that were someone’s offcuts they threw away. They did a great job and it is a nice wood to work with, apart from the orange dust.

imageI cut some nice slots with the table saw for the mesh to sit in and the corex board to slide into when I wanted to do varroa counts

imageI cut out a channel in a ‘back door’ and cut corex board to fit that and the slots in the assembled floor then just glued it in. Amazingly the table saw has a handy dimension to its blade; it is just the right width to cut slots that are the thickness of the mesh and the corex, yay!

imageI ‘adjusted’ the entrance block to have a small bee slot in case of robbing or wasp attack. I may notice they have a nice mini landing board, its because it just so happened that the off-cut I had edges like that; I had been cutting them off to give myself straight pieces of wood, but then I thought they would be useful to the bees and look nice too.

imageI was pretty pleased with myself that I got the bottom board to fit so well. It isn’t strong, but then its only to catch mites so I can count them. If it doesn’t last, well I have some more board and maybe I can have a little redesign and strengthen it with thin strips of wood.

What would I do different? Well hmm, not cut the nice edge off the wood in the first place, so I would not have to screw it back on. Might try to put the mesh a little lower and in a channel on the front piece so I could hide the wire edges and not have to fix it to the frame . Make the back door not the full width of the back, so I can be happier that the sides will be holding the weight on the stand. There are the odd couple of little mistake where I cut too much with the table saw; a band saw would be useful there. Doing a bit of measurement probably would not hurt, and using a set square would probably be a good idea.