Last year I went on a queen rearing course and at the end I bought some mini nucs. They needed cleaning first so I did that first. Then I was left with an interesting design choice by the manufacturer of having a bottom entrance. So I decided to change it, cutting a hole in the front and adding a rotating disc opening restrictor; one of those things you turn to choose open, vented, closed or queen restricted. Well a picture paints a thousand words so here….
As I had cut out the new entrance with a hole saw I had a nice chunk of wall material with which I could fill up the old entrance.
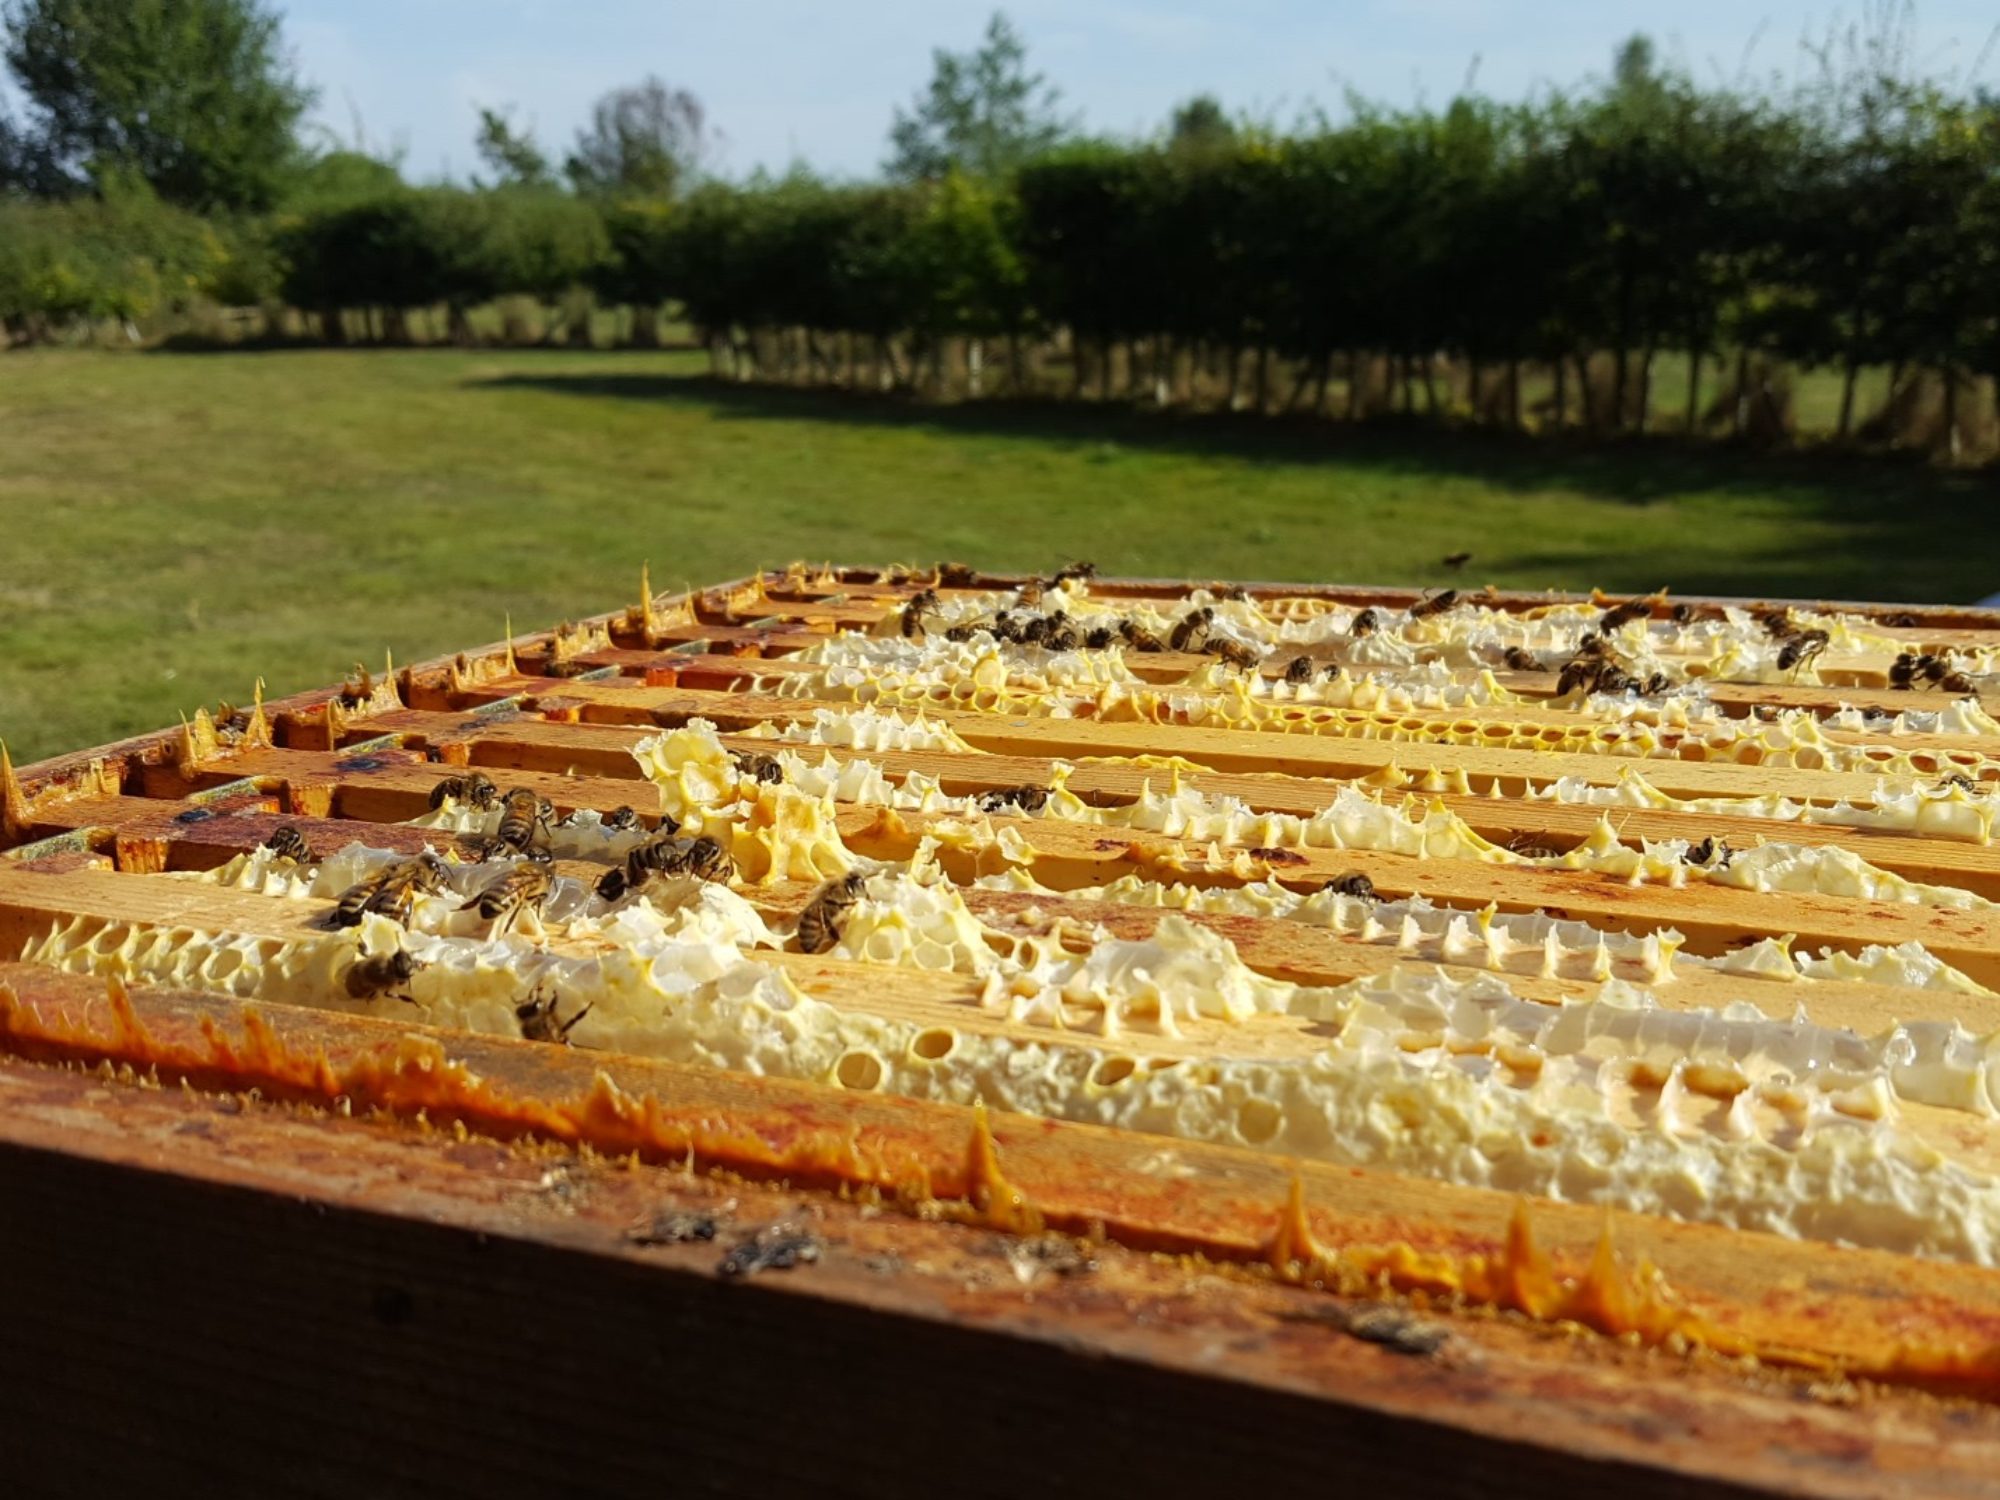
Then I took the top bars and cleaned them up and melted the wax in the slot and used it to hold a new starter strip.
On occasion I have broken foundation sheets, either in storage or when trying to put them into frames. This is why is it a good idea to keep them. In the background is my jar for odd bits of wax, which can be used as hot glue or melted elsewhere for reuse.
Finally, my old friend correx (aka fluted board plastic) came to my aid as an inner cover which I am told is a good idea. Just cutting round the nuc as a template and then trimming a bit so it does not get stuck in the lid as you lift it.
Red is what I had, if they did clear that would have been better as I could have seen the bees through it.
All it needs now is a sugar tray for the back section, some bees and a queen cell.


2 Replies to “Mini nucs’ prep”
Comments are closed.